







How to Design Cvent Power Apps with Database-Like Connectivity

Microsoft Power Apps provides a drag and drop interface, underpinned by a rich set of formulas, for generating mobile and tablet apps that are connected to data. The CData API Server extends Power Apps with connectivity to remote data sources, without a need to maintain a separate copy of the data in the Power Apps Common Data Service. The CData API Server provides database-like connectivity for Cvent, augmenting the functionality of SaaS APIs and NoSQL databases with an in-memory SQL-92 engine.
The CData API Server also supports the Swagger metadata standard, whose UI-generation and code-generation possibilities are utilized across Azure App Service, Power Automate, and Power Apps. With Swagger, Power Apps generates a complete set of formulas for working with Cvent -- this article shows how to use these formulas to connect your PowerApp to remote Cvent data.
Set Up the API Server
If you have not already done so, download the CData API Server. Once you have installed the API Server, follow the steps below to begin producing secure Cvent OData services:
Connect to Cvent
To work with Cvent data from Microsoft Power Apps, we start by creating and configuring a Cvent connection. Follow the steps below to configure the API Server to connect to Cvent data:
- First, navigate to the Connections page.
-
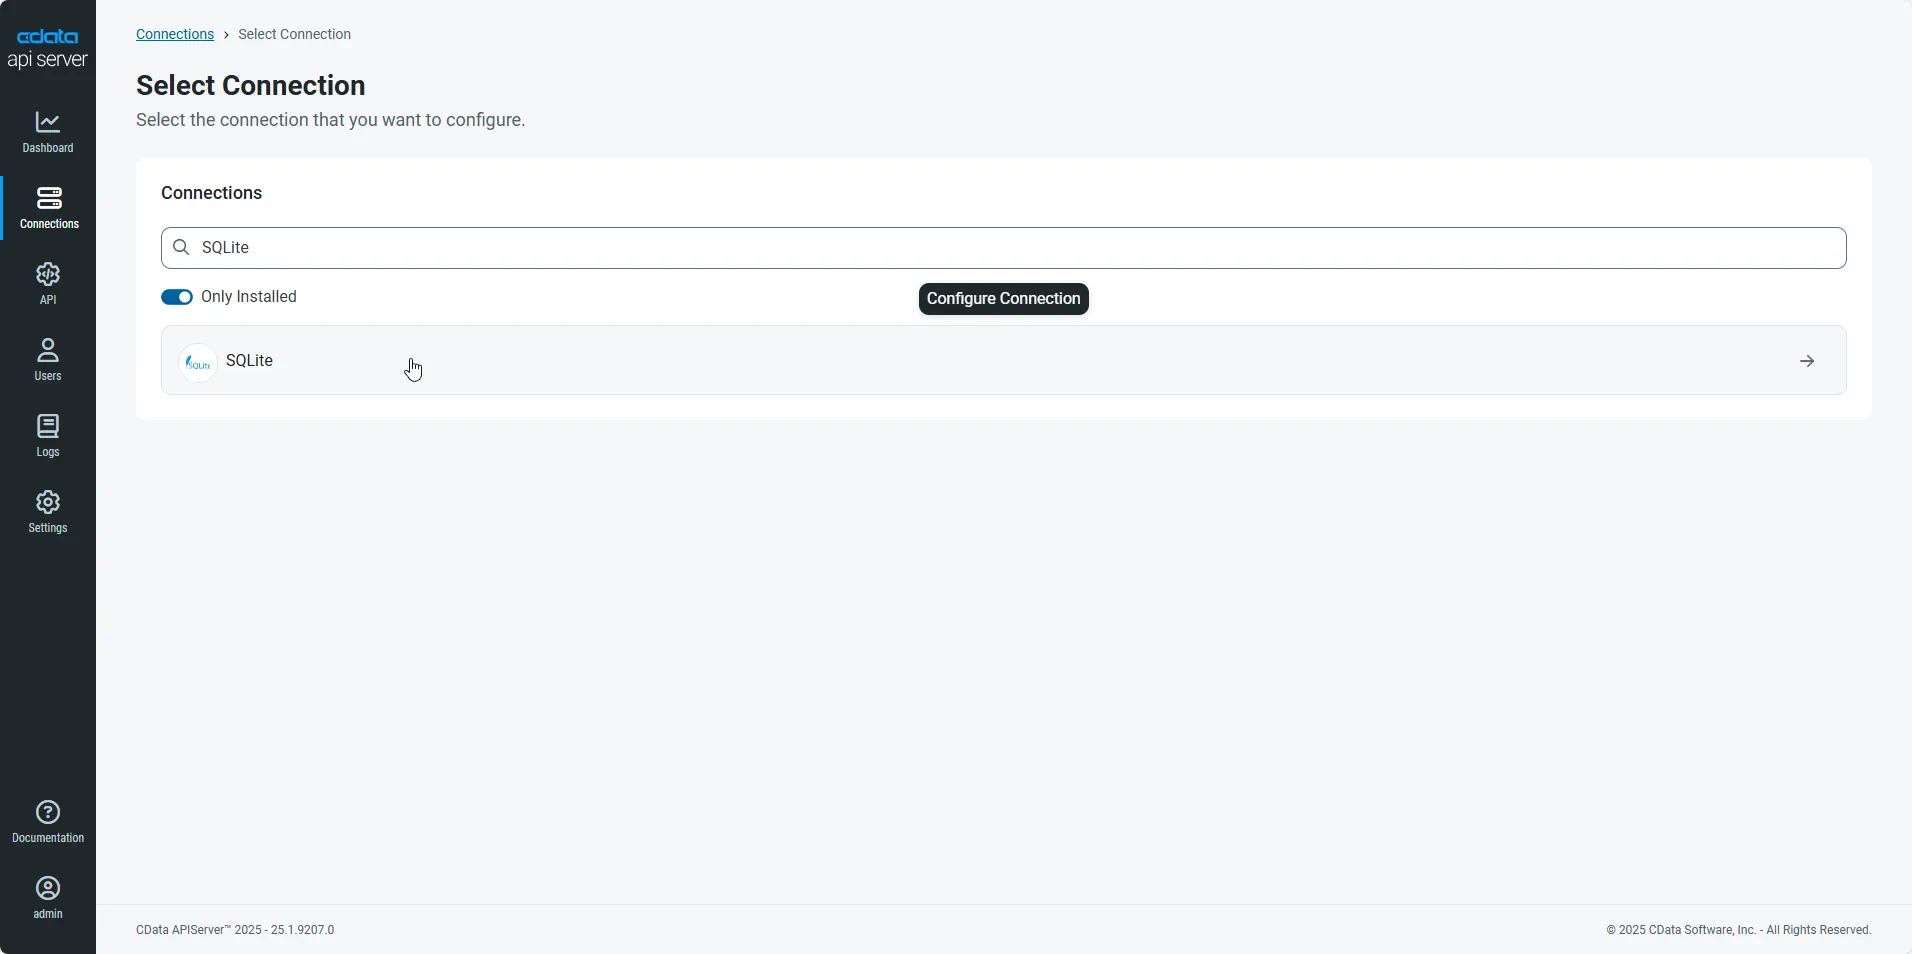
Click Add Connection and then search for and select the Cvent connection.
-
Enter the necessary authentication properties to connect to Cvent.
Before you can authenticate to Cvent, you must create a workspace and an OAuth application.
Creating a Workspace
To create a workspace:
- Sign into Cvent and navigate to App Switcher (the blue button in the upper right corner of the page) >> Admin.
- In the Admin menu, navigate to Integrations >> REST API.
- A new tab launches for Developer Management. Click on Manage API Access in the new tab.
- Create a Workspace and name it. Select the scopes you would like your developers to have access to. Scopes control what data domains the developer can access.
- Choose All to allow developers to choose any scope, and any future scopes added to the REST API.
- Choose Custom to limit the scopes developers can choose for their OAuth apps to selected scopes. To access all tables exposed by the driver, you need to set the following scopes:
event/attendees:read event/attendees:write event/contacts:read event/contacts:write event/custom-fields:read event/custom-fields:write event/events:read event/events:write event/sessions:delete event/sessions:read event/sessions:write event/speakers:delete event/speakers:read event/speakers:write budget/budget-items:read budget/budget-items:write exhibitor/exhibitors:read exhibitor/exhibitors:write survey/surveys:read survey/surveys:write
Creating an OAuth Application
After you have set up a Workspace and invited them, developers can sign up and create a custom OAuth app. See the Creating a Custom OAuth Application section in the Help documentation for more information.
Connecting to Cvent
After creating an OAuth application, set the following connection properties to connect to Cvent:
- InitiateOAuth: GETANDREFRESH. Used to automatically get and refresh the OAuthAccessToken.
- OAuthClientId: The Client ID associated with the OAuth application. You can find this on the Applications page in the Cvent Developer Portal.
- OAuthClientSecret: The Client secret associated with the OAuth application. You can find this on the Applications page in the Cvent Developer Portal.
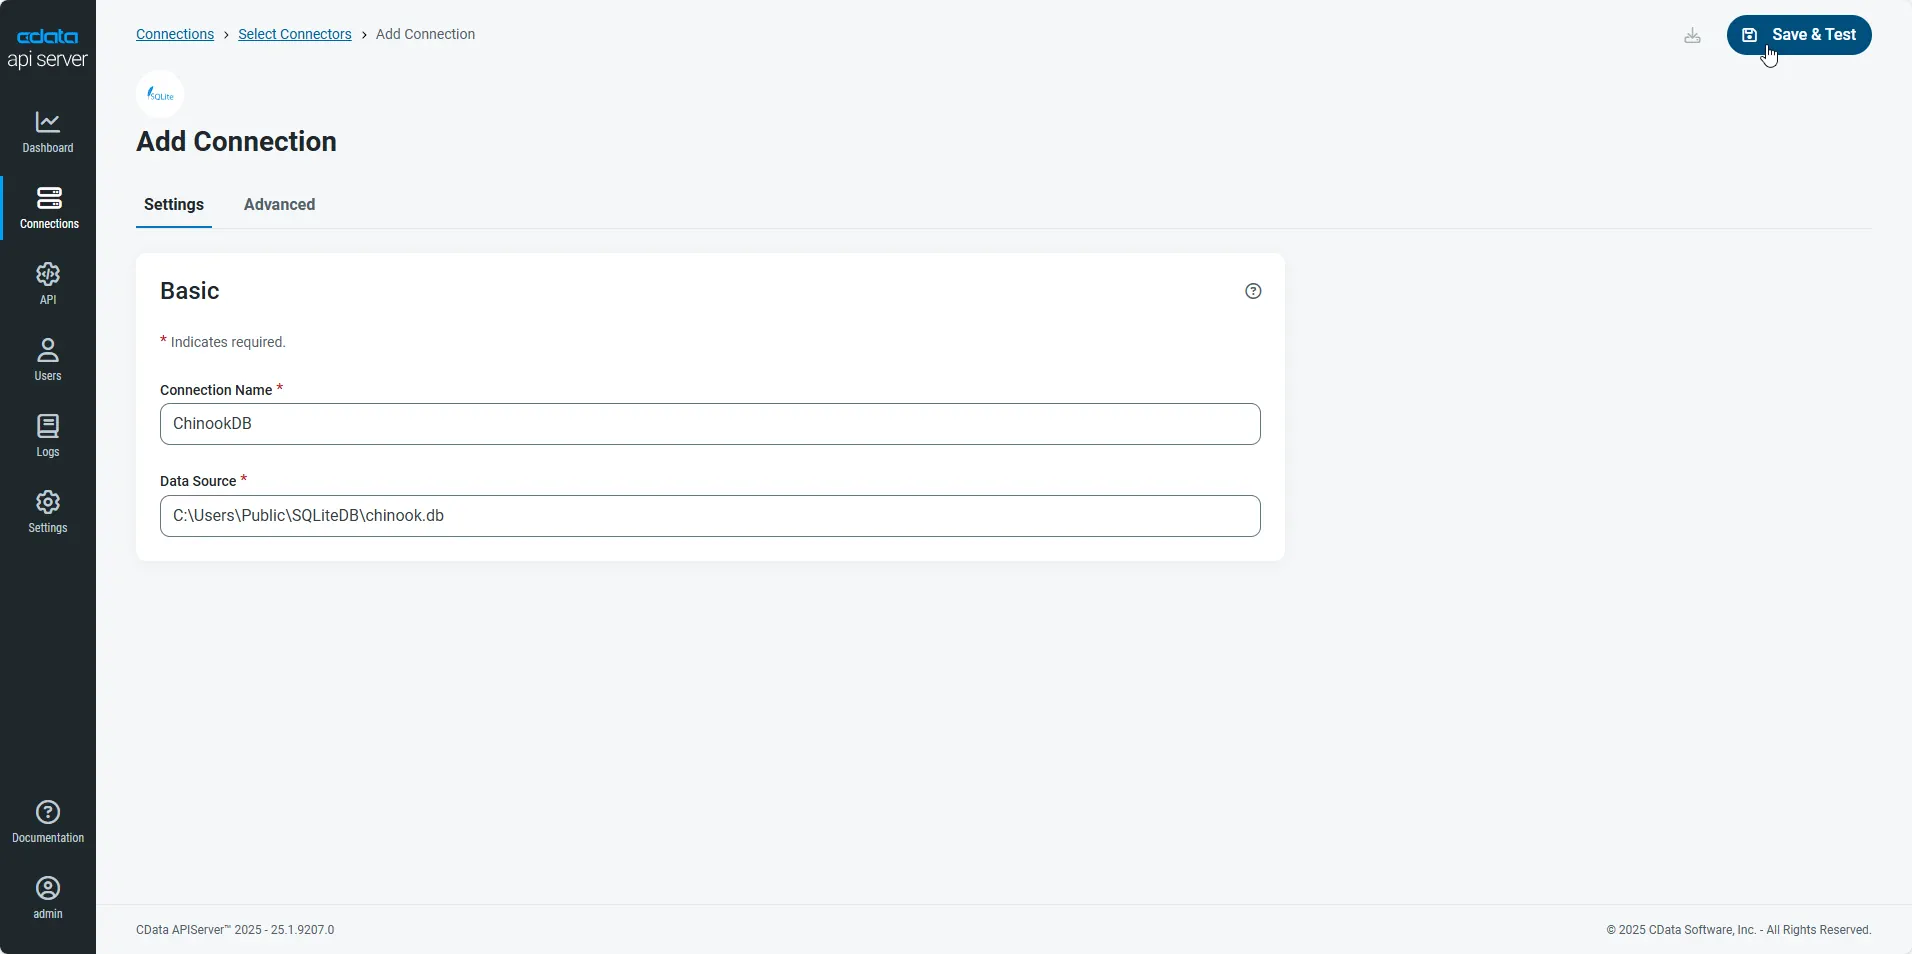
- After configuring the connection, click Save & Test to confirm a successful connection.
Configure API Server Users
Next, create a user to access your Cvent data through the API Server. You can add and configure users on the Users page. Follow the steps below to configure and create a user:
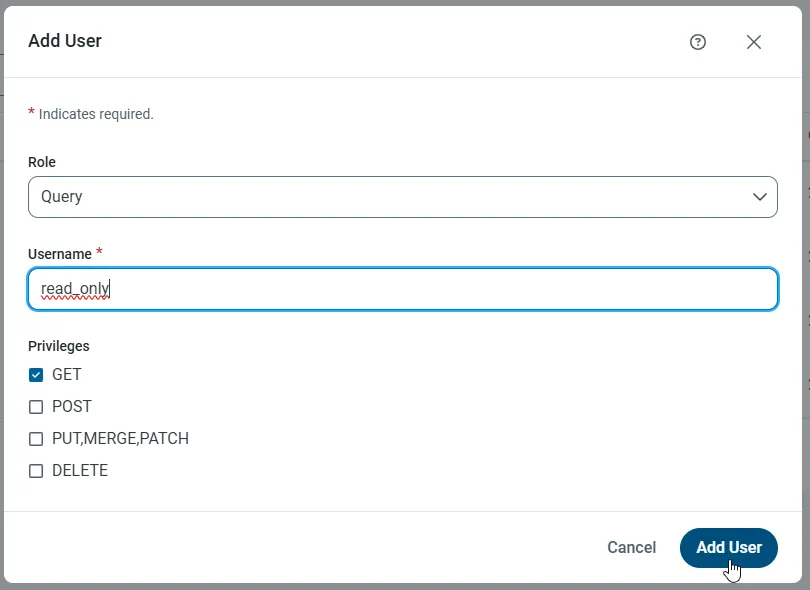
- On the Users page, click Add User to open the Add User dialog.
-
Next, set the Role, Username, and Privileges properties and then click Add User.
-
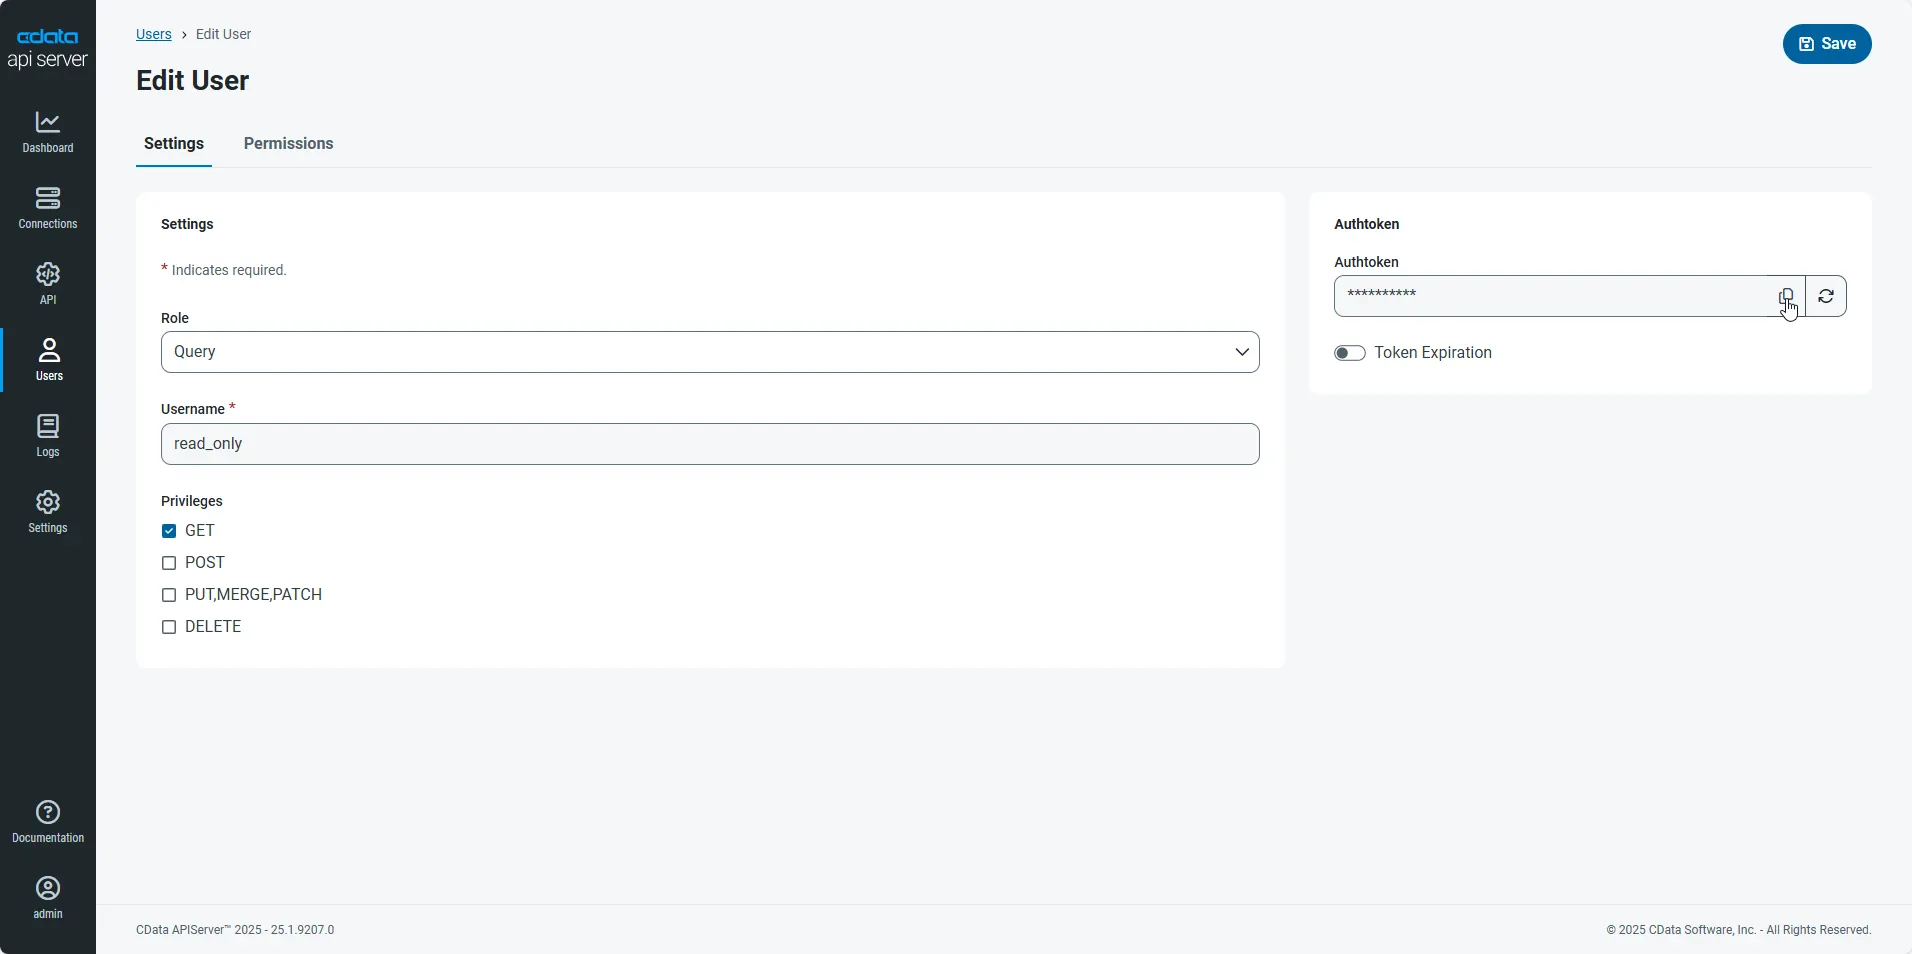
An Authtoken is then generated for the user. You can find the Authtoken and other information for each user on the Users page:
Creating API Endpoints for Cvent
Having created a user, you are ready to create API endpoints for the Cvent tables:
-
First, navigate to the API page and then click
Add Table
.
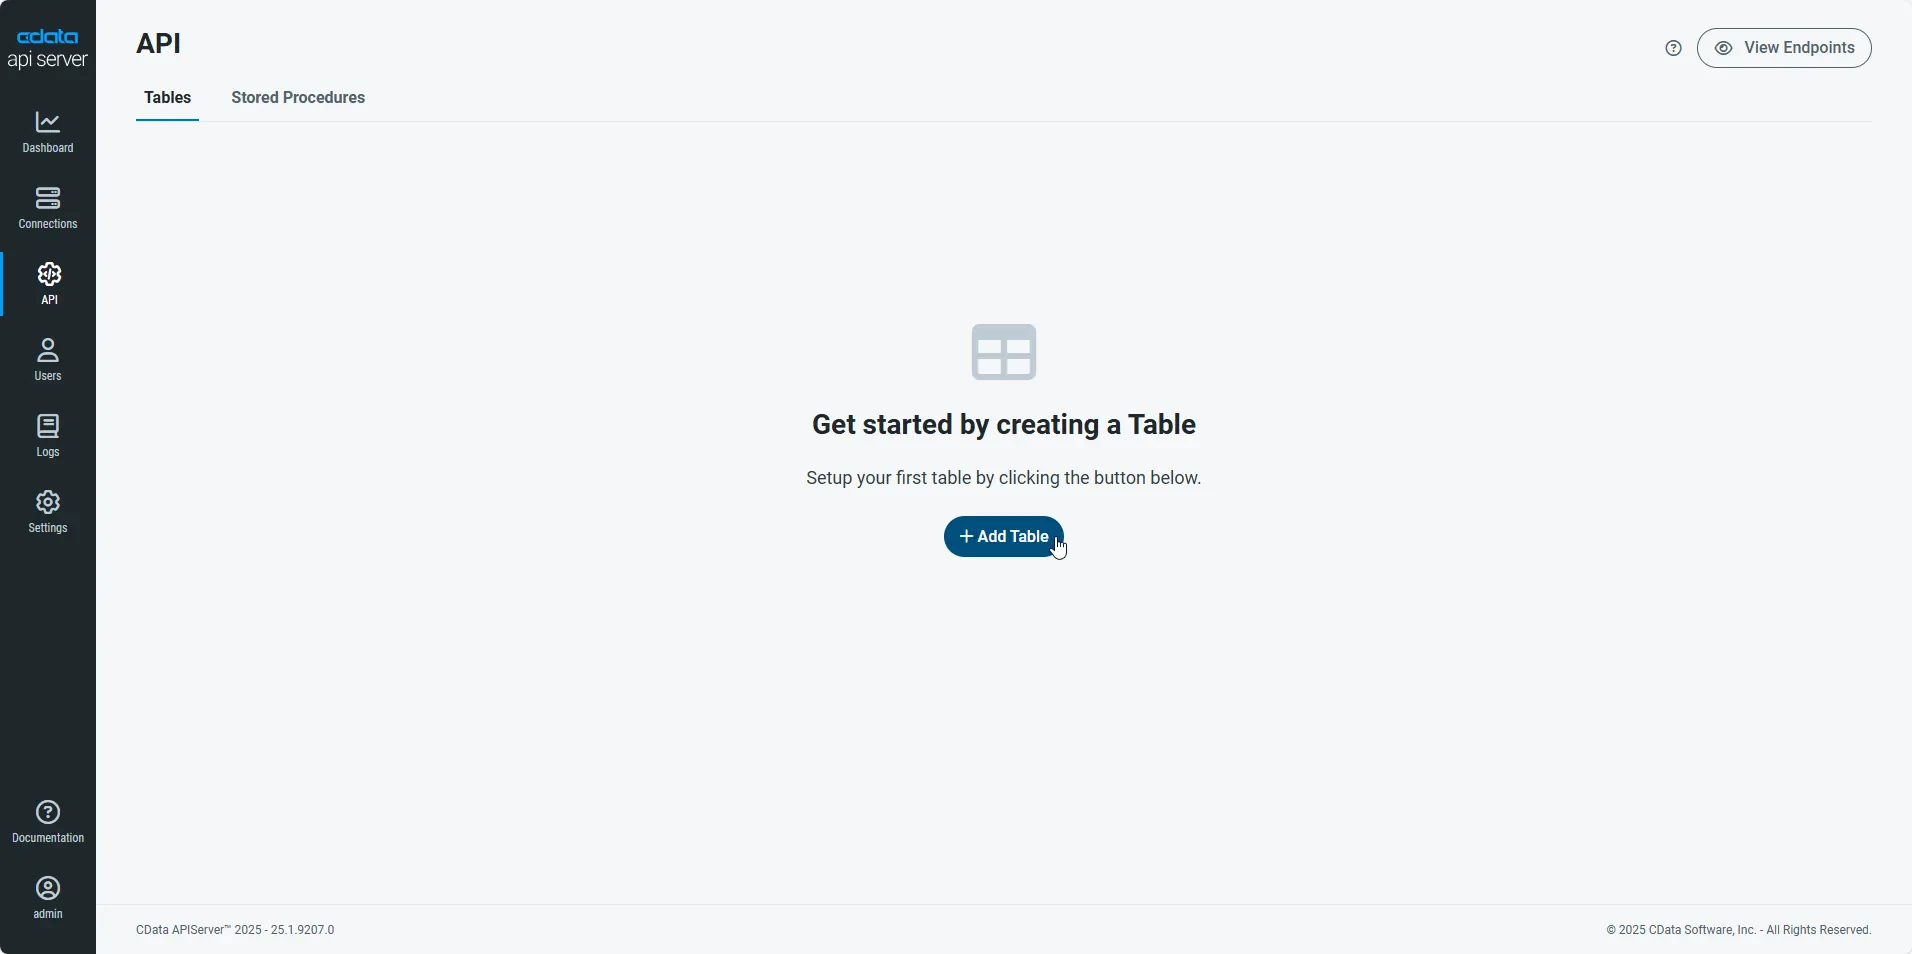
-
Select the connection you wish to access and click Next.
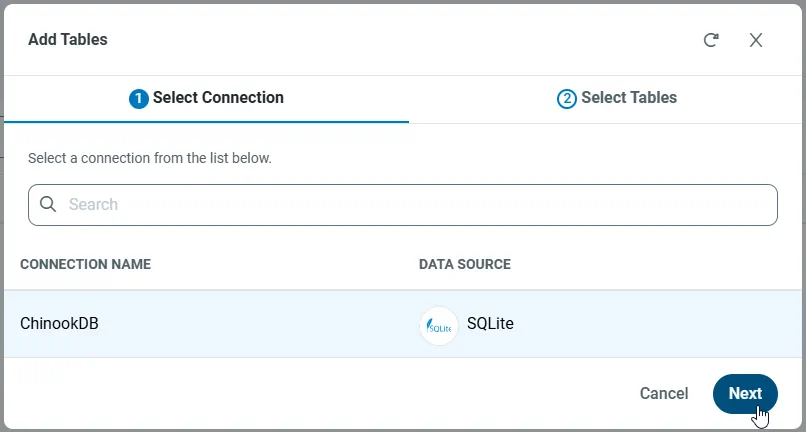
-
With the connection selected, create endpoints by selecting each table and then clicking Confirm.
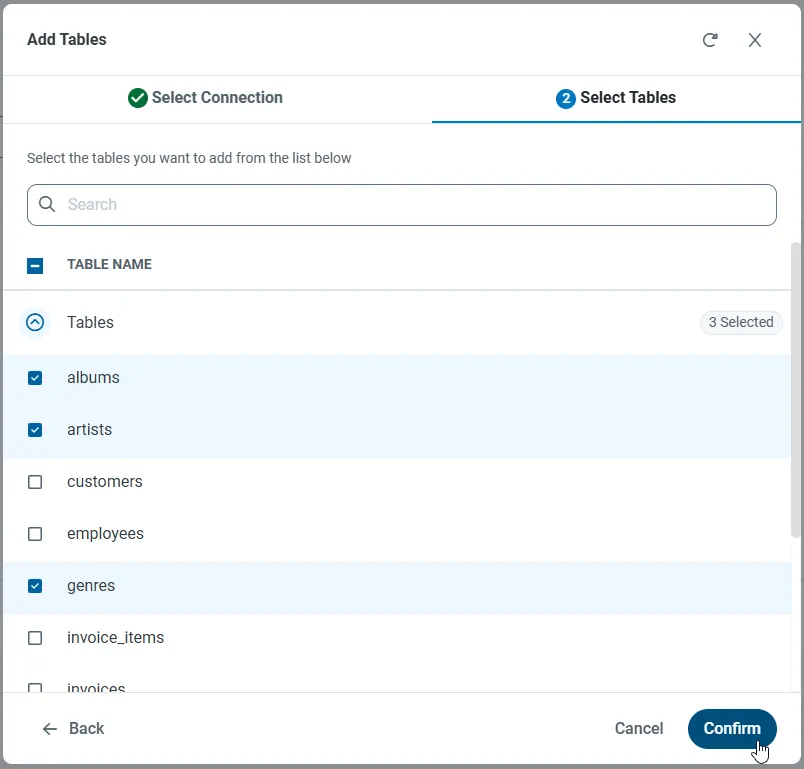
Gather the OData Url
Having configured a connection to Cvent data, created a user, and added resources to the API Server, you now have an easily accessible REST API based on the OData protocol for those resources. From the API page in API Server, you can view and copy the API Endpoints for the API:
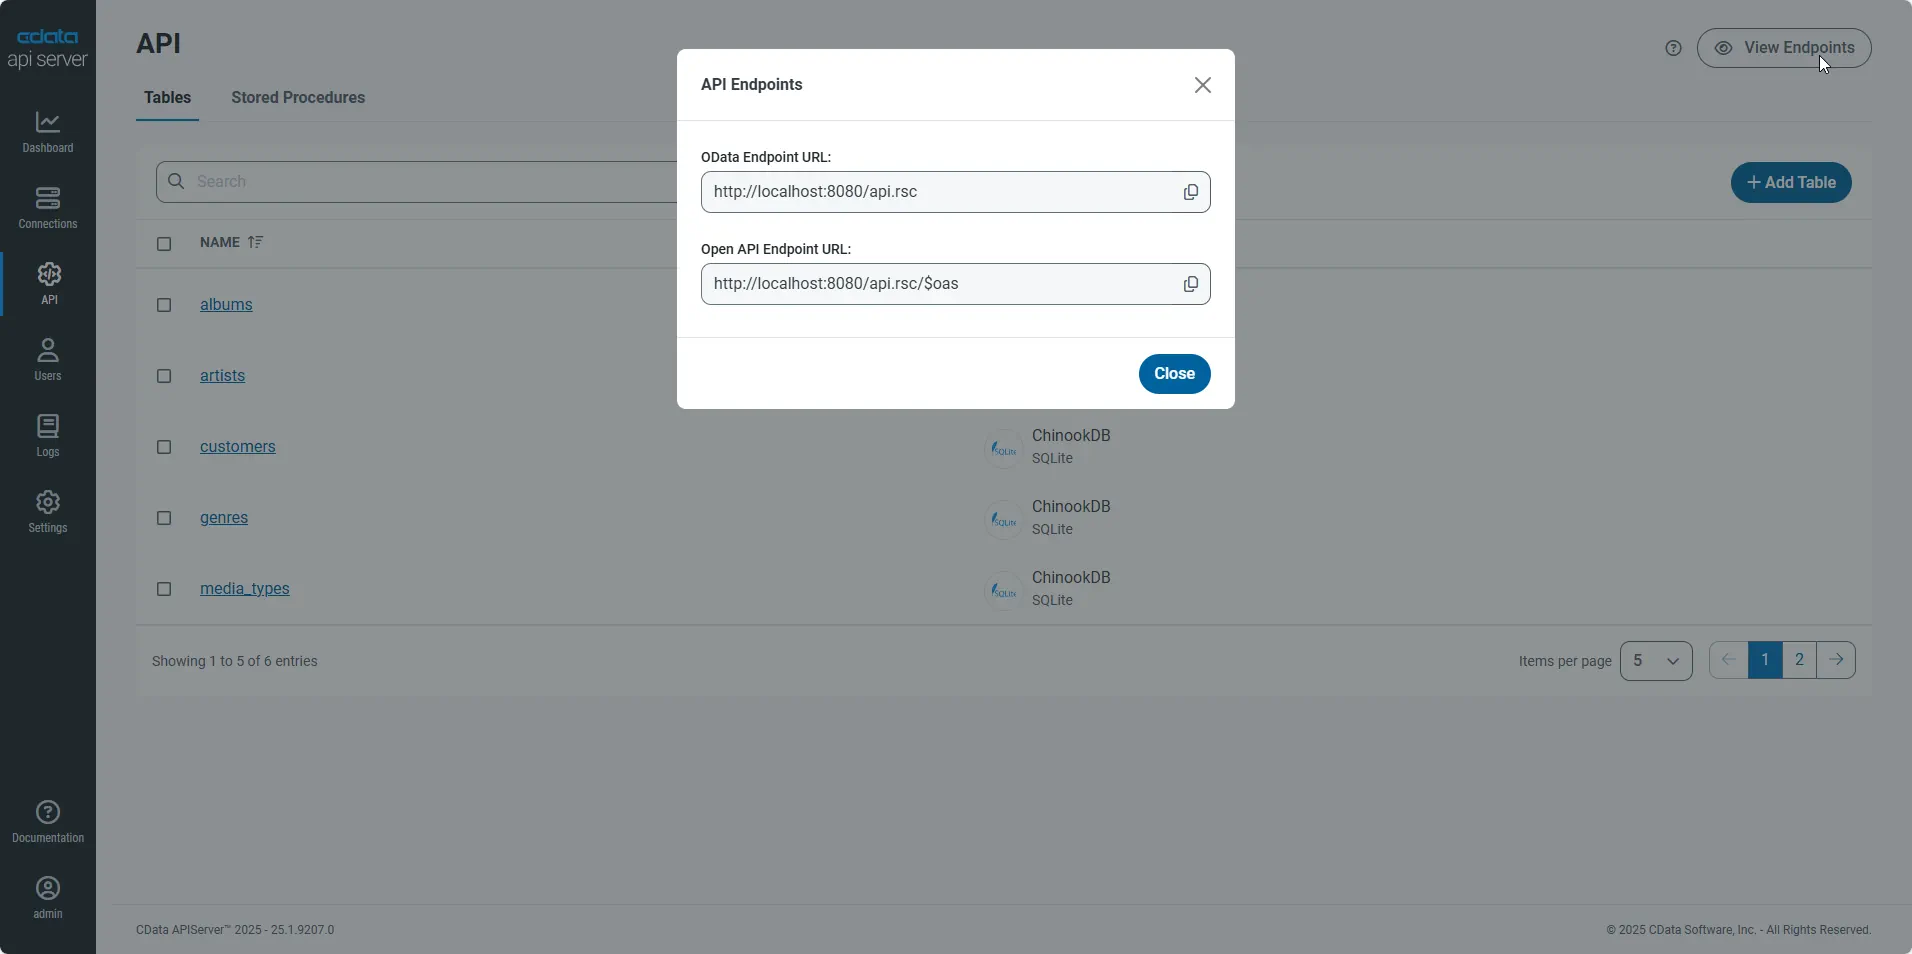
Retrieve the Swagger Metadata
You will use the metadata to create a Custom API connection. You can obtain the Swagger definition by making the following request in your browser and then saving the resulting JSON file:
http://MySite:MyPort/api.rsc/$oas?version=2
Connect to API Server in Power Apps
The following procedure shows how to create a simple app that searches remote Cvent data.
- In Microsoft Power Apps, click Custom connectors.
- Click Create custom connector and choose Import an OpenAPI file.
- Name the connector, browse to the JSON file, and click Continue.
- Fill in the relevant General information, ensure that Base URL is of the form /api.rsc/@myauthtoken (where myauthtoken is the AuthToken for a configure API Server user), and click Continue.
- Select No authentication for the Authentication type. Click Continue.
- Review the Action and Reference definitions and click Create connector.
- To test the connector, you will need to create a new connection. Click Test, click New Connection under Connections, and click Create.
- Navigate back to the connector from the Custom connectors menu and click Test. From here, you can test the available operations.
Connect Cvent to a Power App
Follow the steps below to connect to Cvent from a Power App:
- From the Power Apps main menu, click Create an app and select the on-premises or cloud Power Apps Studio.
- Select a blank app (choose Phone layout or Tablet layout).
- In the View tab, click Data Sources and click Add data source.
- Click the Connection you created to test the connector.
Populate a Gallery
Follow the steps below to create a simple app that can search Cvent data. You will use Power Apps formulas to bind Cvent rows to rows in a gallery control.
In the View tab, click Gallery -> Vertical to add a Gallery.
-
After selecting a gallery, assign the Items property of the gallery to Cvent data on the Advanced tab of the gallery settings. The formula below will allow you to access columns in the Events table.
ForAll(CDataSwaggerAPI.getAllEvents().value, {myId: Id, myTitle: Title}) -
Assign Cvent columns to UI elements by clicking the element and then setting the Text property (on the Advanced tab of the UI element) to ThisItem.myId or ThisItem.myTitle.
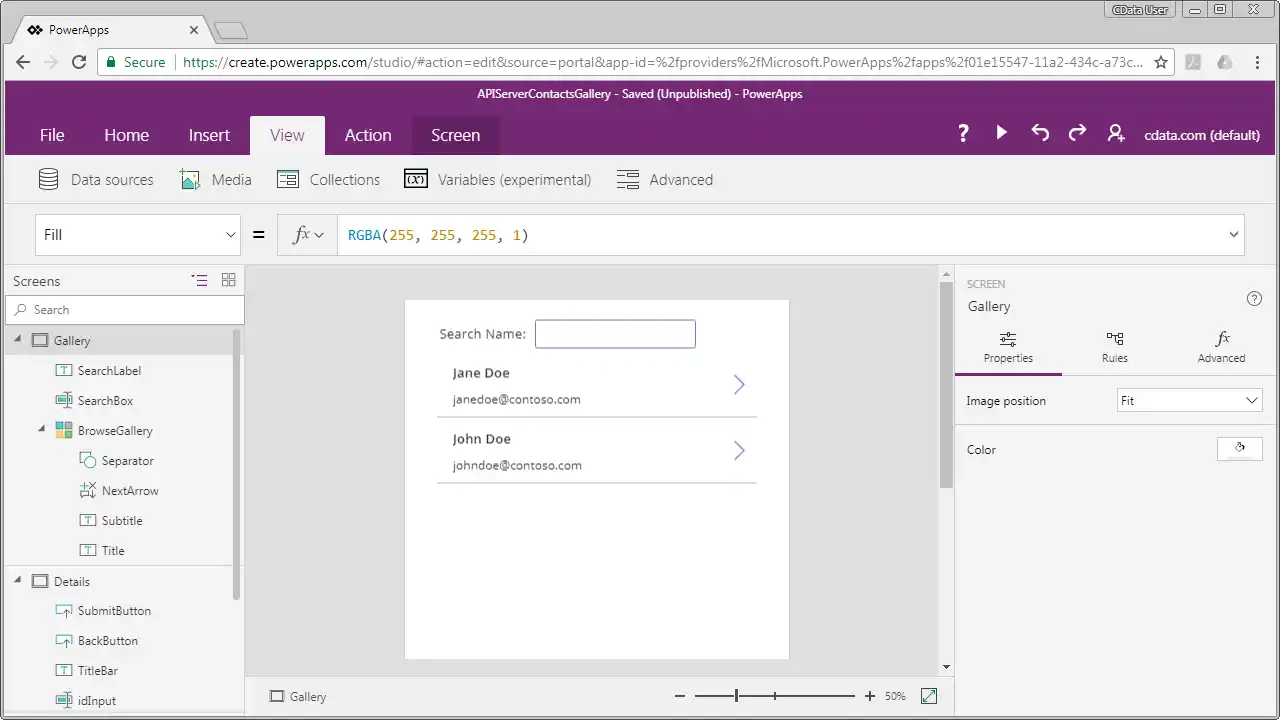
Search Cvent Data
To filter the records displayed by the gallery, add a TextInput to your Screen, clear the Text property for the TextInput, and set the Items property of the gallery to a formula like the one below, replacing TextInput1 with the name of the TextInput control in your gallery, if necessary:
If(IsBlank(TextInput1.Text),
  ForAll(CDataSwaggerAPI.getAllEvents().value, {myId: Id, myTitle: Title}),
  ForAll(CDataSwaggerAPI.getAllEvents({'$filter':Concatenate("contains(Id,",TextInput1.Text,")")}).value, {myId: Id, myTitle: Title}))
The formula builds an OData query that the API Server executes against the remote Cvent data, ensuring that the search is run against the current data without first pulling in every record into the app. You can find more information on the supported OData in the API Server help documentation.
Edit Cvent Data
Follow the steps below to load an editable screen that shows the fields of the Cvent record selected in the gallery.
- On the Insert tab, click New Screen->Blank and name the screen "Details".
- Tie the gallery to the new screen: Select the arrow button in the first entry of the gallery and in the OnSelect field in the Advanced properties, enter the following:
Navigate( Details, None )
- In the Details screen, from the Insert tab, add a label "Id" and another label for the Id value. Set the Text property to BrowseGallery.Selected.Id
For each column you will need to do the following. Note that for Custom APIs form elements cannot detect which requests need to be formulated to the API Server, so you will need to write the data modification formulas manually.
- Add a label for the field.
- Add a text input from the Text menu to the screen and set the text property to the value from the selected item from the gallery (i.e.: BrowseGallery.Selected.myId).
To give your app basic update functionality and navigation, add Submit and Back buttons:
- For the Submit button, set the OnChange property to the following:
CDataSwaggerAPI.updateEvents(BrowseGallery.Selected.myId,BrowseGallery.Selected.myId,{Id:TextInput1.Text,Title:TextInput2.Text}) - For the Back button, set the OnSelect field to the following:
Navigate( BrowseScreen, None )
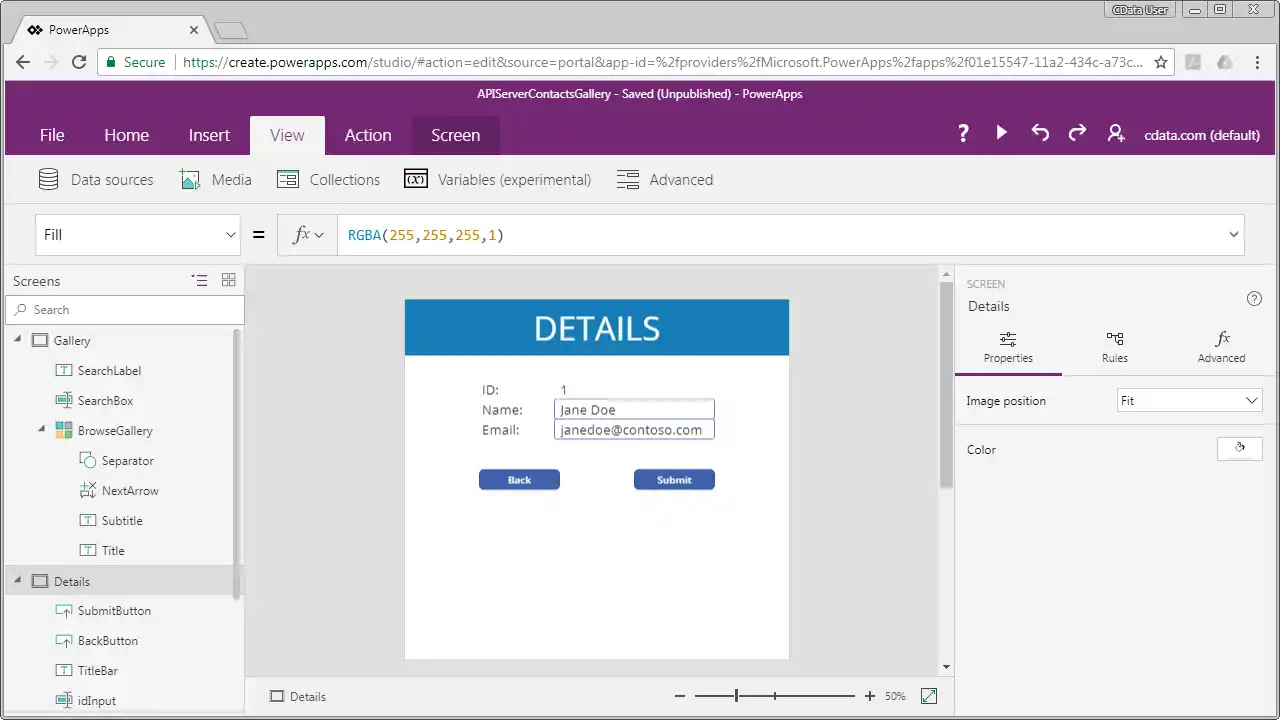
Your mobile or tablet app can now browse, search, and update Cvent data.