







Analyze Discord Data in Infragistics Reveal

Reveal is a data visualization solution provided by Infragistics and can be paired with the CData API Server to build dynamic dashboards from live Discord data. The CData API Server generates an OData API for Discord, which is natively consumable in Reveal. In this article, we walk through connecting to Discord in API Server and connecting to the API Server from Infragistics Reveal to create a simple dashboard.
Connect to Discord from API Server
CData API Server uses a straightforward, point-and-click interface to connect to data sources and generate APIs.
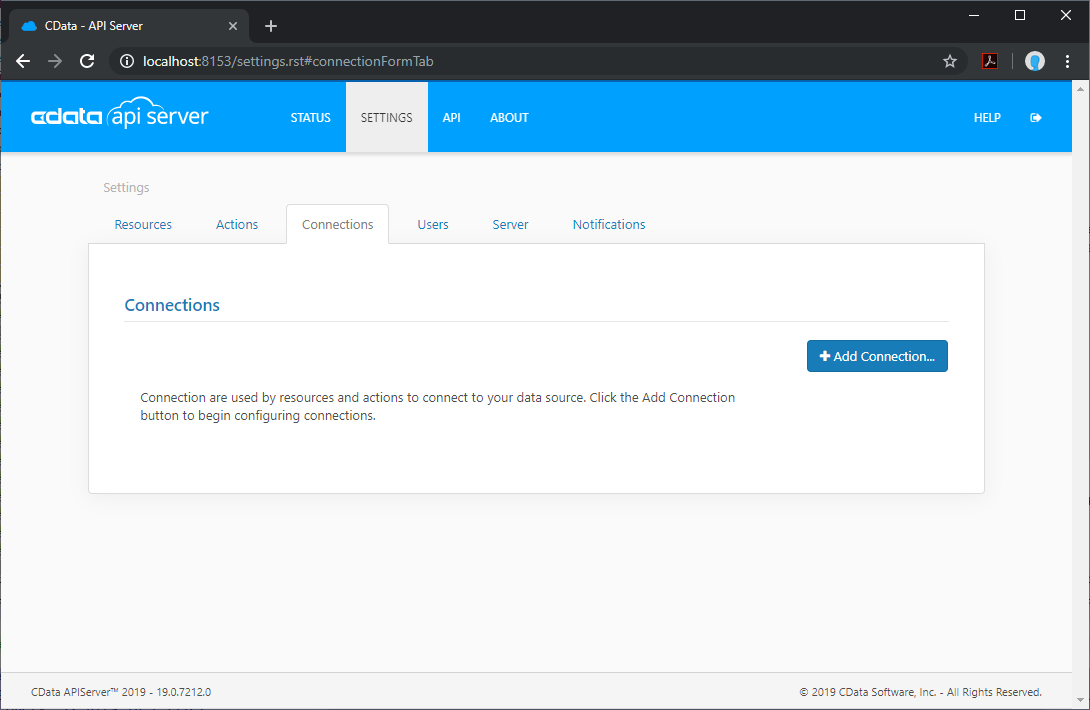
- Open API Server and click Settings -> Connection -> Add Connection
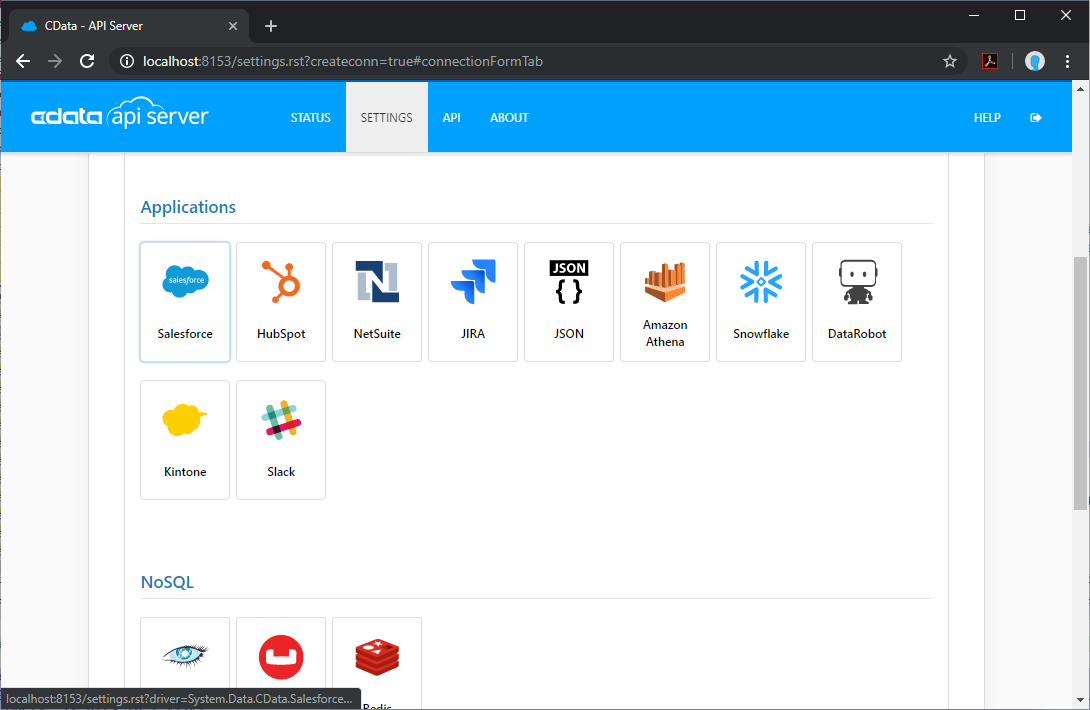
- Select "Discord"
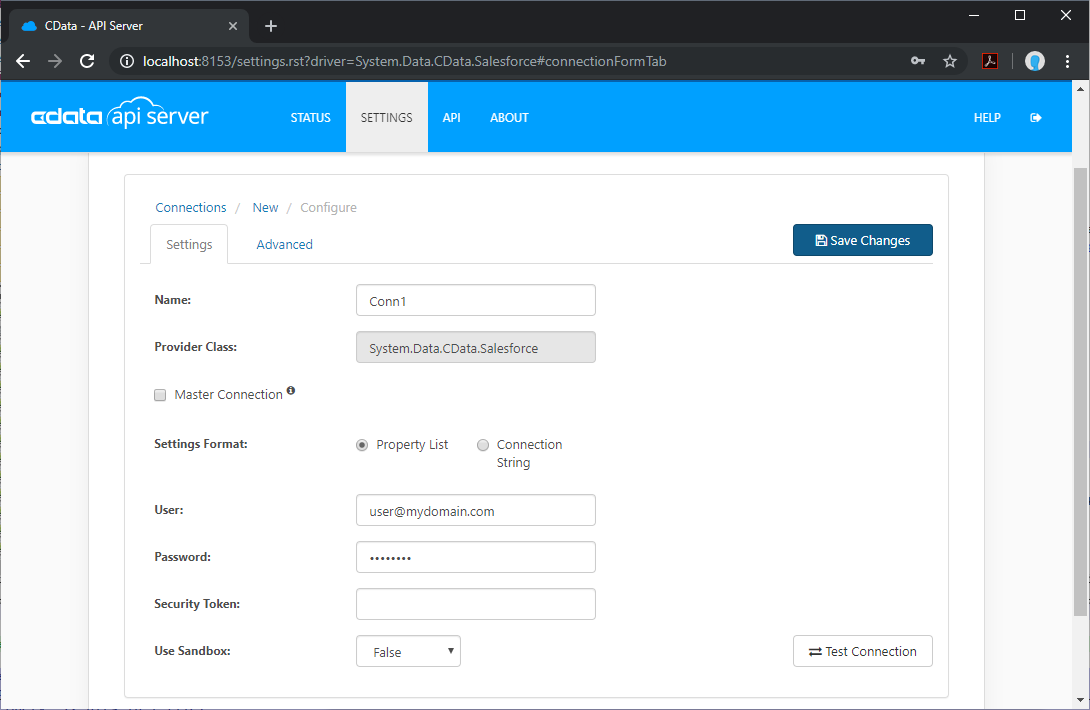
- Enter the necessary authentication properties to connect to Discord.
Start by setting the Profile connection property to the location of the Discord Profile on disk (e.g. C:\profiles\Discord.apip). Next, set the ProfileSettings connection property to the connection string for Discord (see below).
Discord API Profile Settings
Visit the Discord Developer Portal, create or select an application, and navigate to the OAuth2 section to obtain your Client ID and Client Secret.
Add Discord Resource Definitions in API Server
After connecting to Discord, create Resources, which represent API endpoints for Discord data.
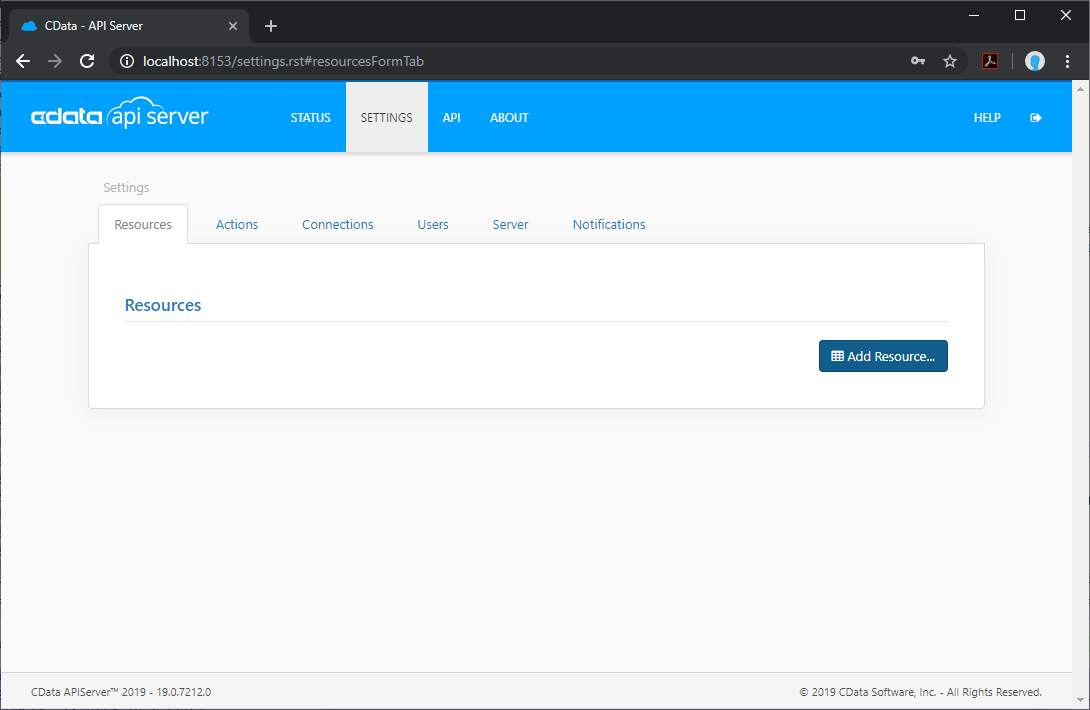
- Click Settings -> Resources -> Add Resource
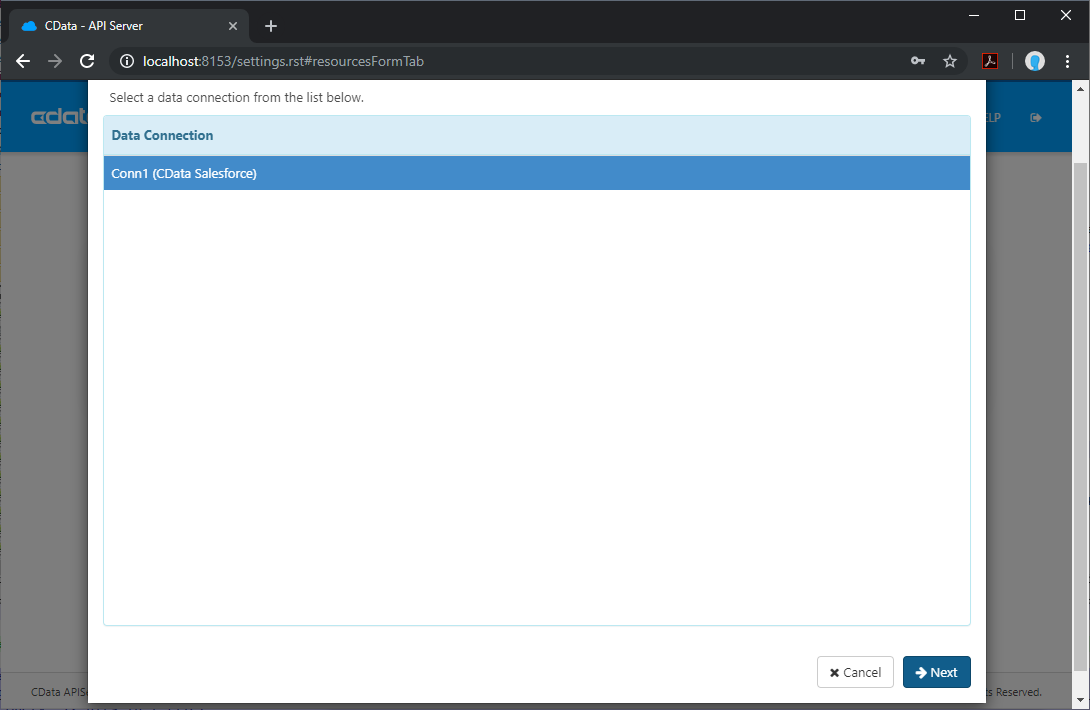
- Select the Discord connection
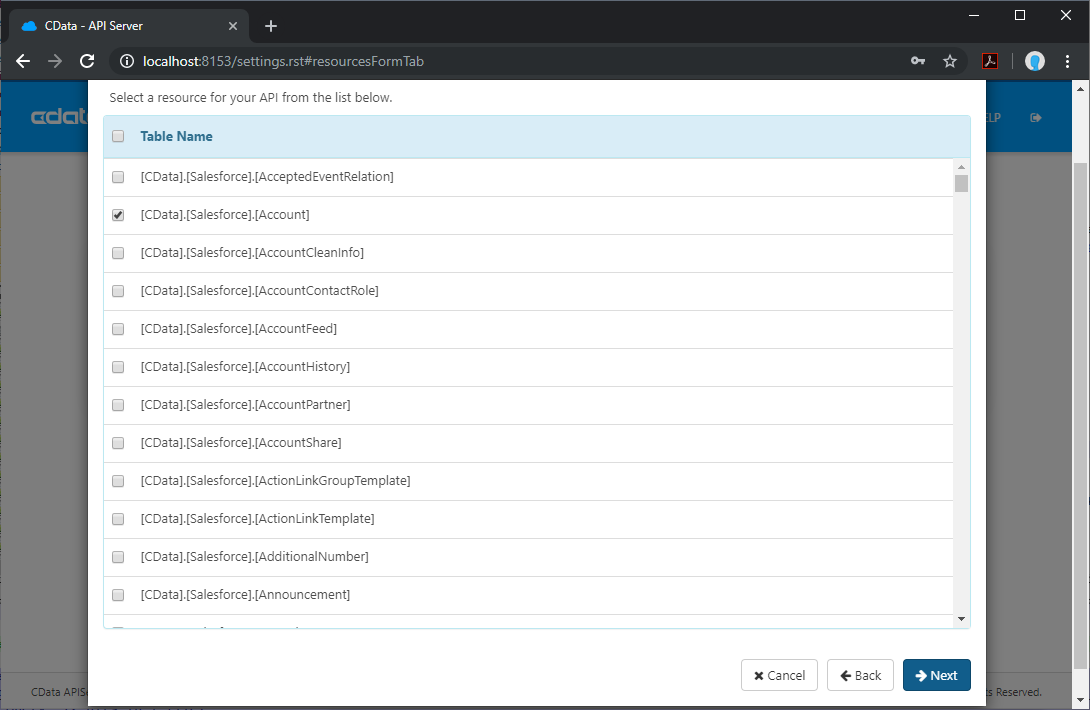
- Select the table you wish to retrieve and click Next
- (Optional) Edit the resource to select specific fields and more
- Save the settings
Add an API Server User
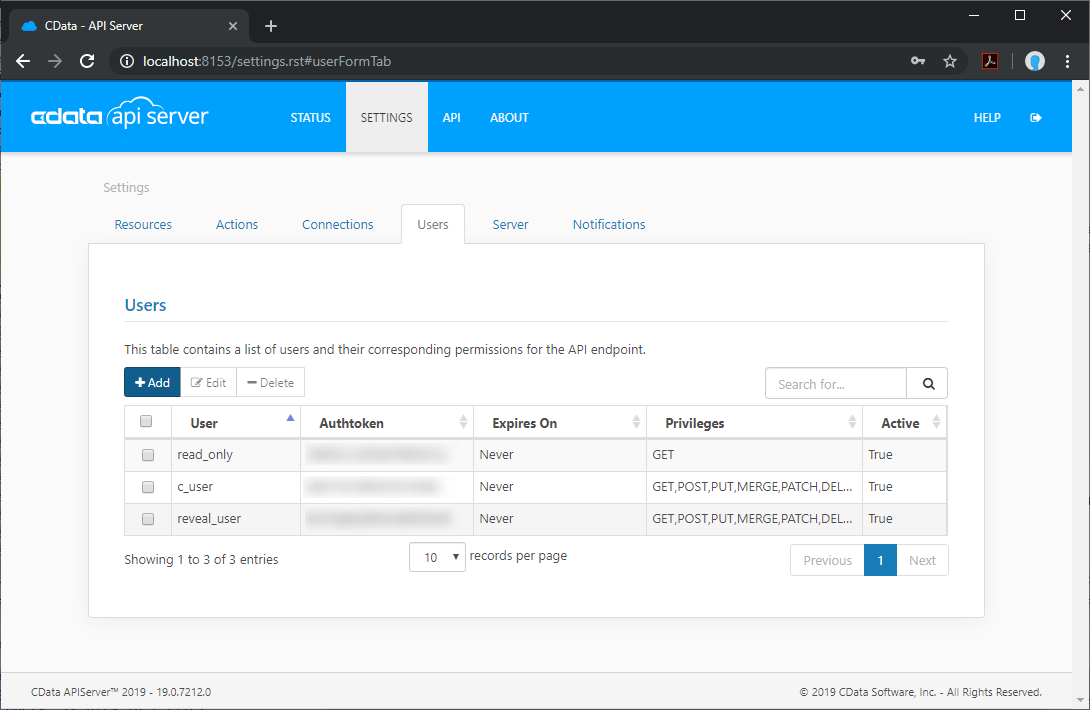
Create a User to connect to Discord from Reveal through API Server.
- Click Settings -> Users
- Click Add
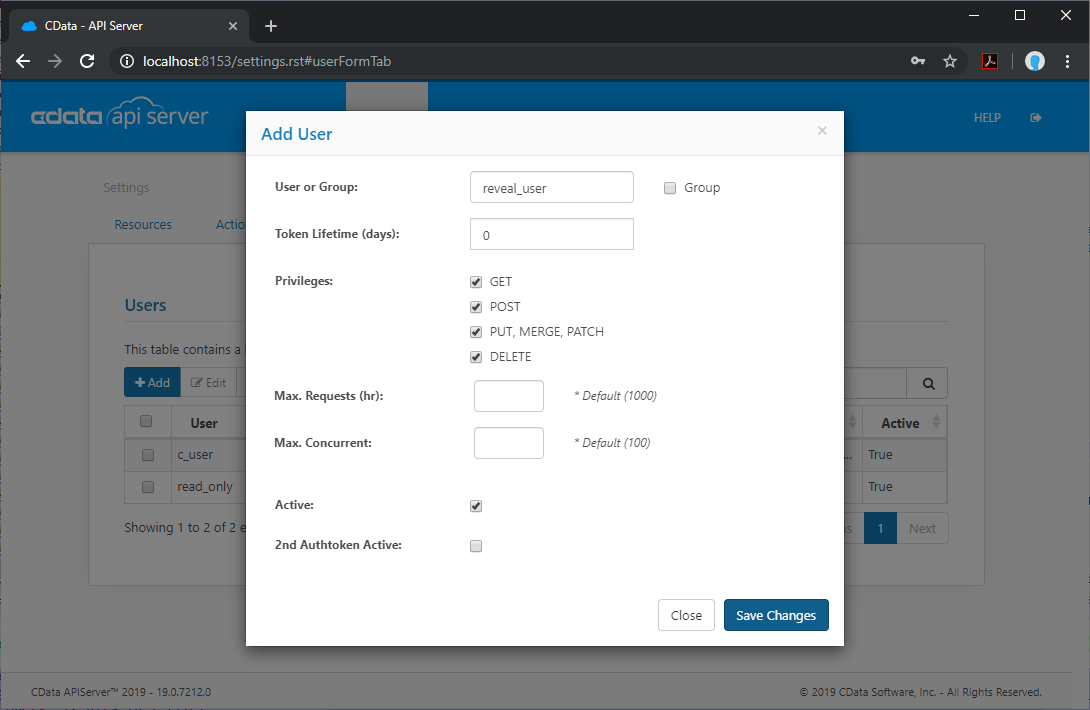
- Configure a User with access to the Discord Connection and Resource(s)
(Optional) Configure Cross-Origin Resource Sharing (CORS)
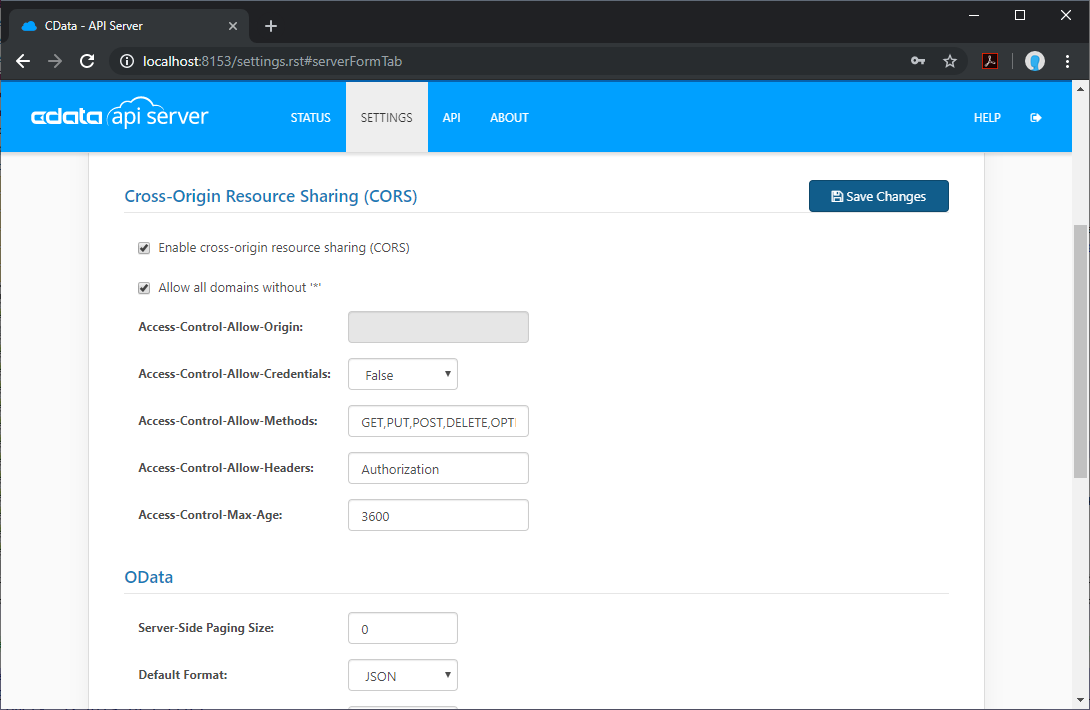
When accessing and connecting to multiple different domains from an application such as Ajax, there is a possibility of violating the limitations of cross-site scripting. In that case, configure the CORS settings in Settings -> Server.
- Enable cross-origin resource sharing (CORS): ON
- Allow all domains without '*': ON
- Access-Control-Allow-Methods: GET, PUT, POST, OPTIONS
- Access-Control-Allow-Headers: Authorization
Save the changes to the settings.
Create a Dashboard in Reveal
With the API Server configured, we can visualize Discord data in Reveal.
- Log into Reveal and click Dashboards -> New
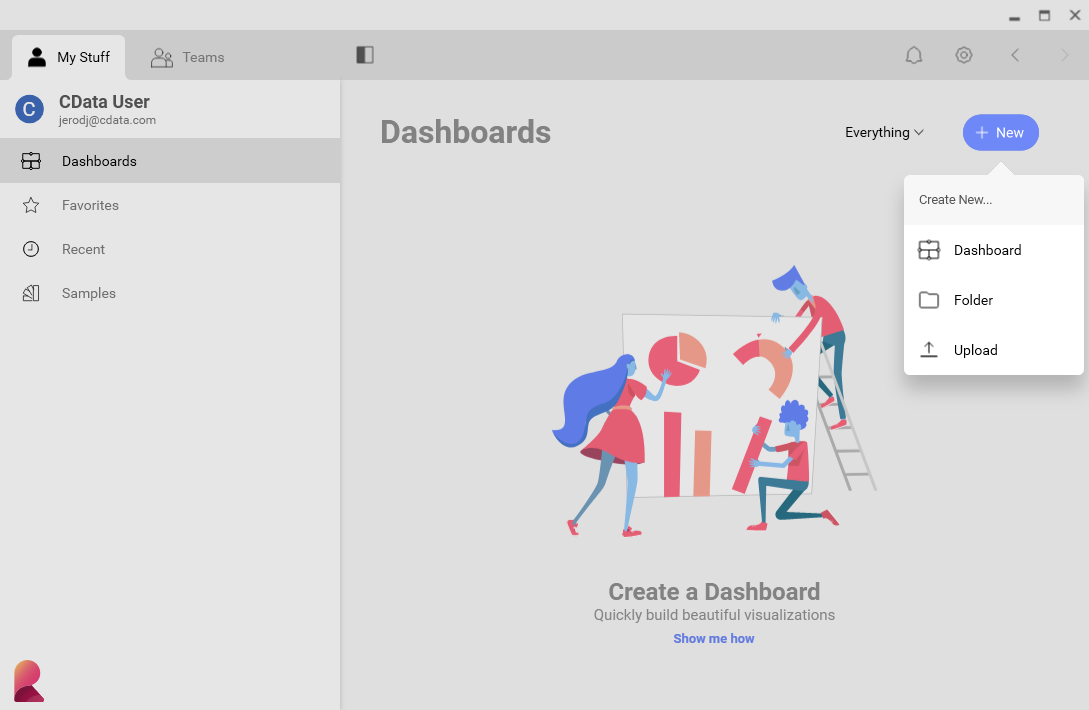
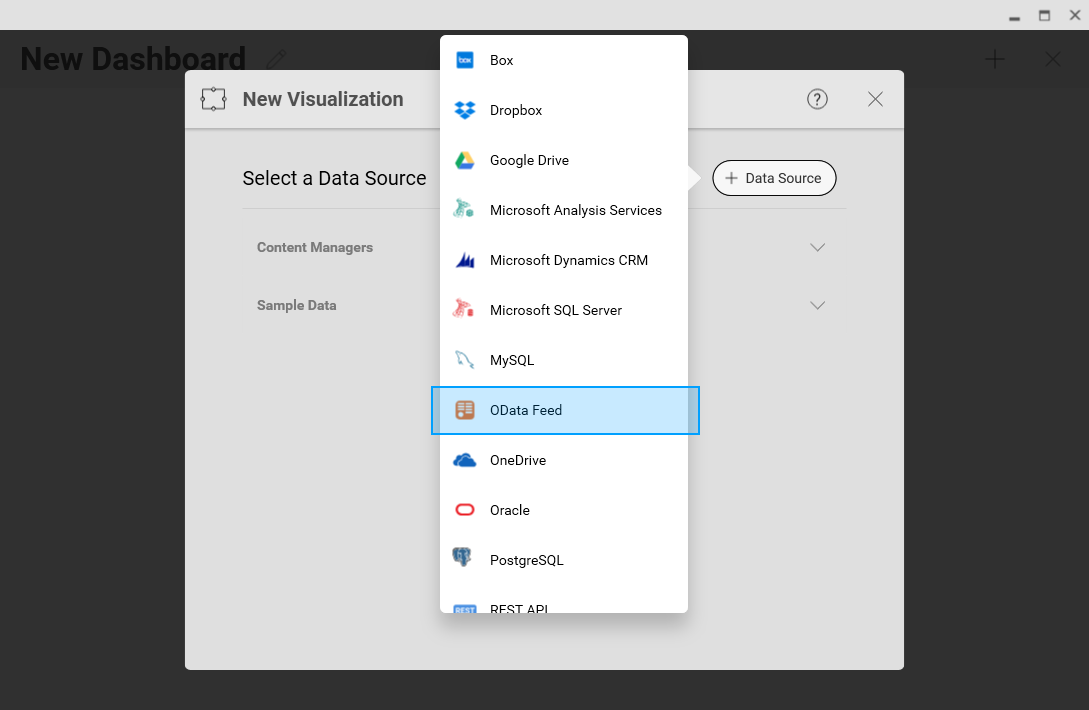
- Click Data Source -> OData Feed
- Specify the API Server API endpoint URL, for example: https://serverurl/api.rsc
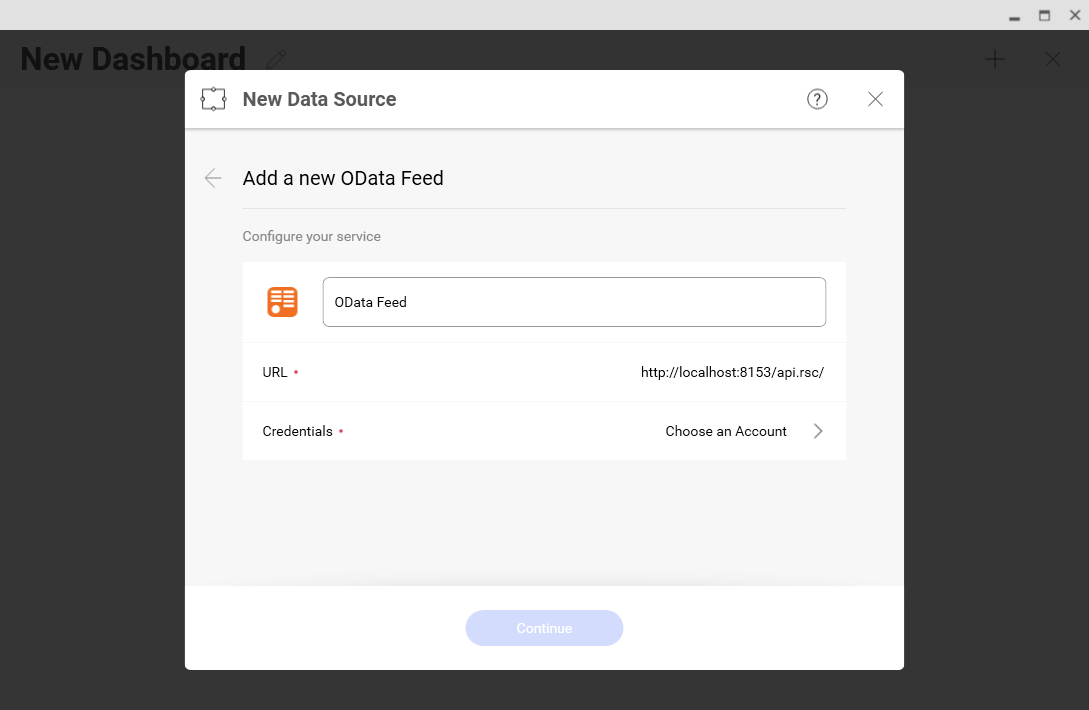
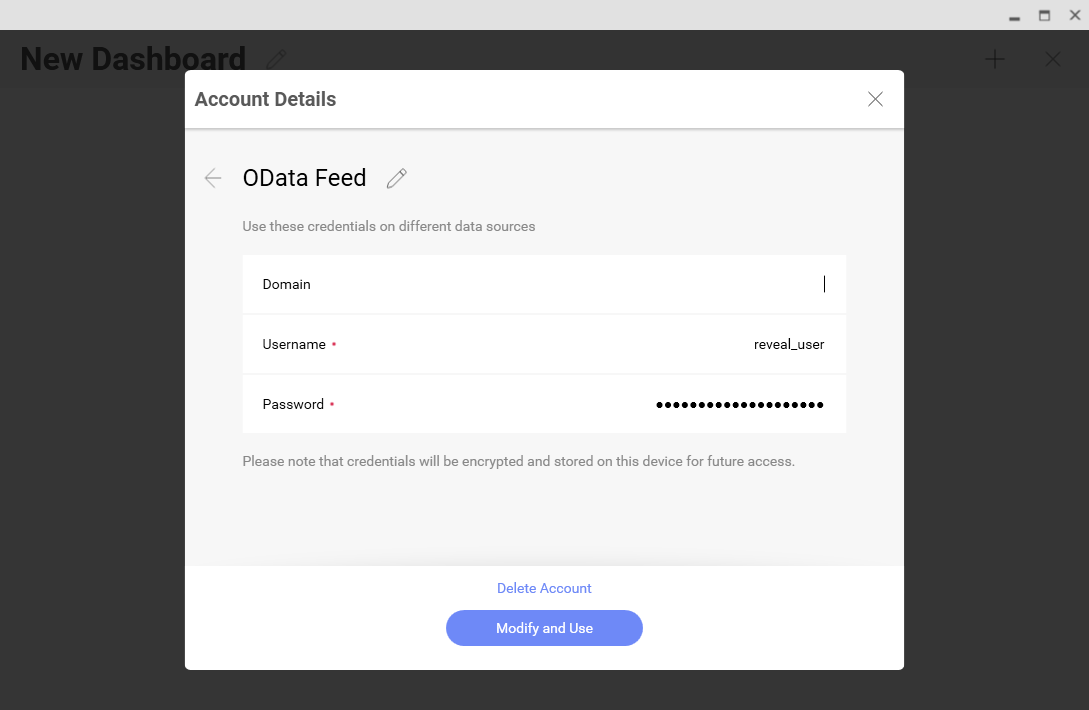
- Select Generic Credentials and specify the API Server username and authentication token
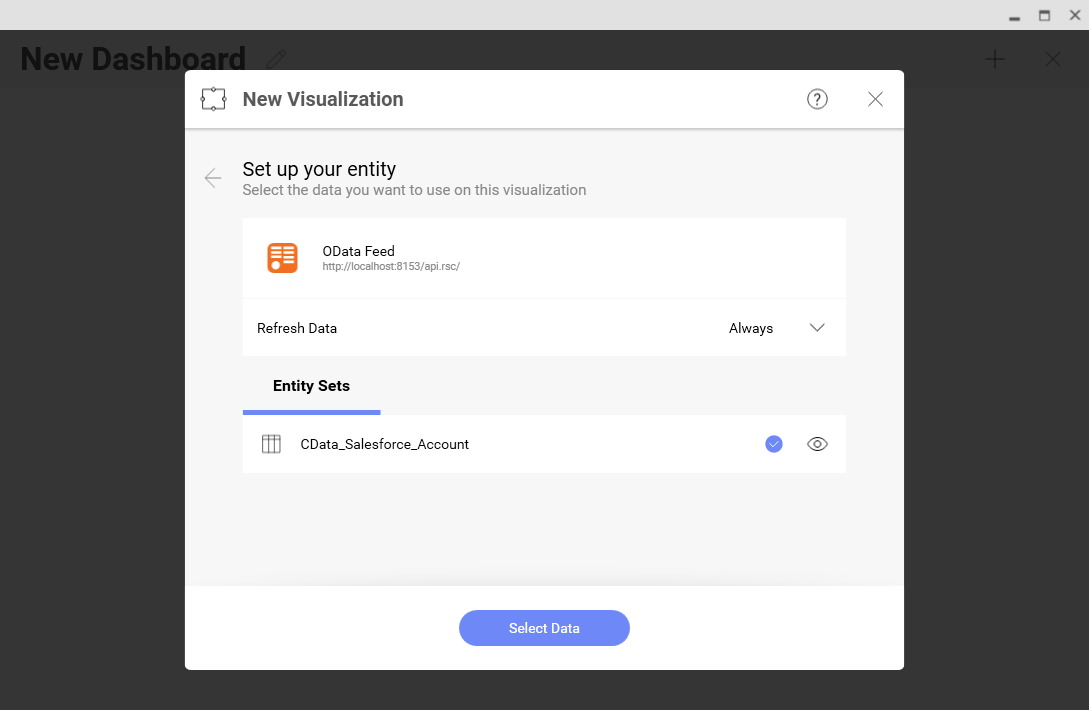
- Select the entity you wish to visualize
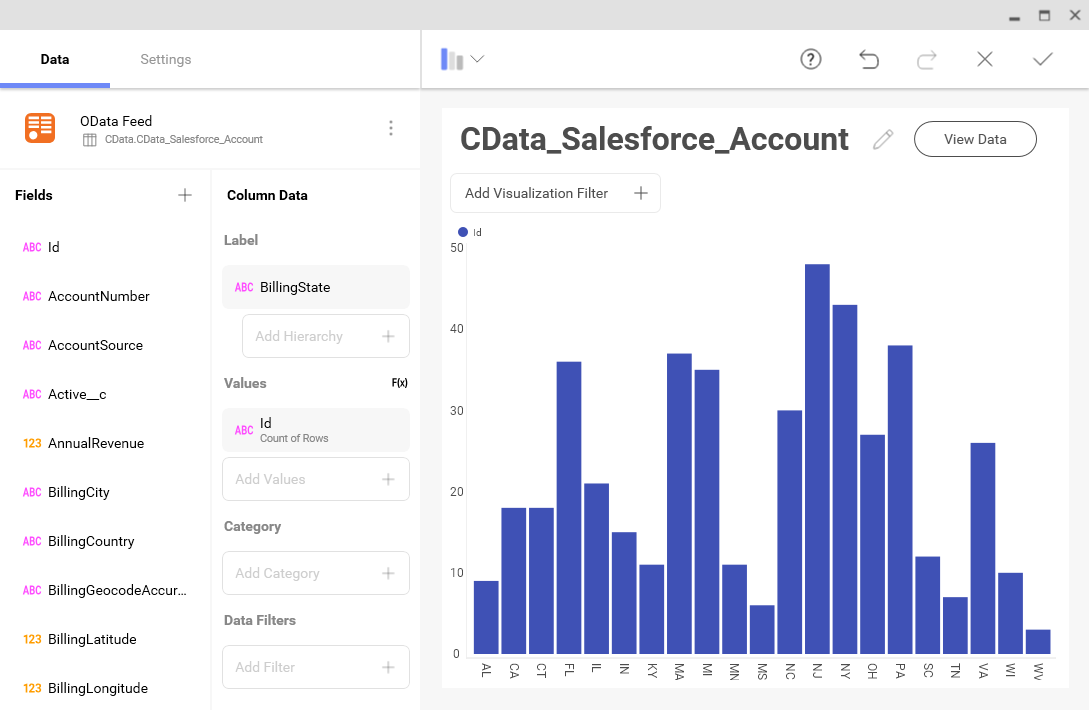
- Select fields and choose a chart type
More Information & Free Trial
At this point, you have created a simple dashboard from live Discord data. For more information on creating OData feeds from Discord (and more than 150 other sources), visit the API Server page. Download a free, 30-day trial and start working live Discord data in tools that consume OData APIs.