







Access Live EnterpriseDB Data in Excel (Desktop) through Connect Spreadsheets

Looking for Connect AI instructions?
Your Connect AI account includes Connect Spreadsheets, so you can use the instructions below. You can expect minor differences when referencing the Connect Spreadsheet platform, but the principles still apply!
Microsoft Excel is a widely used spreadsheet software application, primarily used for tasks related to data management, analysis, and visualization. When combined with Connect Spreadsheets by CData, you gain immediate access to EnterpriseDB data directly within Excel, facilitating data analysis, collaboration, calculations, and more. This article shows how to connect to EnterpriseDB in Connect Spreadsheets and access and update live EnterpriseDB data in Excel spreadsheets.
Connect Spreadsheets is the easiest way to get all your live data into Microsoft Excel and Google Sheets - no more downloading, wrangling, and uploading files again. Just connect to your data, select the dataset you'd like to see, and import it into your spreadsheet.
This setup requires a Connect Spreadsheets account and the Connect Spreadsheets Add-In for Excel. To get started, sign up a free trial of Connect Spreadsheets and install the free Connect Spreadsheets Excel Add-In.
Configure EnterpriseDB Connectivity for Excel
Connectivity to EnterpriseDB from Excel is made possible through Connect Spreadsheets. To work with EnterpriseDB data from Excel, we start by creating and configuring a EnterpriseDB connection.
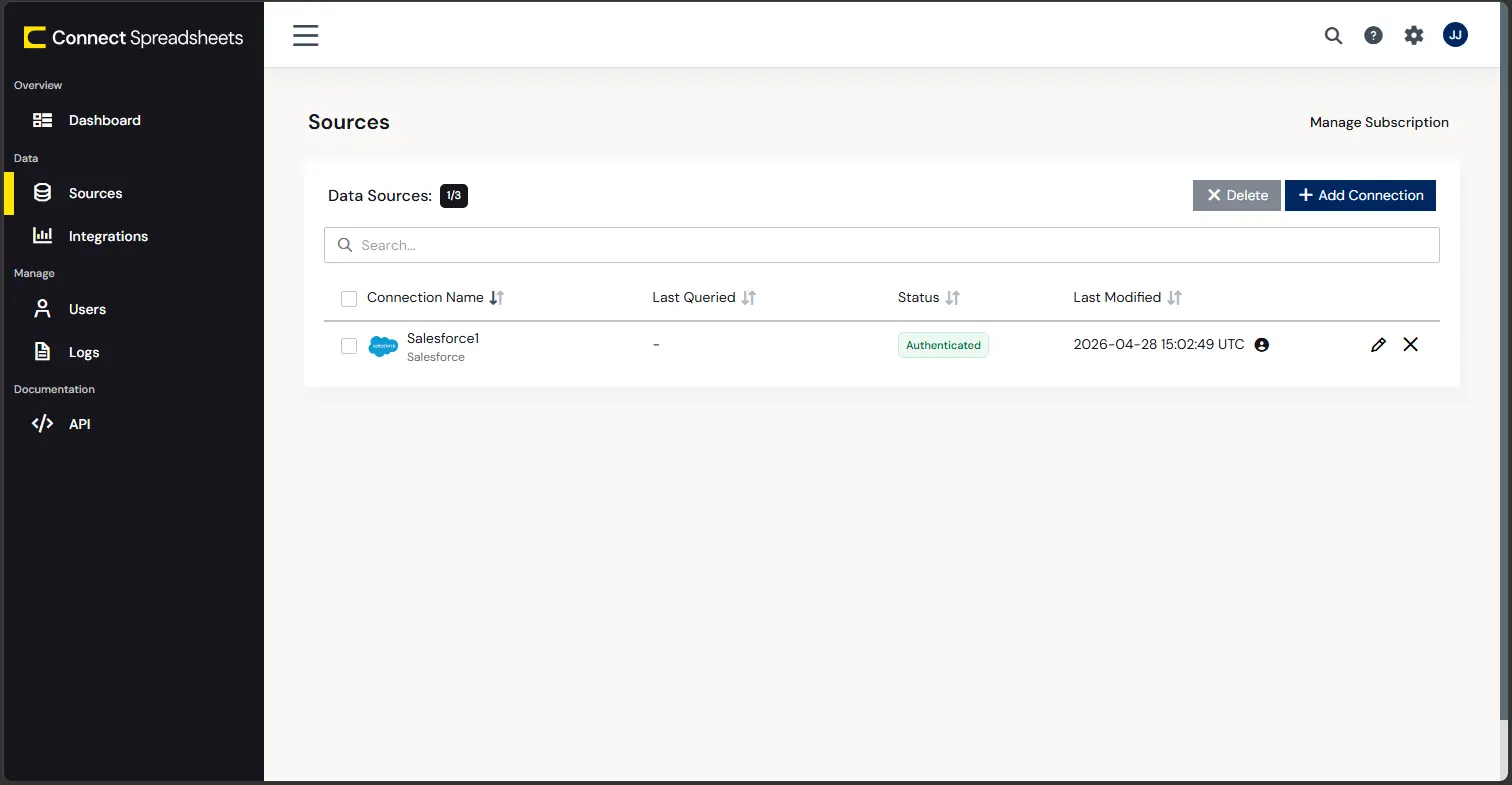
- Log into Connect Spreadsheets, click Connections and click Add Connection
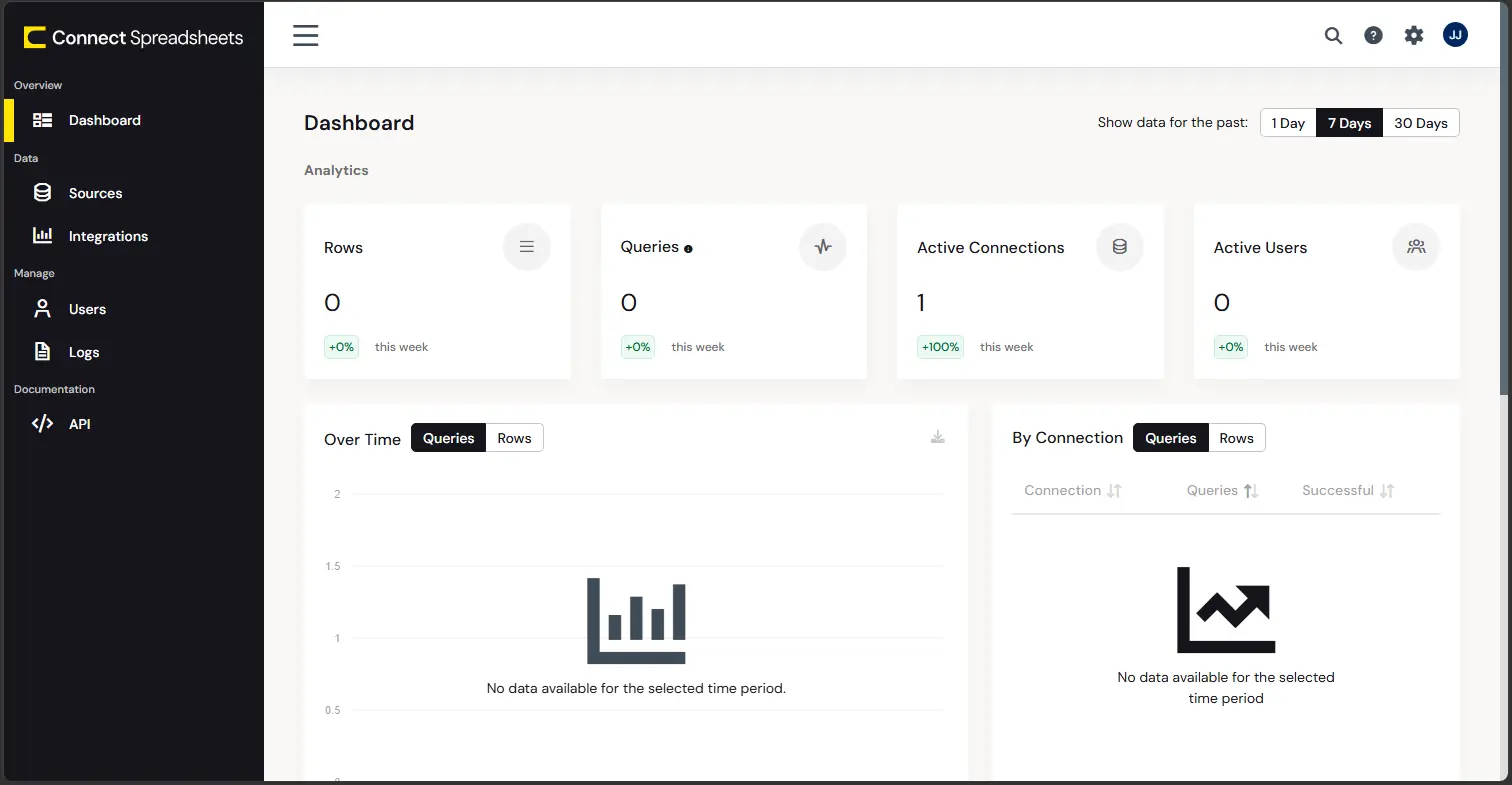
- Select "EnterpriseDB" from the Add Connection panel
-
Enter the necessary authentication properties to connect to EnterpriseDB.
The following connection properties are required in order to connect to data.
- Server: The host name or IP of the server hosting the EnterpriseDB database.
- Port: The port of the server hosting the EnterpriseDB database.
You can also optionally set the following:
- Database: The default database to connect to when connecting to the EnterpriseDB Server. If this is not set, the user's default database will be used.
Connect Using Standard Authentication
To authenticate using standard authentication, set the following:
- User: The user which will be used to authenticate with the EnterpriseDB server.
- Password: The password which will be used to authenticate with the EnterpriseDB server.
Connect Using SSL Authentication
You can leverage SSL authentication to connect to EnterpriseDB data via a secure session. Configure the following connection properties to connect to data:
- SSLClientCert: Set this to the name of the certificate store for the client certificate. Used in the case of 2-way SSL, where truststore and keystore are kept on both the client and server machines.
- SSLClientCertPassword: If a client certificate store is password-protected, set this value to the store's password.
- SSLClientCertSubject: The subject of the TLS/SSL client certificate. Used to locate the certificate in the store.
- SSLClientCertType: The certificate type of the client store.
- SSLServerCert: The certificate to be accepted from the server.
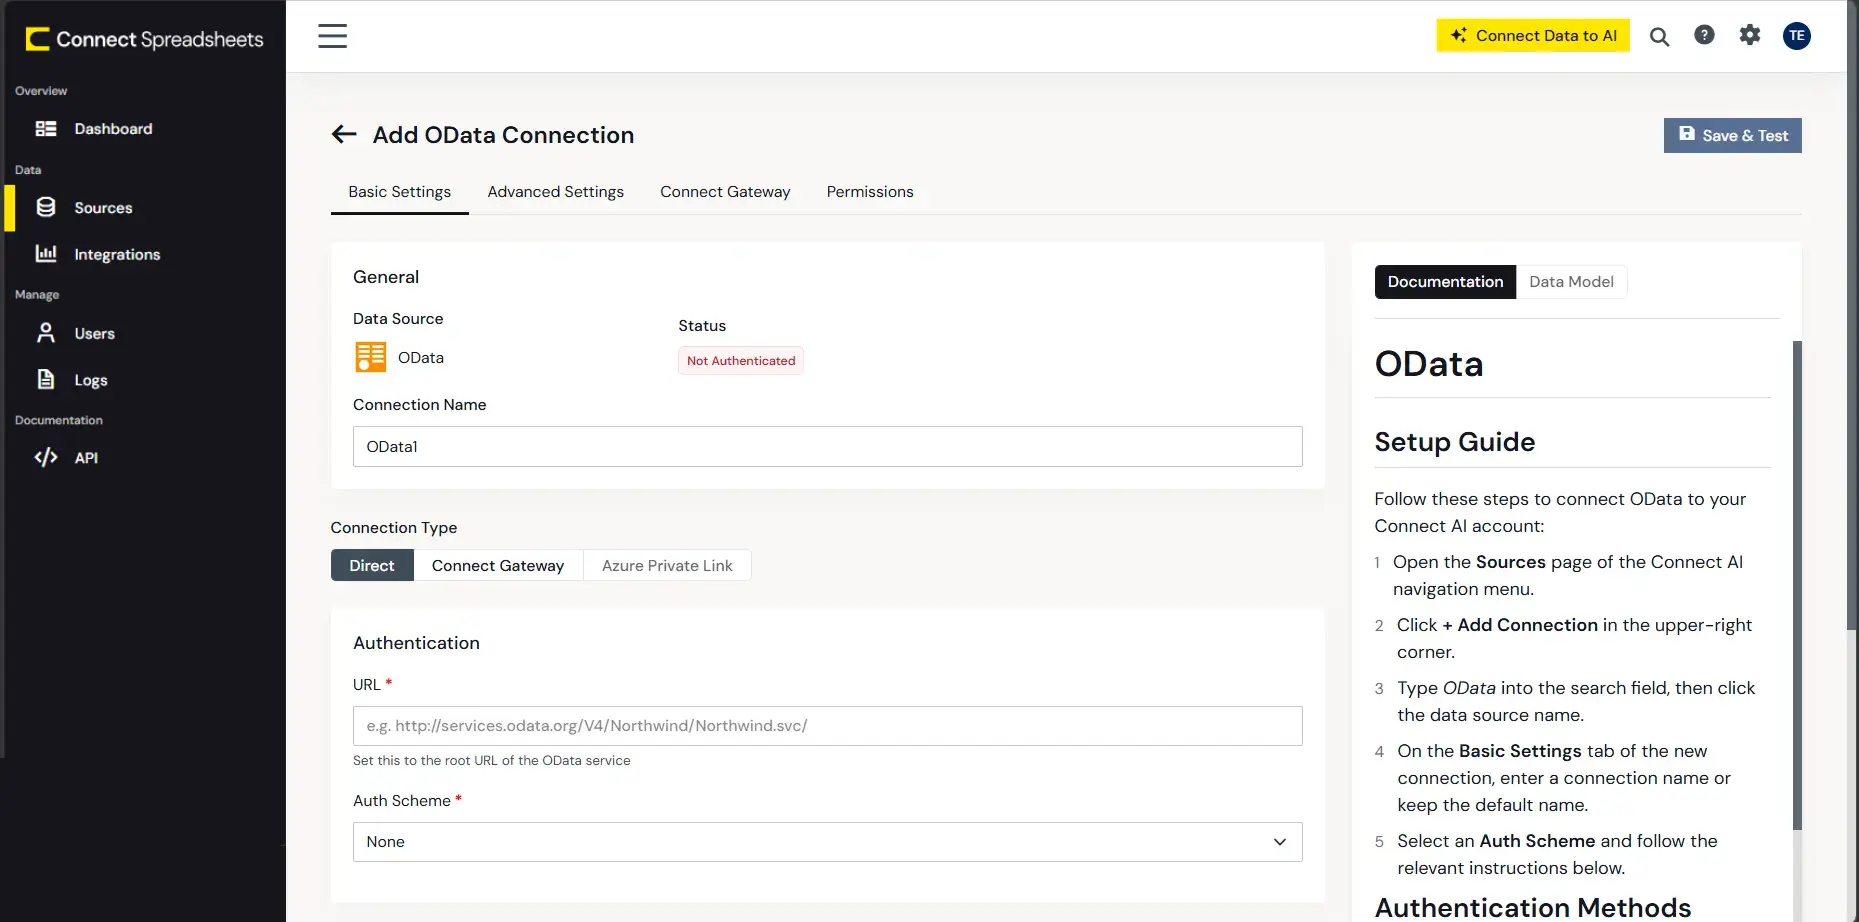
- Click Create & Test
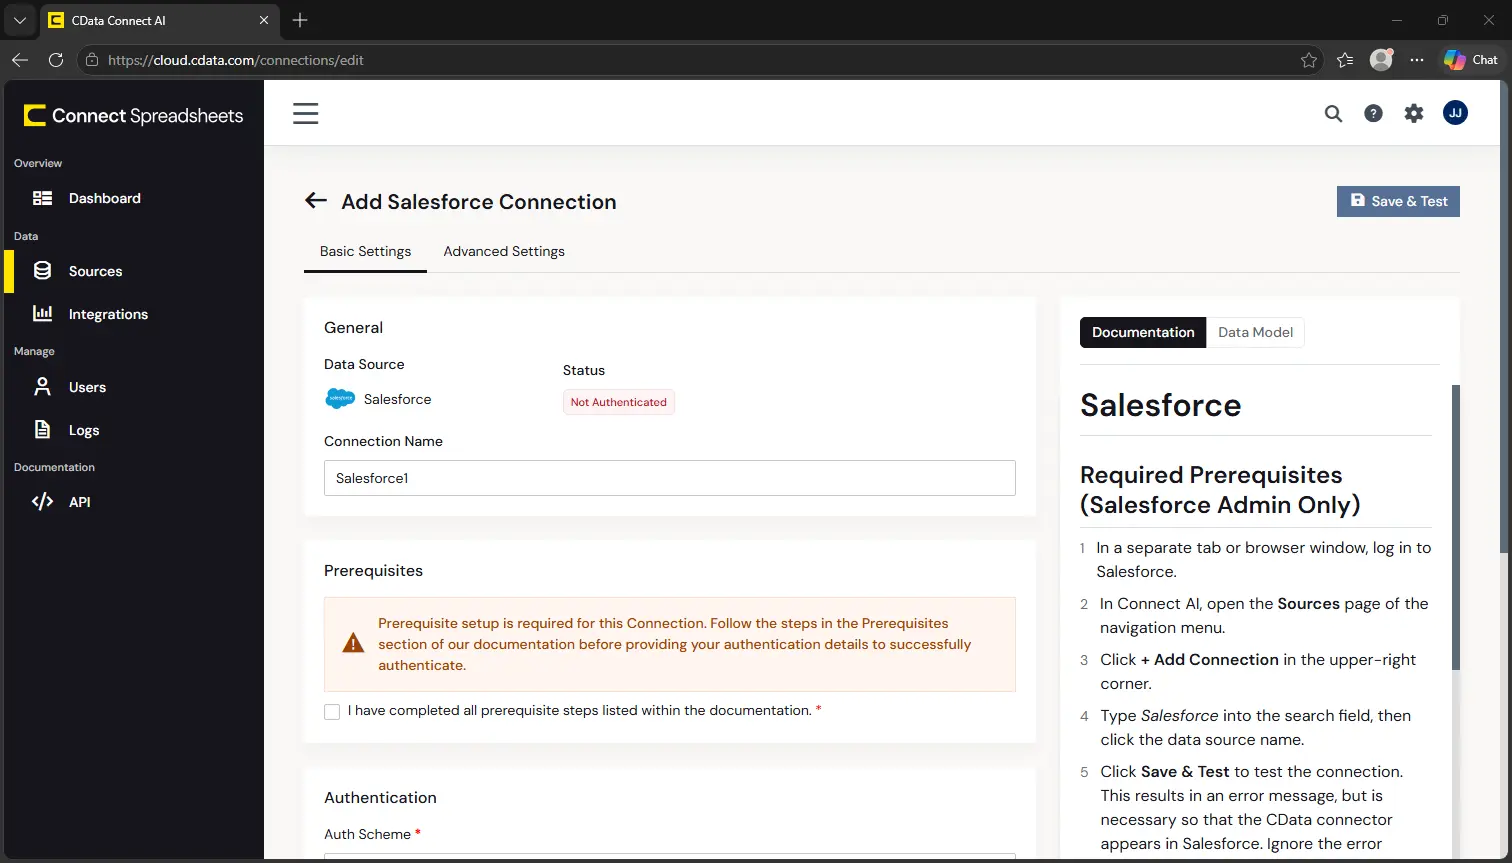
- Navigate to the Permissions tab in the Add EnterpriseDB Connection page and update the User-based permissions.
With the connection configured, you are ready to connect to EnterpriseDB data from Excel.
Access Live EnterpriseDB Data in Excel
The steps below outline connecting to Connect Spreadsheets from Excel to access live EnterpriseDB data.
- Open Excel, create a new sheet (or open an existing one).
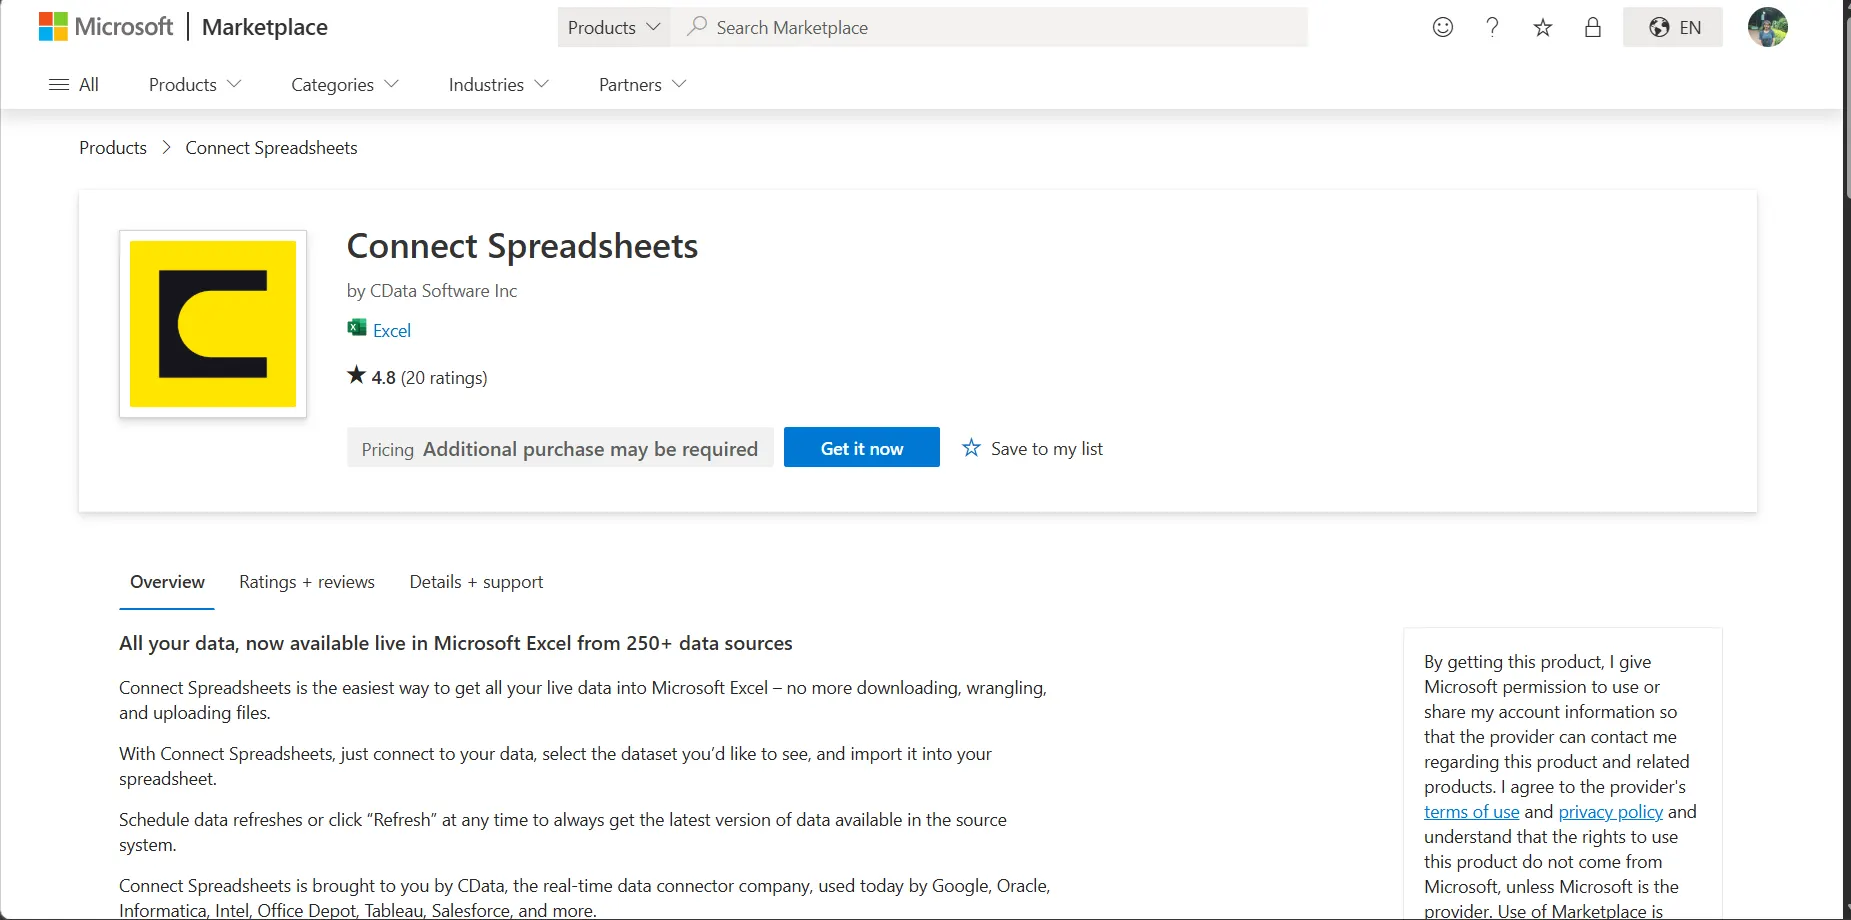
- Click Insert and click Get Add-ins. (if you have already installed the Add-In, jump to step 4).
- Search for Connect Spreadsheets and install the Add-in.
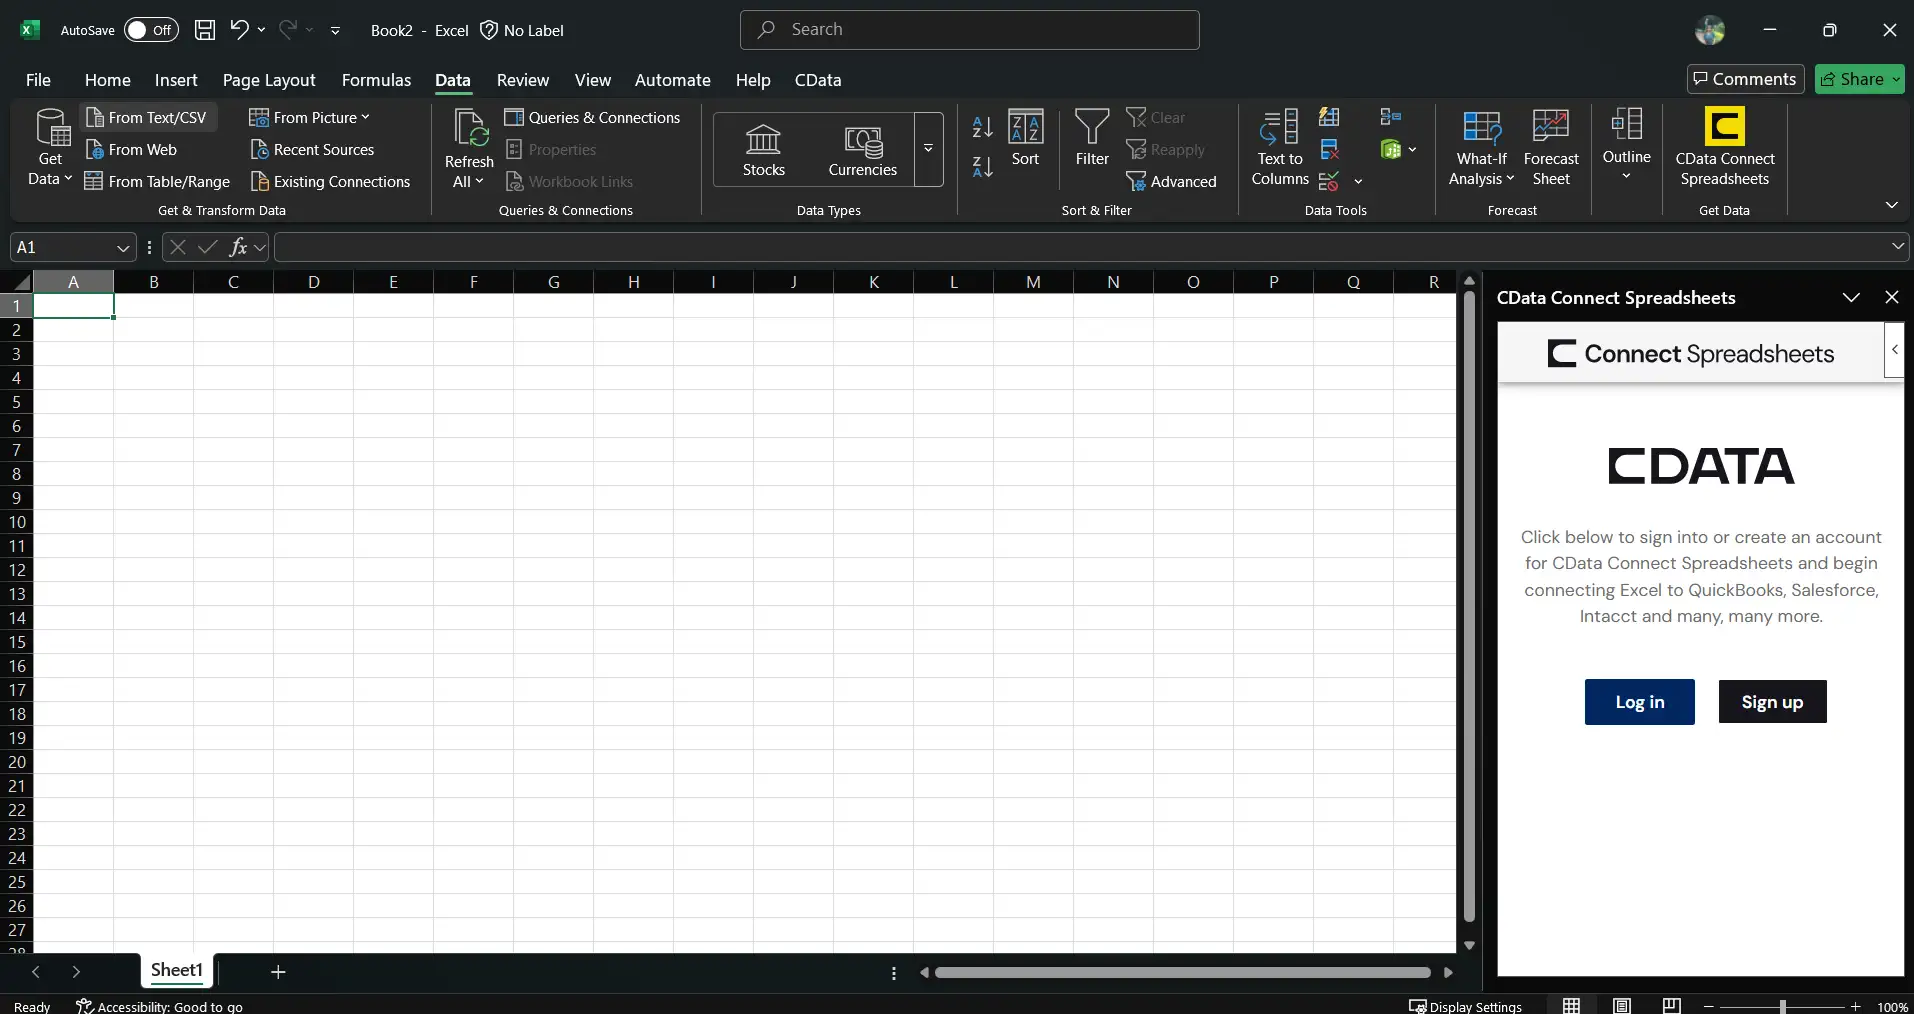
- Click Data and open the CData Connect Spreadsheets Add-In.
- In the Add-In panel, click "Log in" to authenticate with your Connect Spreadsheets account
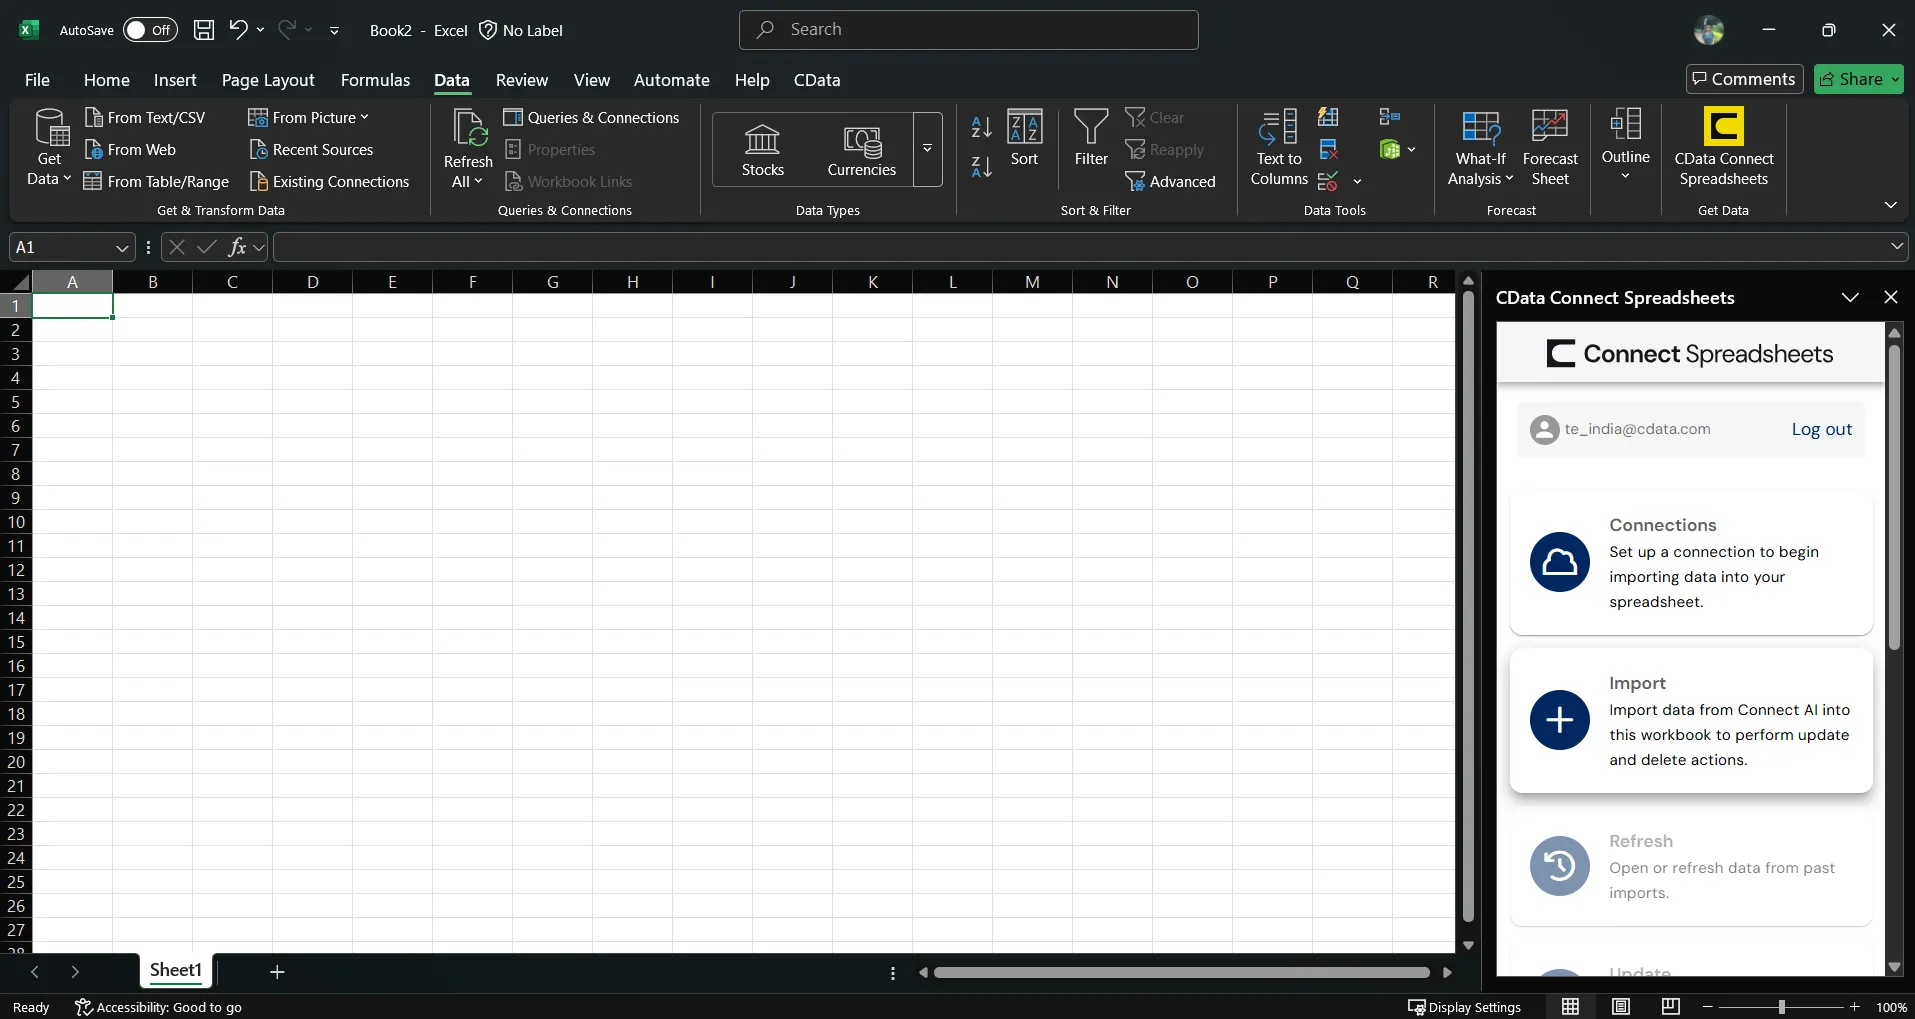
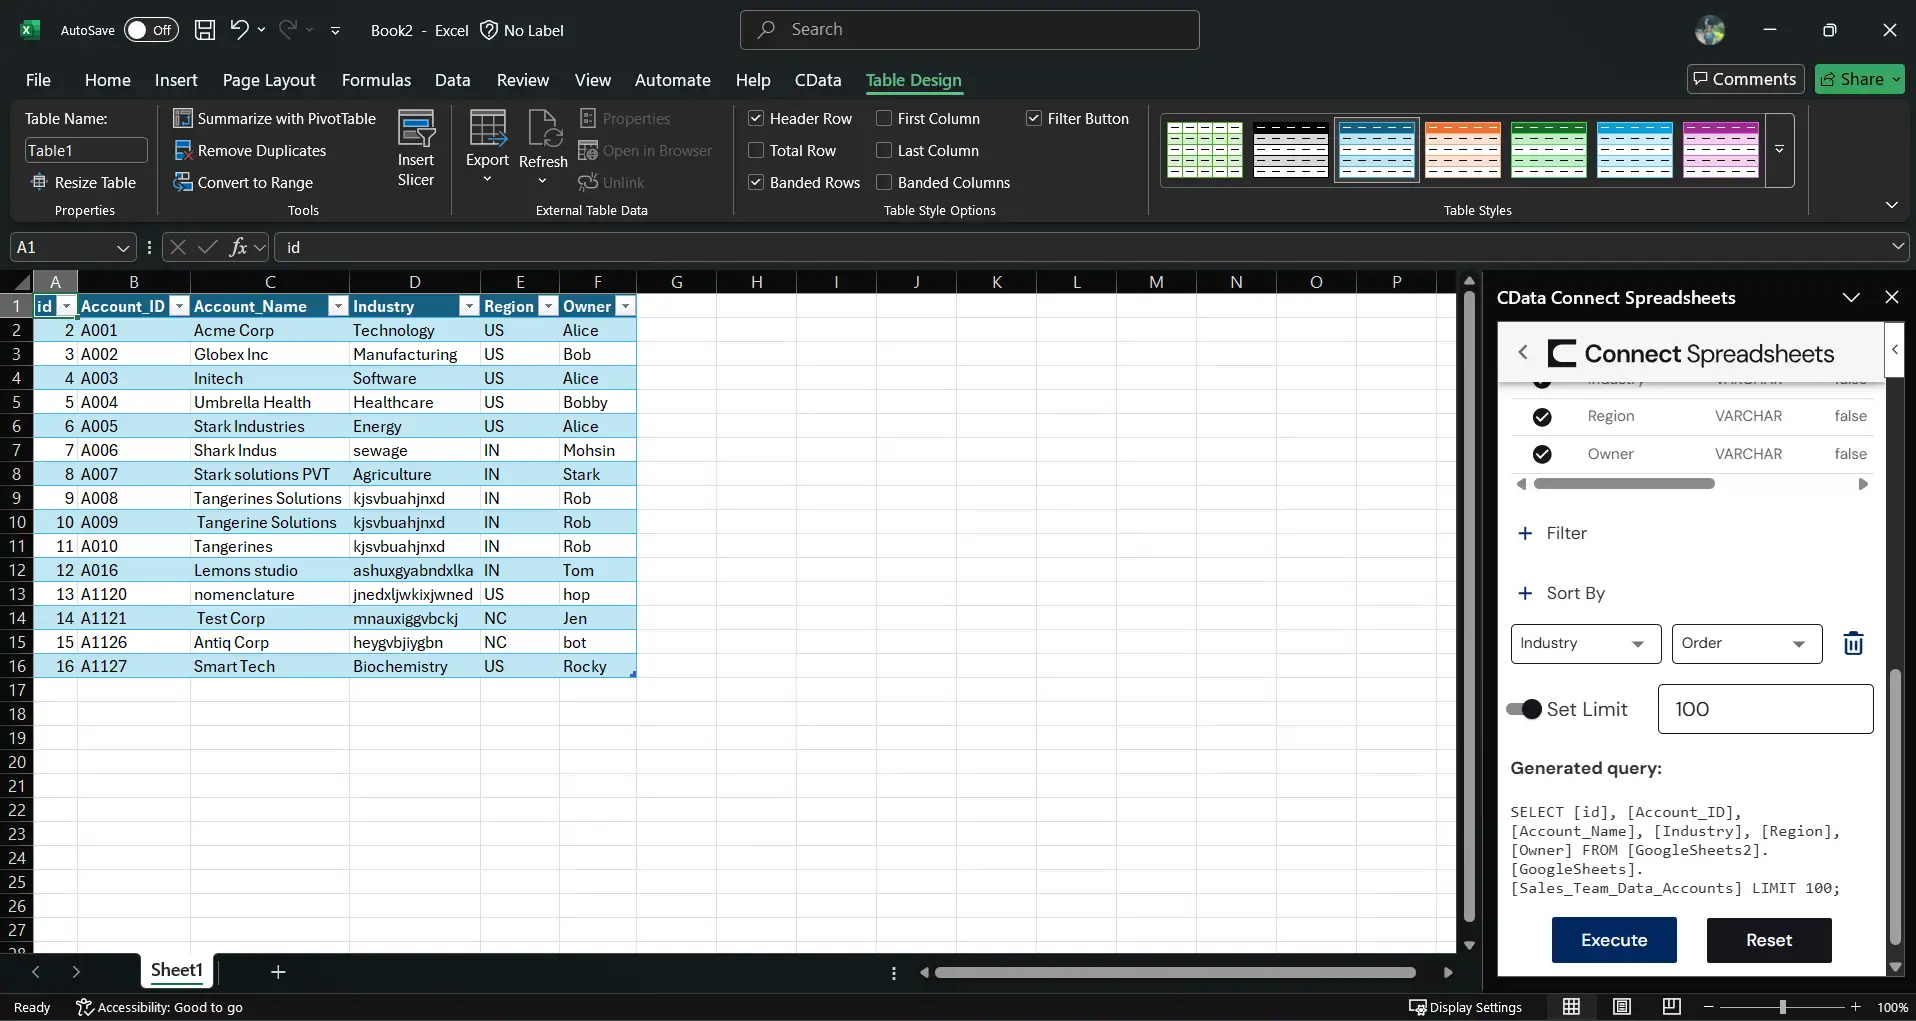
- In the Connect Spreadsheets panel in Excel, click Import
- Choose a Connection (e.g. EnterpriseDB1), Table (e.g. Orders), and Columns to import
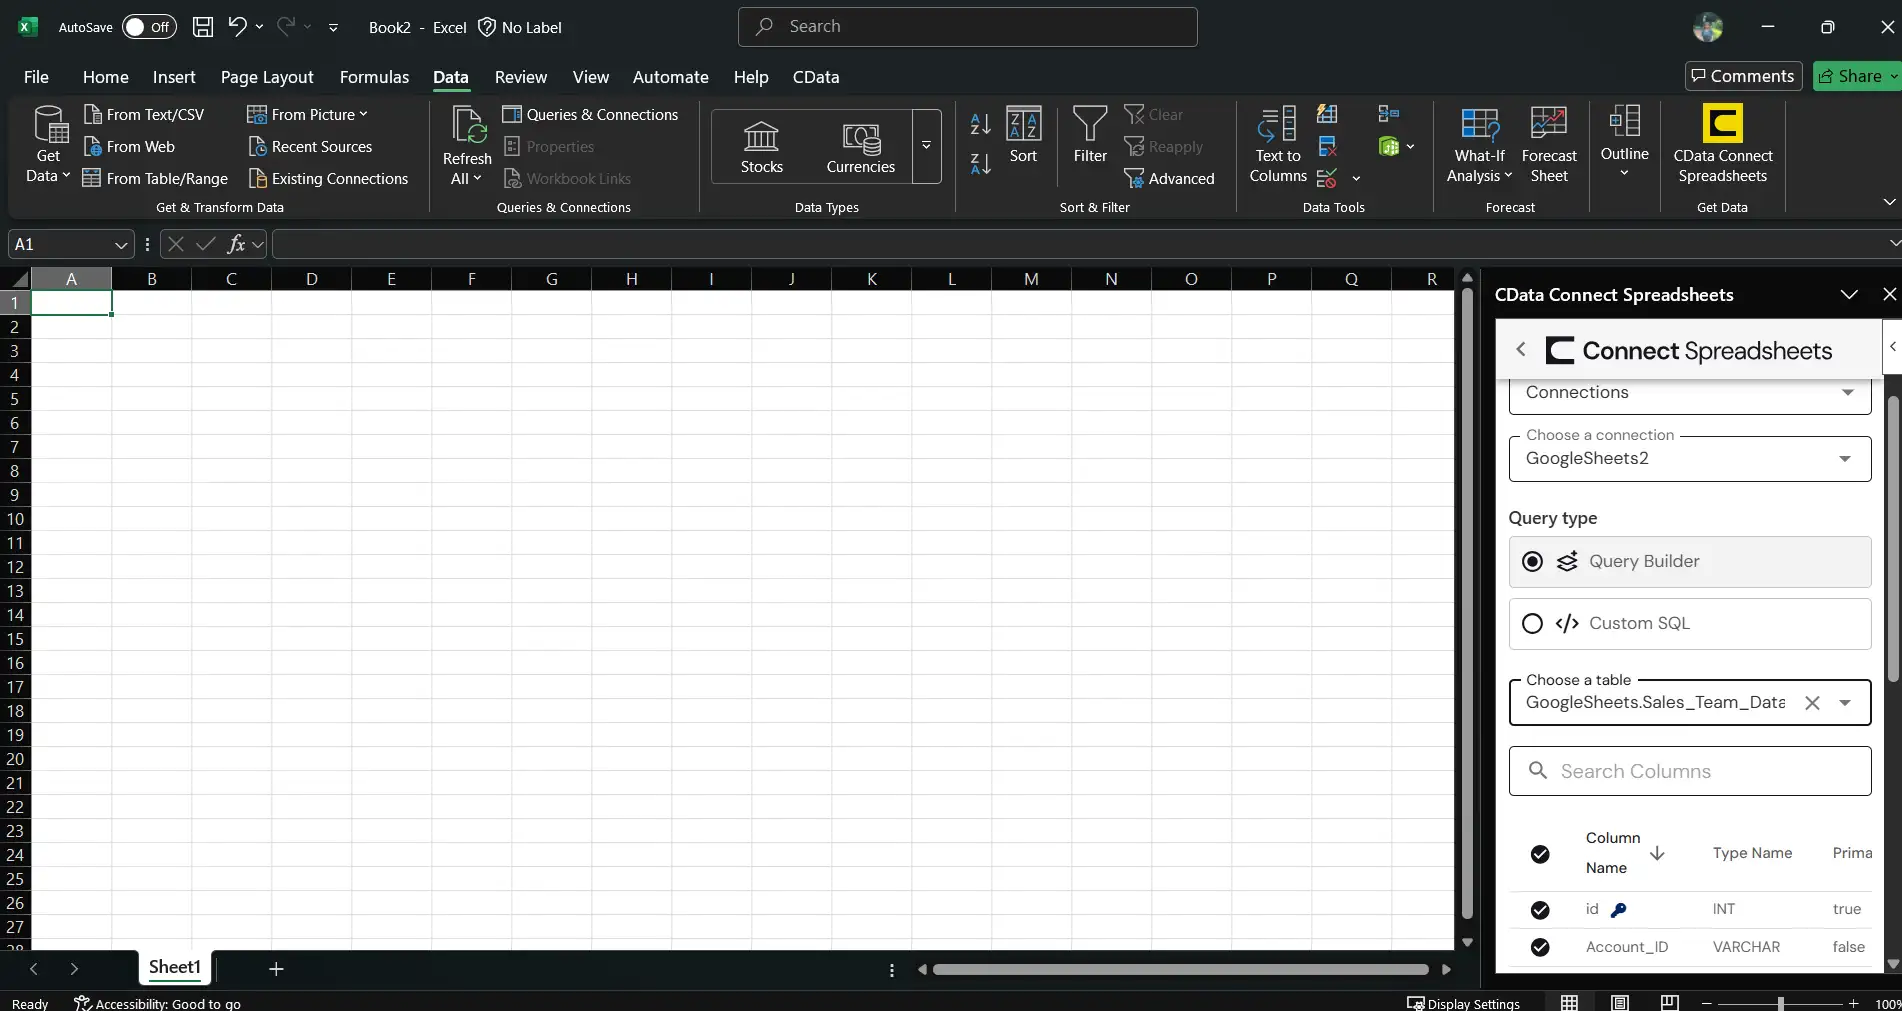
- Optionally add Filters, Sorting, and a Limit
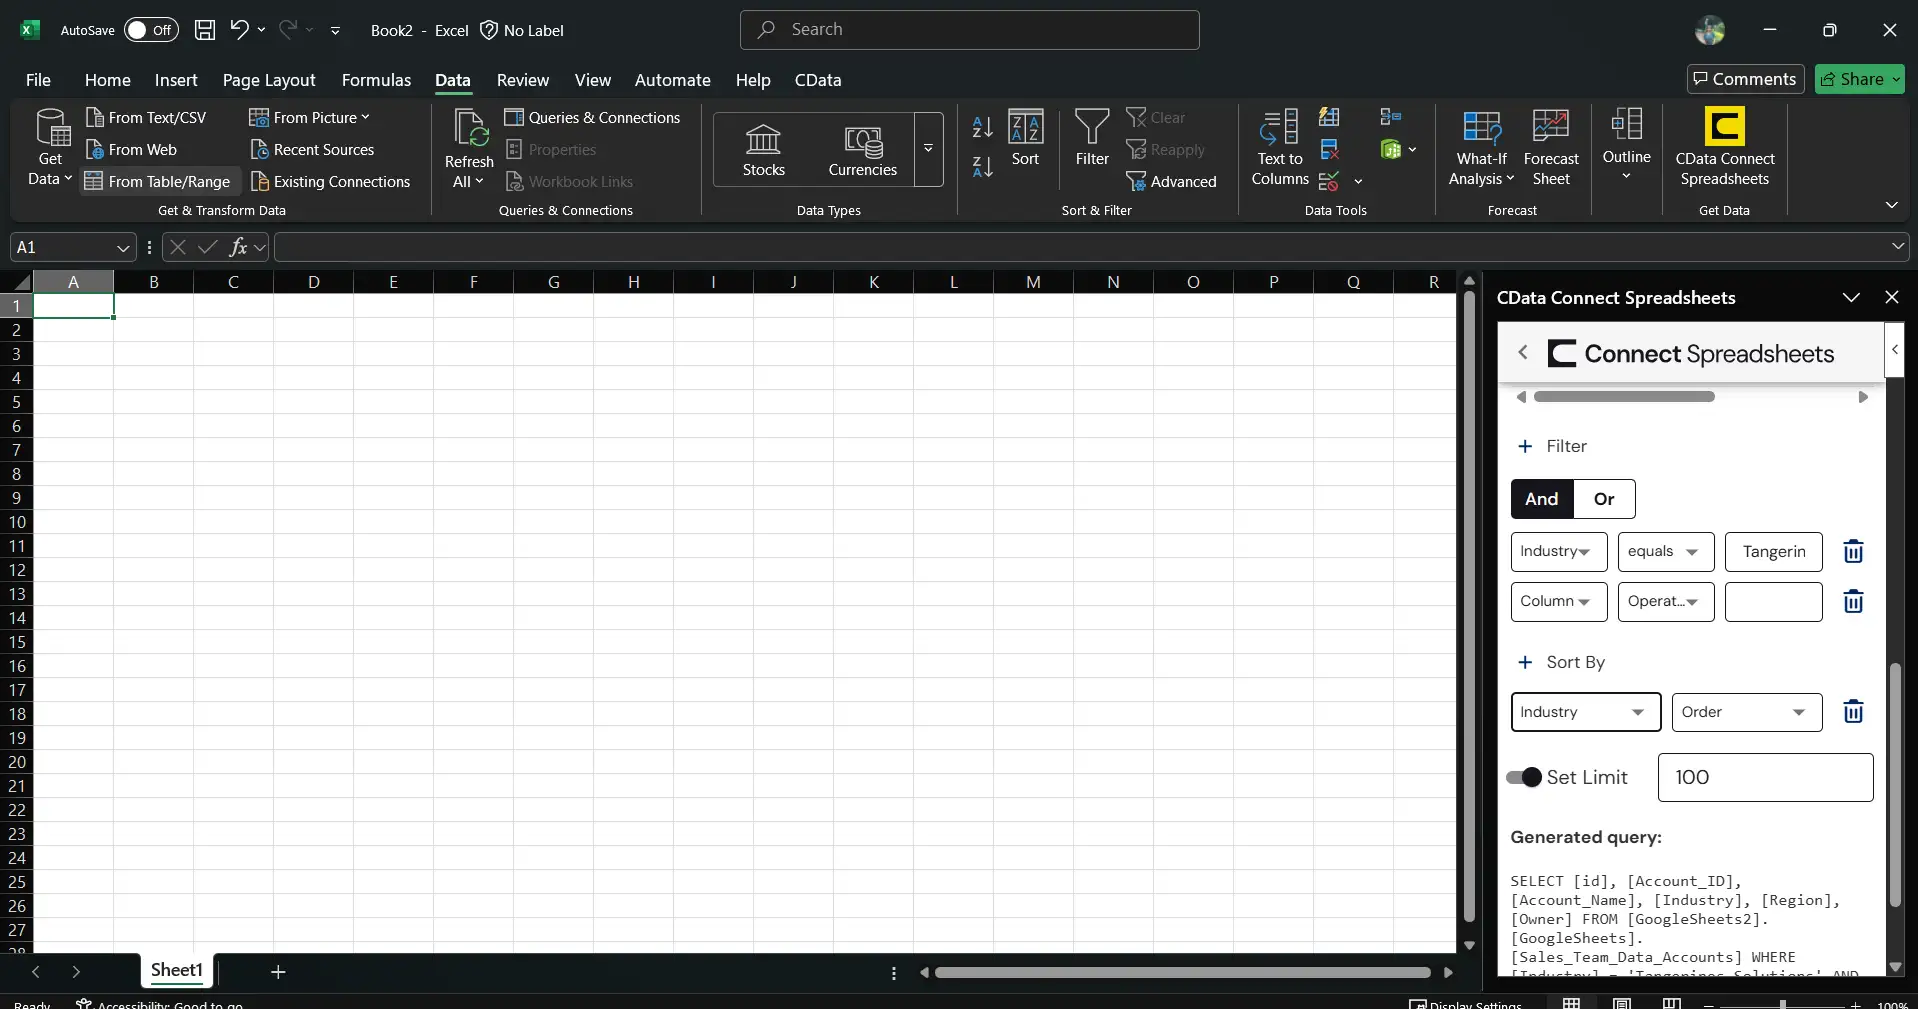
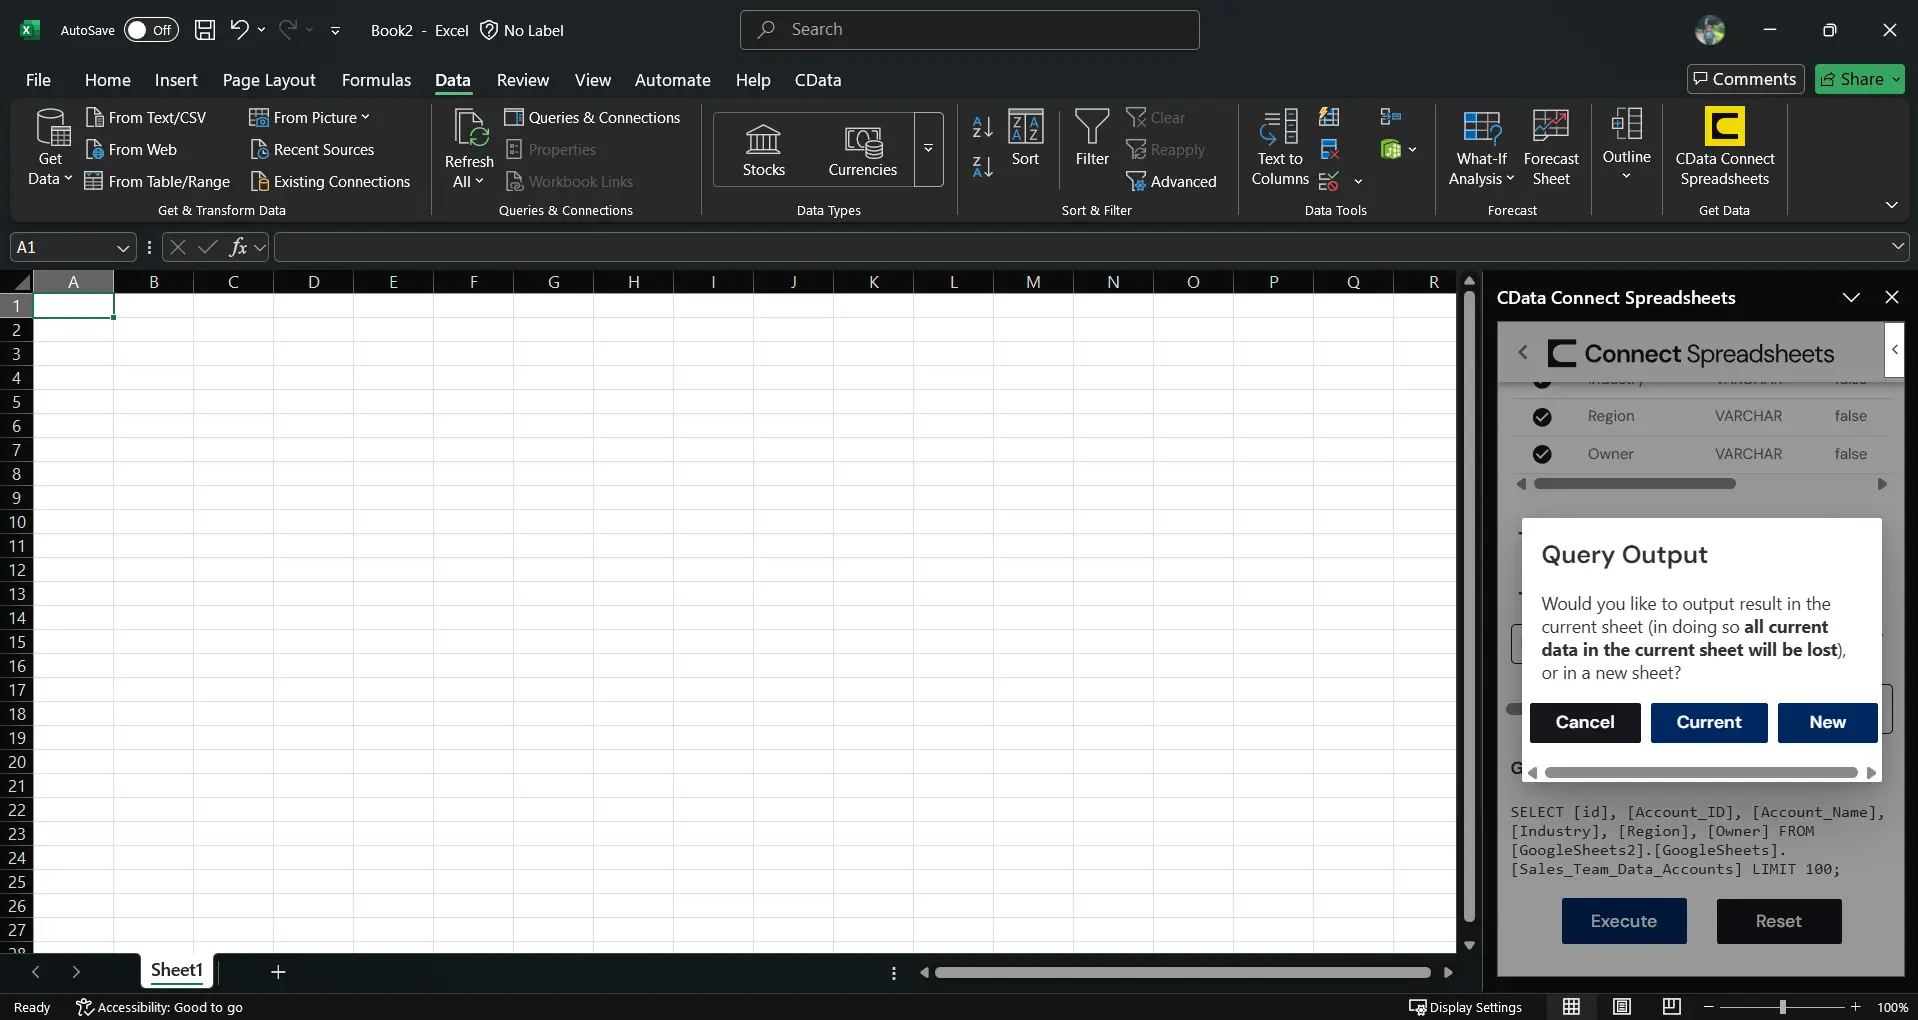
- Click Execute to import the data and opt to overwrite the existing sheet or create a new one.
Update EnterpriseDB Data from Excel
In addition to viewing EnterpriseDB data in Excel, Connect Spreadsheets also lets you update and delete EnterpriseDB data. Begin by importing data (as described above).
- Update any cell or cells with changes you want to push to EnterpriseDB (your changes will be in red)
- In the Connect Spreadsheets Add-In panel, select Update
- Optionally highlight the cell(s) you wish to update and select an update option ("Update All" or "Update Selected")
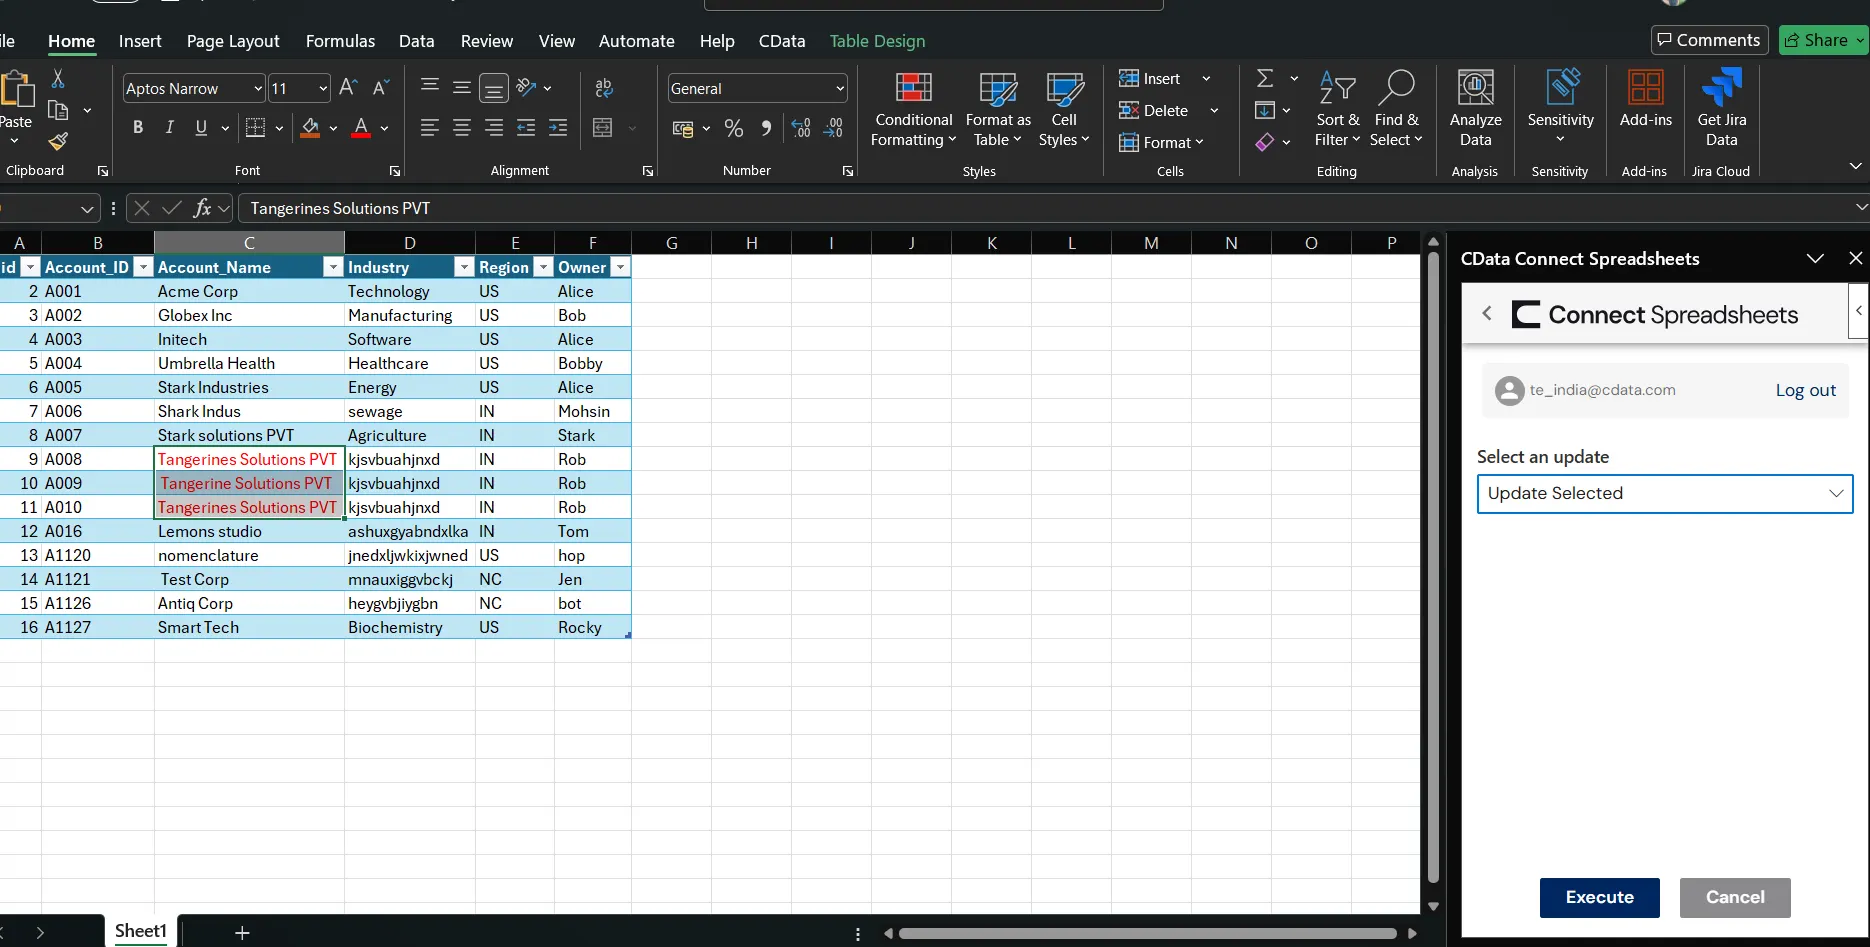
- Click Execute to push the updates to EnterpriseDB
A notification will appear when the update is complete
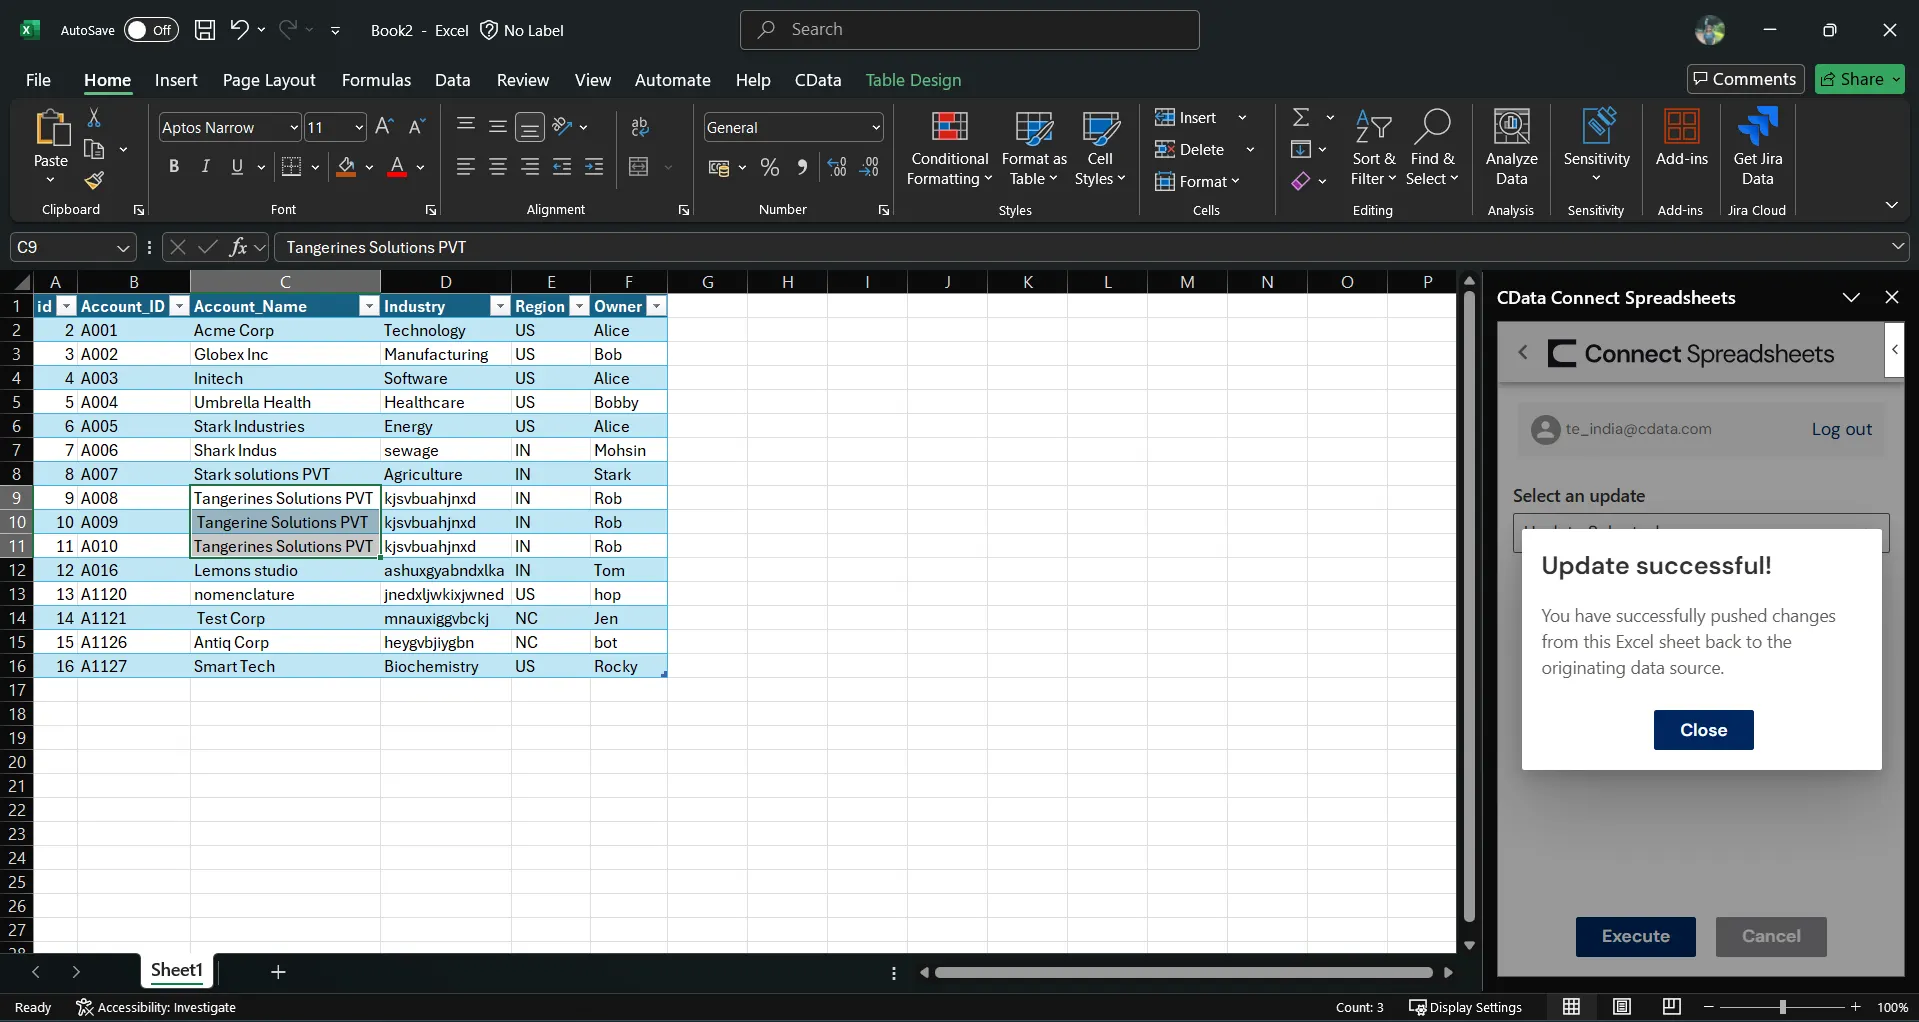
Live Access to EnterpriseDB Data from Spreadsheet Apps
New, you have a direct, cloud-to-cloud connection to live EnterpriseDB data from your Excel workbook. You can add more data to your workbook for calculations, aggregations, collaboration, and more.
Try Connect Spreadsheets and get real-time data access to hundreds of SaaS, Big Data, and NoSQL sources directly from Microsoft Excel.