







Use Dash to Build Web Apps on CSV Data via CData Connect AI

The rich ecosystem of Python modules lets you get to work quickly and integrate your systems more effectively. With the CData Connect AI Python SDK, the pandas module, and the Dash framework, you can build CSV-connected web applications for CSV data. This article shows how to connect to Connect AI and use pandas and Dash to build a simple web app for visualizing CSV data.
The Connect AI Python SDK (cdata-connect-ai) is a DB-API 2.0 (PEP 249) compliant client, so pandas can read query results directly from the SDK connection object. There is no driver to install per source: connect with a Personal Access Token and build your app.
Connect to CSV in Connect AI
CData Connect AI uses a straightforward, point-and-click interface to connect to data sources.
- Log into Connect AI, click Sources, and then click Add Connection
- Select "CSV" from the Add Connection panel
-
Enter the necessary authentication properties to connect to CSV.
Connecting to Local or Cloud-Stored (Box, Google Drive, Amazon S3, SharePoint) CSV Files
CData Drivers let you work with CSV files stored locally and stored in cloud storage services like Box, Amazon S3, Google Drive, or SharePoint, right where they are.
Setting connection properties for local files
Set the URI property to local folder path.
Setting connection properties for files stored in Amazon S3
To connect to CSV file(s) within Amazon S3, set the URI property to the URI of the Bucket and Folder where the intended CSV files exist. In addition, at least set these properties:
- AWSAccessKey: AWS Access Key (username)
- AWSSecretKey: AWS Secret Key
Setting connection properties for files stored in Box
To connect to CSV file(s) within Box, set the URI property to the URI of the folder that includes the intended CSV file(s). Use the OAuth authentication method to connect to Box.
Dropbox
To connect to CSV file(s) within Dropbox, set the URI proprerty to the URI of the folder that includes the intended CSV file(s). Use the OAuth authentication method to connect to Dropbox. Either User Account or Service Account can be used to authenticate.
SharePoint Online (SOAP)
To connect to CSV file(s) within SharePoint with SOAP Schema, set the URI proprerty to the URI of the document library that includes the intended CSV file. Set User, Password, and StorageBaseURL.
SharePoint Online REST
To connect to CSV file(s) within SharePoint with REST Schema, set the URI proprerty to the URI of the document library that includes the intended CSV file. StorageBaseURL is optional. If not set, the driver will use the root drive. OAuth is used to authenticate.
Google Drive
To connect to CSV file(s) within Google Drive, set the URI property to the URI of the folder that includes the intended CSV file(s). Use the OAuth authentication method to connect and set InitiateOAuth to GETANDREFRESH.

- Click Save & Test
- Navigate to the Permissions tab and update the user-based permissions.



Generate a Personal Access Token (PAT)
The Python SDK authenticates to Connect AI with your account email and a Personal Access Token (PAT). It is best practice to create a separate PAT for each application to maintain granularity of access.
- Click the Gear icon () at the top right of the Connect AI app to open the Settings page.
- On the Settings page, go to the Access Tokens section and click Create PAT.
- Give the PAT a name and click Create.

- The PAT is only visible at creation, so copy it and store it securely.
Install Required Modules
Install the SDK (with the pandas extra), Dash, and Plotly using the pip utility:
pip install "cdata-connect-ai[full]"
pip install dash
pip install plotly
Build a Web App on CSV Data in Python
Once the required modules are installed, you are ready to build the web app. Code snippets follow, but the full source code is available at the end of the article.
First, import the modules, then connect to Connect AI with your account email and PAT and read CSV data into a DataFrame. Identifiers are three-part: <Connection>.<Schema>.<Table>, where the connection name defaults to the source name (for example, CSV1).
import dash
from dash import dcc, html
import pandas as pd
import plotly.graph_objs as go
import cdata_connect_ai

conn = cdata_connect_ai.connect(
    username="[email protected]",
    password="<your_pat>",
)

df = pd.read_sql(
    "SELECT City, TotalDue "
    "FROM [CSV1].[CSV].[Customer] "
    "WHERE FirstName = 'Bob'",
    conn,
)

conn.close()
Configure the App and Layout
With the query results stored in a DataFrame, build a bar graph from the CSV data and configure the app layout.
app = dash.Dash(__name__)
app.title = 'CData Connect AI + Dash'

trace = go.Bar(x=df['City'], y=df['TotalDue'], name='City')

app.layout = html.Div(
    children=[
        html.H1("CData Connect AI + Dash", style={'textAlign': 'center'}),
        dcc.Graph(
            id='example-graph',
            figure={
                'data': [trace],
                'layout': go.Layout(title='CSV Customer Data', barmode='stack'),
            },
        ),
    ],
    className="container",
)
Set the App to Run
With the connection, app, and layout configured, you are ready to run the app.
if __name__ == '__main__':
    app.run(debug=True)
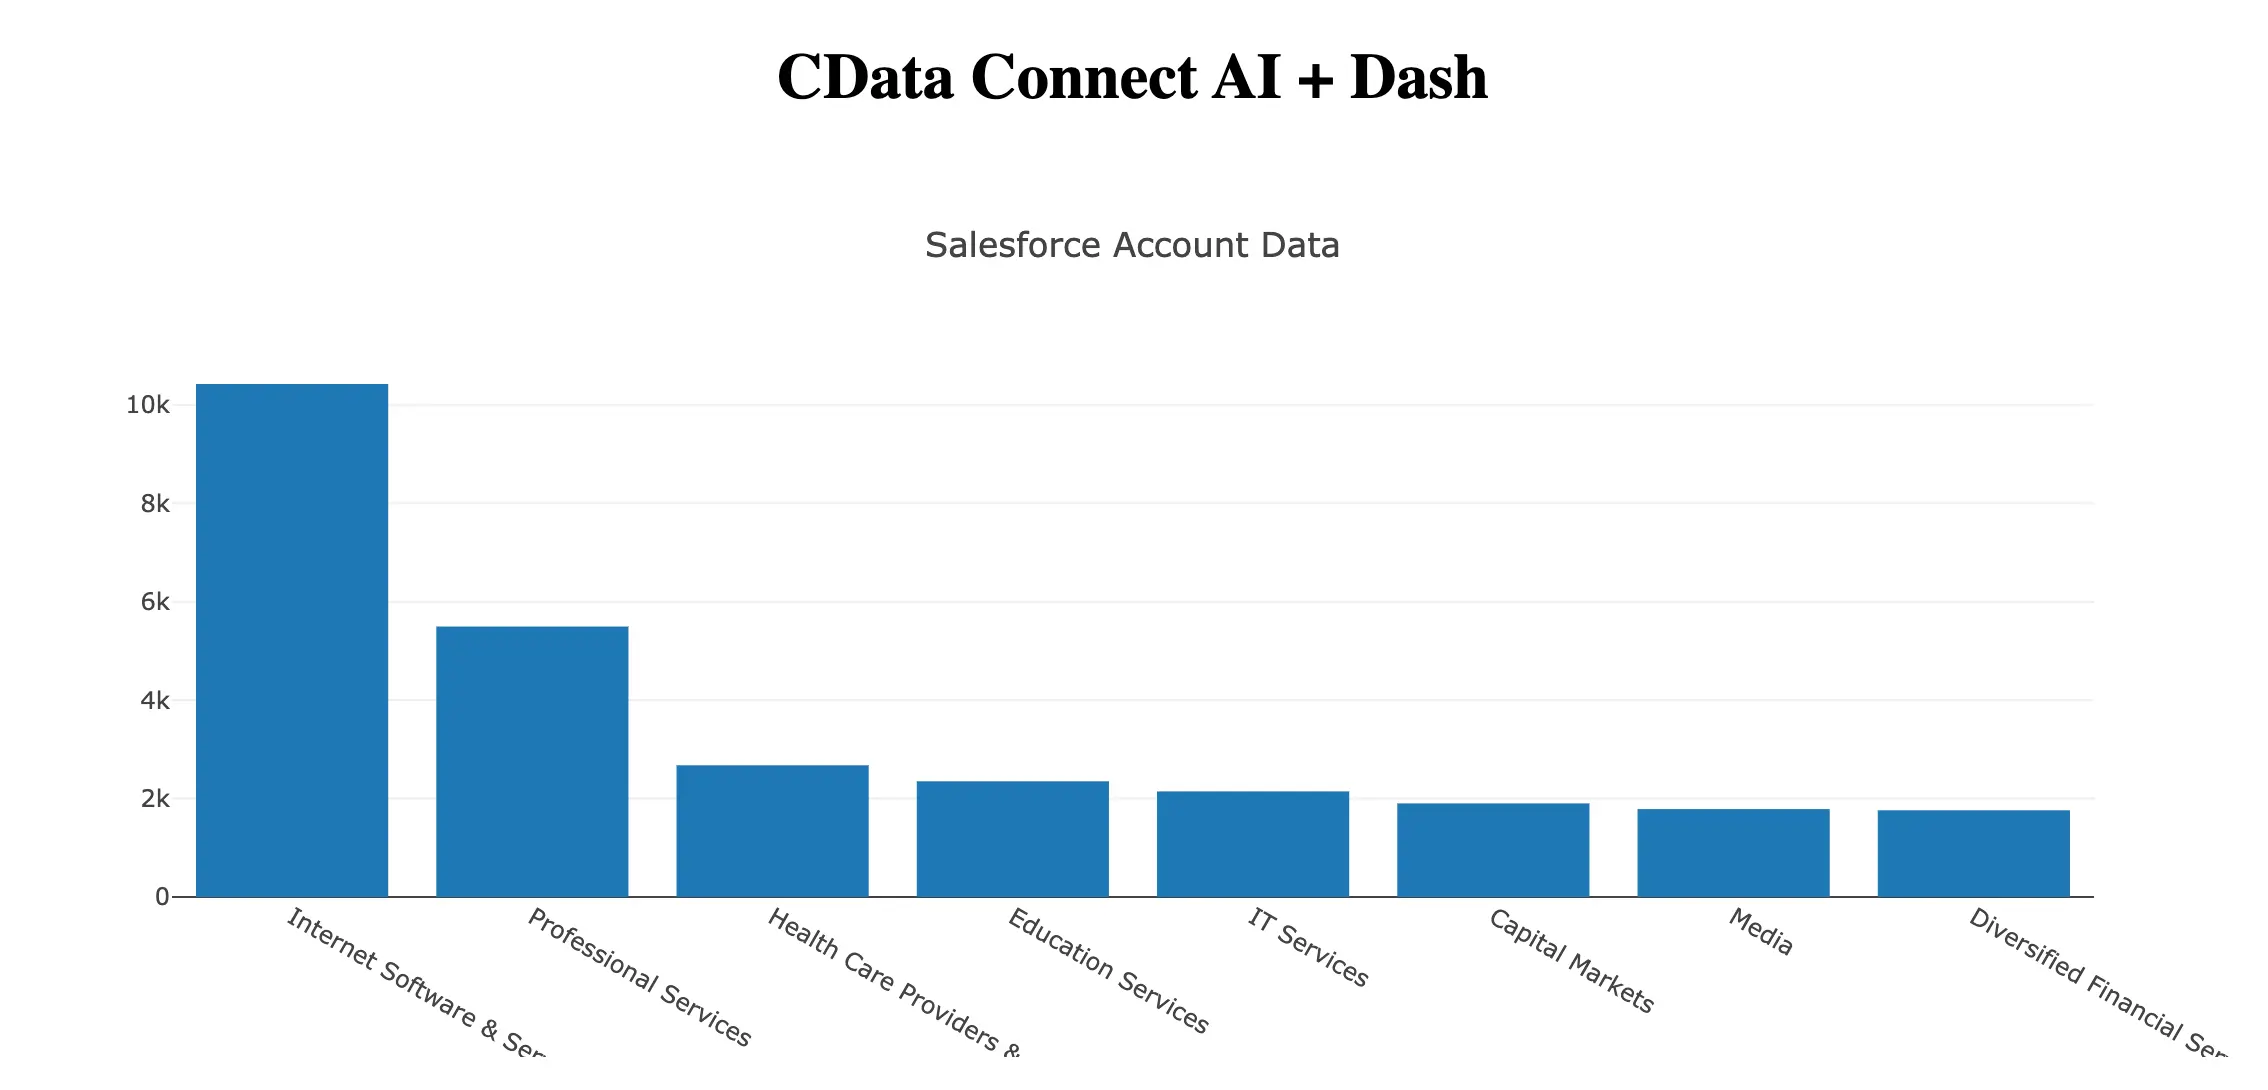
Now, use Python to run the web app and a browser to view the CSV data.
python csv-dash.py
More Information and Free Trial
Now you can build interactive Dash web apps on live CSV data using the CData Connect AI Python SDK. For more information on connecting to CSV (and hundreds of other data sources), visit the Connect AI page. Sign up for a free trial and start building web apps on live CSV data in Python.
Full Source Code
import dash
from dash import dcc, html
import pandas as pd
import plotly.graph_objs as go
import cdata_connect_ai

conn = cdata_connect_ai.connect(
    username="[email protected]",
    password="<your_pat>",
)

df = pd.read_sql(
    "SELECT City, TotalDue "
    "FROM [CSV1].[CSV].[Customer] "
    "WHERE FirstName = 'Bob'",
    conn,
)

conn.close()

app = dash.Dash(__name__)
app.title = 'CData Connect AI + Dash'

trace = go.Bar(x=df['City'], y=df['TotalDue'], name='City')

app.layout = html.Div(
    children=[
        html.H1("CData Connect AI + Dash", style={'textAlign': 'center'}),
        dcc.Graph(
            id='example-graph',
            figure={
                'data': [trace],
                'layout': go.Layout(title='CSV Customer Data', barmode='stack'),
            },
        ),
    ],
    className="container",
)

if __name__ == '__main__':
    app.run(debug=True)