







How to Visualize JSON Services in Python with pandas via CData Connect AI

The rich ecosystem of Python modules lets you get to work quickly and integrate your systems more effectively. With the CData Connect AI Python SDK, the pandas and Matplotlib modules, you can build JSON-connected Python applications and scripts for visualizing JSON services. This article shows how to connect to Connect AI and use the pandas and Matplotlib built-in functions to query JSON services and visualize the results.
The Connect AI Python SDK (cdata-connect-ai) is a DB-API 2.0 (PEP 249) compliant client, so pandas can read query results directly from the SDK connection object. There is no driver to install per source and no SQLAlchemy engine to configure: connect with a Personal Access Token and pass the connection straight to pandas.read_sql.
Connect to JSON in Connect AI
CData Connect AI uses a straightforward, point-and-click interface to connect to data sources.
- Log into Connect AI, click Sources, and then click Add Connection
- Select "JSON" from the Add Connection panel
-
Enter the necessary authentication properties to connect to JSON.
See the Getting Started chapter in the data provider documentation to authenticate to your data source: The data provider models JSON APIs as bidirectional database tables and JSON files as read-only views (local files, files stored on popular cloud services, and FTP servers). The major authentication schemes are supported, including HTTP Basic, Digest, NTLM, OAuth, and FTP. See the Getting Started chapter in the data provider documentation for authentication guides.
After setting the URI and providing any authentication values, set DataModel to more closely match the data representation to the structure of your data.
The DataModel property is the controlling property over how your data is represented into tables and toggles the following basic configurations.
- Document (default): Model a top-level, document view of your JSON data. The data provider returns nested elements as aggregates of data.
- FlattenedDocuments: Implicitly join nested documents and their parents into a single table.
- Relational: Return individual, related tables from hierarchical data. The tables contain a primary key and a foreign key that links to the parent document.
See the Modeling JSON Data chapter for more information on configuring the relational representation. You will also find the sample data used in the following examples. The data includes entries for people, the cars they own, and various maintenance services performed on those cars.

- Click Save & Test
- Navigate to the Permissions tab and update the user-based permissions.



Generate a Personal Access Token (PAT)
The Python SDK authenticates to Connect AI with your account email and a Personal Access Token (PAT). It is best practice to create a separate PAT for each application to maintain granularity of access.
- Click the Gear icon () at the top right of the Connect AI app to open the Settings page.
- On the Settings page, go to the Access Tokens section and click Create PAT.
- Give the PAT a name and click Create.

- The PAT is only visible at creation, so copy it and store it securely.
Install Required Modules
Install the SDK (with the pandas extra) and Matplotlib using the pip utility:
pip install "cdata-connect-ai[full]"
pip install matplotlib
Visualize JSON Services in Python
Import the modules, then connect to Connect AI with your account email and PAT. Identifiers are three-part: <Connection>.<Schema>.<Table>, where the connection name defaults to the source name (for example, JSON1).
import pandas
import matplotlib.pyplot as plt
import cdata_connect_ai

conn = cdata_connect_ai.connect(
    username="[email protected]",
    password="<your_pat>",
)
Query JSON with pandas
Use the read_sql function from pandas to execute a SQL statement and store the result set in a DataFrame. Pass the SDK connection directly, no engine required.
df = pandas.read_sql(
    "SELECT [ personal.name.first ], [ personal.name.last ] "
    "FROM [JSON1].[JSON].[people] "
    "WHERE [ personal.name.last ] = 'Roberts'",
    conn,
)
Note: pandas may print a UserWarning stating that it only officially supports SQLAlchemy connectables. This is expected when passing a DB-API connection directly—the query runs correctly and the warning is safe to ignore.
Visualize JSON Services
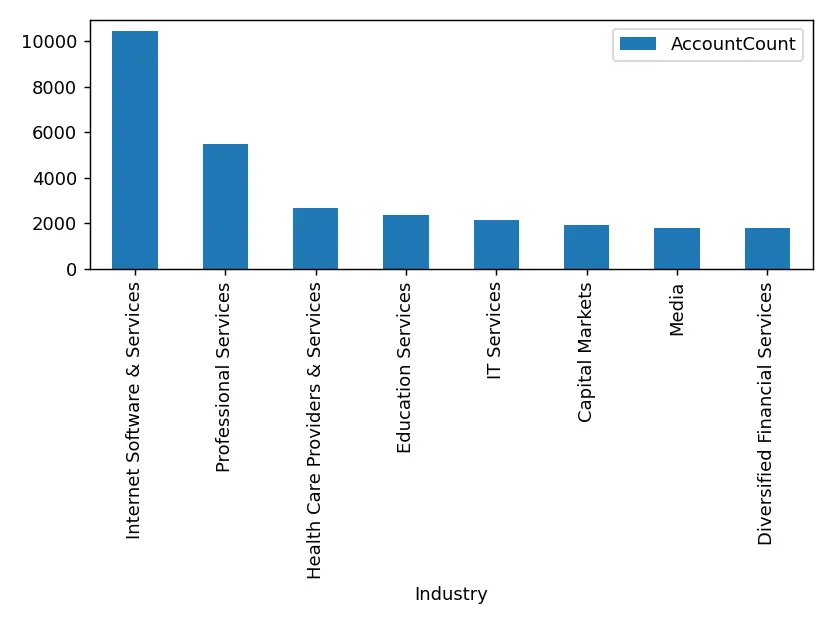
With the query results stored in a DataFrame, use the plot function to build a chart. The show method displays the chart in a new window.
df.plot(kind="bar", x="[ personal.name.first ]", y="[ personal.name.last ]")
plt.show()

conn.close()
More Information and Free Trial
Now you can read live JSON services into pandas through the CData Connect AI Python SDK. For more information on connecting to JSON (and hundreds of other data sources), visit the Connect AI page. Sign up for a free trial and start working with live JSON services in Python.
Full Source Code
import pandas
import matplotlib.pyplot as plt
import cdata_connect_ai

conn = cdata_connect_ai.connect(
    username="[email protected]",
    password="<your_pat>",
)

df = pandas.read_sql(
    "SELECT [ personal.name.first ], [ personal.name.last ] "
    "FROM [JSON1].[JSON].[people] "
    "WHERE [ personal.name.last ] = 'Roberts'",
    conn,
)

df.plot(kind="bar", x="[ personal.name.first ]", y="[ personal.name.last ]")
plt.show()

conn.close()