







Use Dash to Build Web Apps on QuickBooks Online Data via CData Connect AI

The rich ecosystem of Python modules lets you get to work quickly and integrate your systems more effectively. With the CData Connect AI Python SDK, the pandas module, and the Dash framework, you can build QuickBooks Online-connected web applications for QuickBooks Online data. This article shows how to connect to Connect AI and use pandas and Dash to build a simple web app for visualizing QuickBooks Online data.
The Connect AI Python SDK (cdata-connect-ai) is a DB-API 2.0 (PEP 249) compliant client, so pandas can read query results directly from the SDK connection object. There is no driver to install per source: connect with a Personal Access Token and build your app.
About QuickBooks Online Data Integration
CData provides the easiest way to access and integrate live data from QuickBooks Online. Customers use CData connectivity to:
- Realize high-performance data reads thanks to push-down query optimization for complex operations like filters and aggregations.
- Read, write, update, and delete QuickBooks Online data.
- Run reports, download attachments, and send or void invoices directly from code using SQL stored procedures.
- Connect securely using OAuth and modern cryptography, including TLS 1.2, SHA-256, and ECC.
Many users access live QuickBooks Online data from preferred analytics tools like Power BI and Excel, directly from databases with federated access, and use CData solutions to easily integrate QuickBooks Online data with automated workflows for business-to-business communications.
For more information on how customers are solving problems with CData's QuickBooks Online solutions, refer to our blog: https://www.cdata.com/blog/360-view-of-your-customers.
Getting Started
Connect to QuickBooks Online in Connect AI
CData Connect AI uses a straightforward, point-and-click interface to connect to data sources.
- Log into Connect AI, click Sources, and then click Add Connection
- Select "QuickBooks Online" from the Add Connection panel
-
QuickBooks Online uses OAuth to authenticate. Click "Sign in" to authenticate with QuickBooks Online.
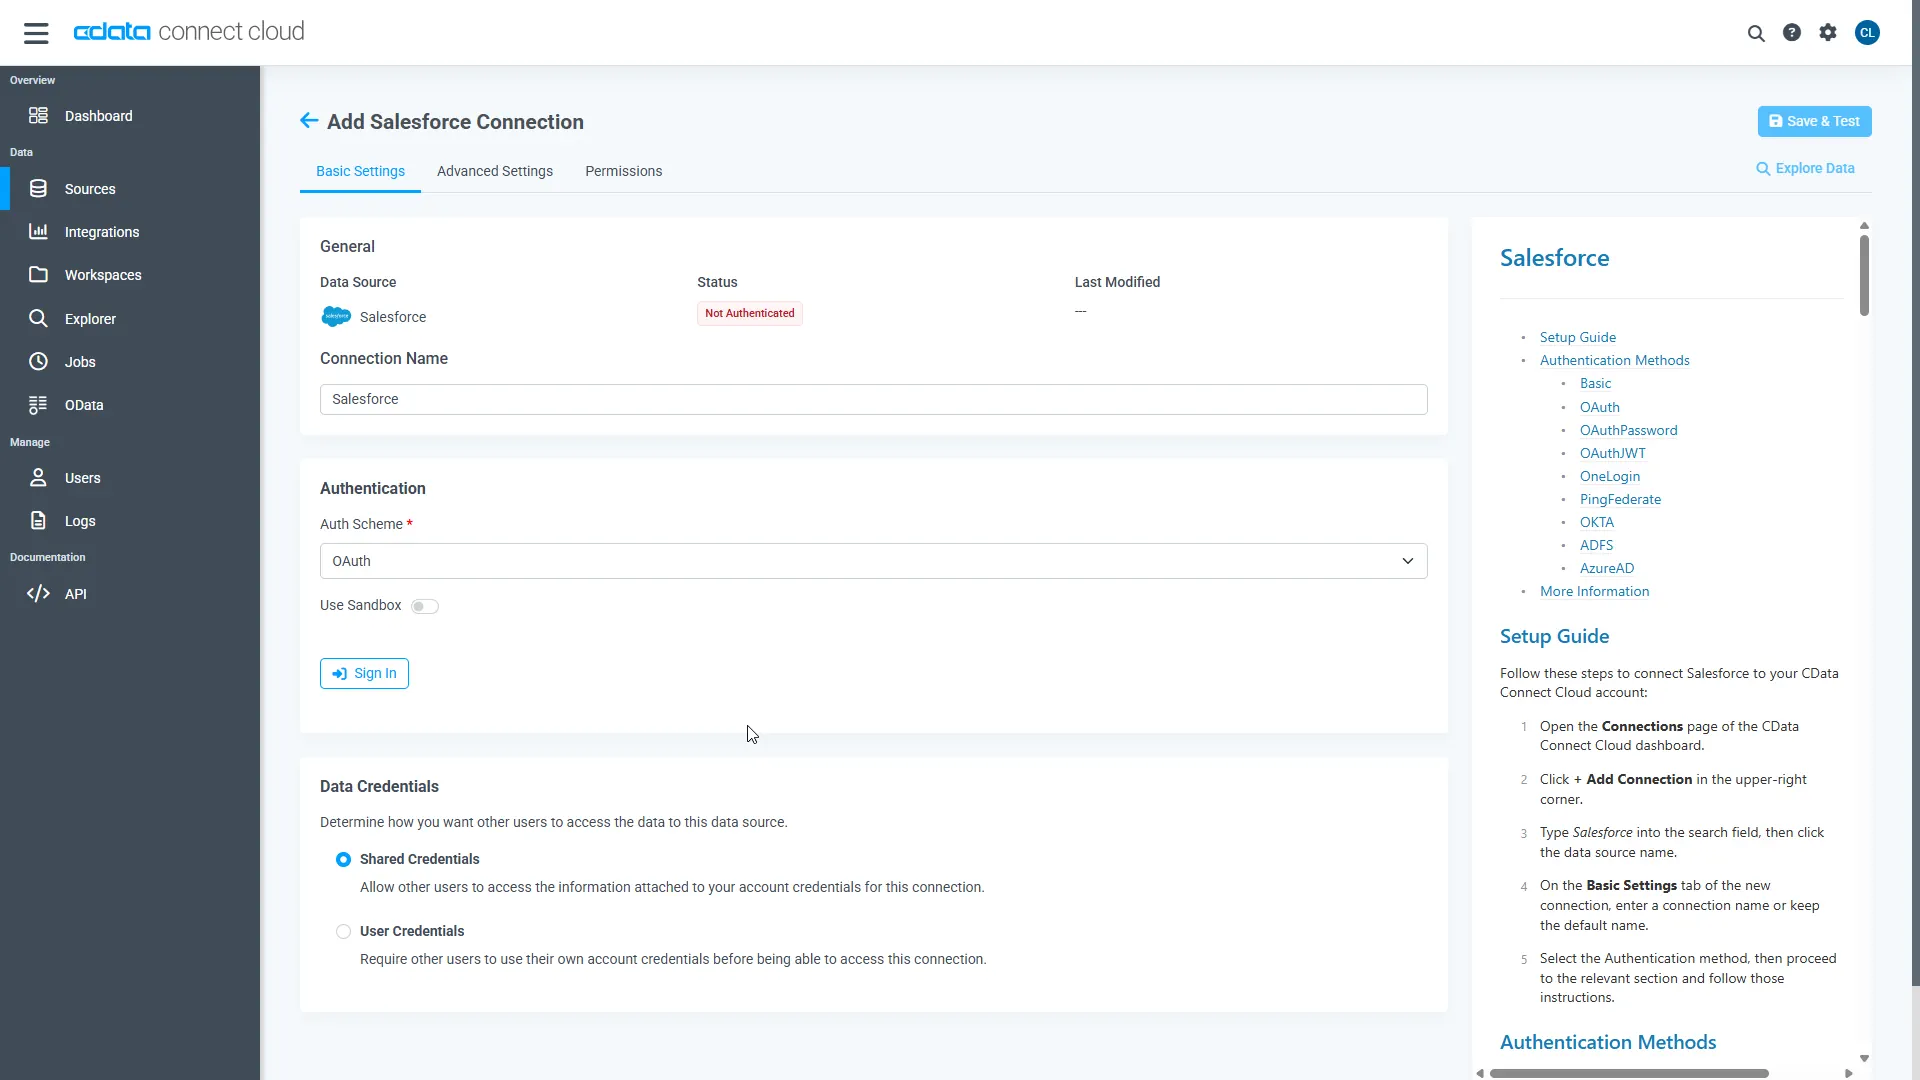
- Navigate to the Permissions tab and update the user-based permissions.



Generate a Personal Access Token (PAT)
The Python SDK authenticates to Connect AI with your account email and a Personal Access Token (PAT). It is best practice to create a separate PAT for each application to maintain granularity of access.
- Click the Gear icon () at the top right of the Connect AI app to open the Settings page.
- On the Settings page, go to the Access Tokens section and click Create PAT.
- Give the PAT a name and click Create.

- The PAT is only visible at creation, so copy it and store it securely.
Install Required Modules
Install the SDK (with the pandas extra), Dash, and Plotly using the pip utility:
pip install "cdata-connect-ai[full]"
pip install dash
pip install plotly
Build a Web App on QuickBooks Online Data in Python
Once the required modules are installed, you are ready to build the web app. Code snippets follow, but the full source code is available at the end of the article.
First, import the modules, then connect to Connect AI with your account email and PAT and read QuickBooks Online data into a DataFrame. Identifiers are three-part: <Connection>.<Schema>.<Table>, where the connection name defaults to the source name (for example, QuickBooksOnline1).
import dash
from dash import dcc, html
import pandas as pd
import plotly.graph_objs as go
import cdata_connect_ai

conn = cdata_connect_ai.connect(
    username="[email protected]",
    password="<your_pat>",
)

df = pd.read_sql(
    "SELECT DisplayName, Balance "
    "FROM [QuickBooksOnline1].[QuickBooksOnline].[Customers] "
    "WHERE FullyQualifiedName = 'Cook, Brian'",
    conn,
)

conn.close()
Configure the App and Layout
With the query results stored in a DataFrame, build a bar graph from the QuickBooks Online data and configure the app layout.
app = dash.Dash(__name__)
app.title = 'CData Connect AI + Dash'

trace = go.Bar(x=df['DisplayName'], y=df['Balance'], name='DisplayName')

app.layout = html.Div(
    children=[
        html.H1("CData Connect AI + Dash", style={'textAlign': 'center'}),
        dcc.Graph(
            id='example-graph',
            figure={
                'data': [trace],
                'layout': go.Layout(title='QuickBooks Online Customers Data', barmode='stack'),
            },
        ),
    ],
    className="container",
)
Set the App to Run
With the connection, app, and layout configured, you are ready to run the app.
if __name__ == '__main__':
    app.run(debug=True)
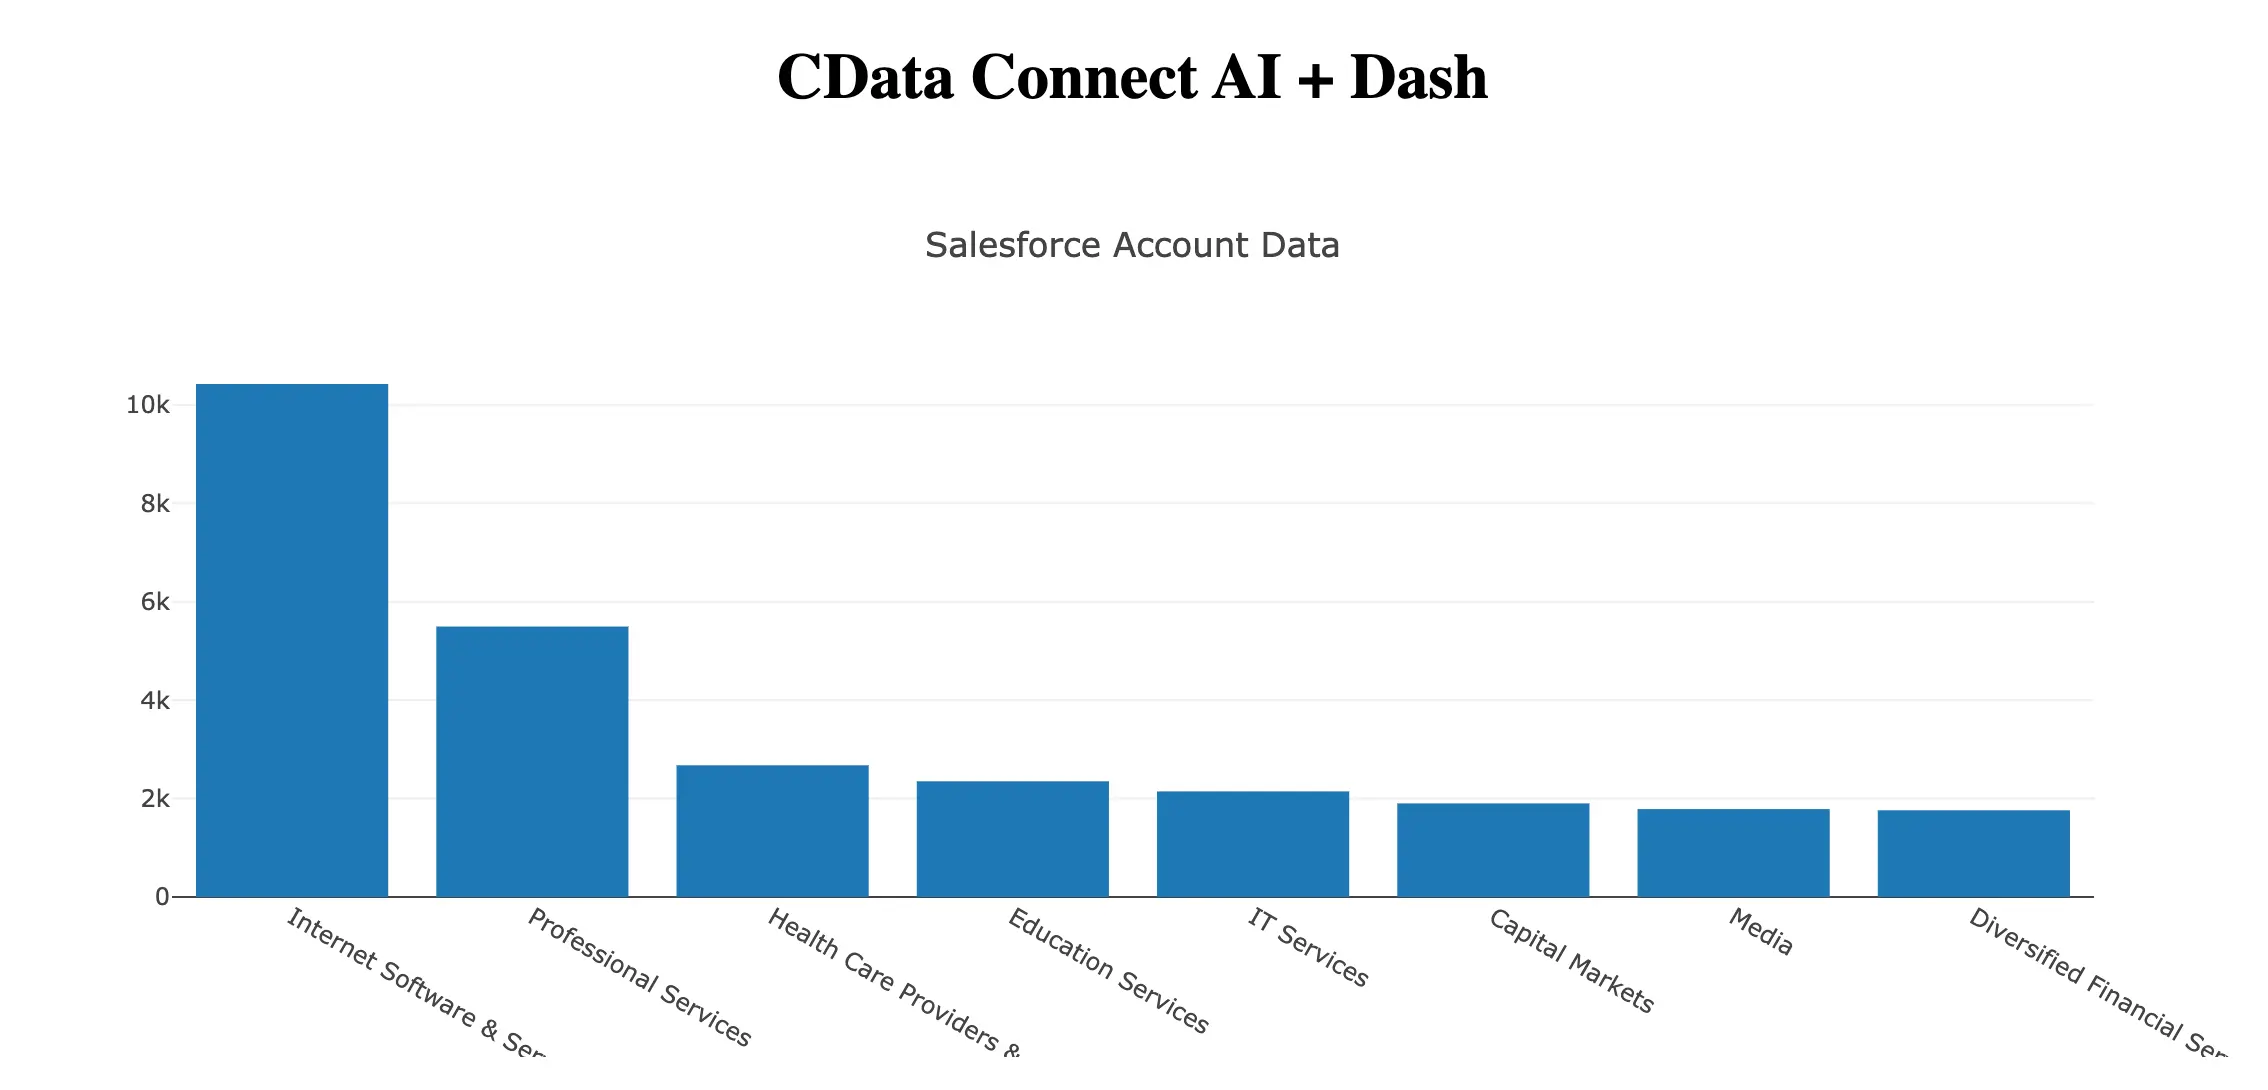
Now, use Python to run the web app and a browser to view the QuickBooks Online data.
python quickbooksonline-dash.py
More Information and Free Trial
Now you can build interactive Dash web apps on live QuickBooks Online data using the CData Connect AI Python SDK. For more information on connecting to QuickBooks Online (and hundreds of other data sources), visit the Connect AI page. Sign up for a free trial and start building web apps on live QuickBooks Online data in Python.
Full Source Code
import dash
from dash import dcc, html
import pandas as pd
import plotly.graph_objs as go
import cdata_connect_ai

conn = cdata_connect_ai.connect(
    username="[email protected]",
    password="<your_pat>",
)

df = pd.read_sql(
    "SELECT DisplayName, Balance "
    "FROM [QuickBooksOnline1].[QuickBooksOnline].[Customers] "
    "WHERE FullyQualifiedName = 'Cook, Brian'",
    conn,
)

conn.close()

app = dash.Dash(__name__)
app.title = 'CData Connect AI + Dash'

trace = go.Bar(x=df['DisplayName'], y=df['Balance'], name='DisplayName')

app.layout = html.Div(
    children=[
        html.H1("CData Connect AI + Dash", style={'textAlign': 'center'}),
        dcc.Graph(
            id='example-graph',
            figure={
                'data': [trace],
                'layout': go.Layout(title='QuickBooks Online Customers Data', barmode='stack'),
            },
        ),
    ],
    className="container",
)

if __name__ == '__main__':
    app.run(debug=True)