







Create Dynamic RabbitMQ Grids Using the Infragistics XamDataGrid

Using Infragistics WPF UI controls, you can build contemporary applications reminiscent of Microsoft Office for both desktop and touch-based devices. When coupled with the CData API Driver for ADO.NET, you gain the capability to construct interactive grids, charts, and various other visual elements while directly accessing real-time data from RabbitMQ data. This article will guide you through the process of creating a dynamic grid within Visual Studio using the Infragistics XamDataGrid control.
You will need to install the Infragistics WPF UI components to continue. Download a free trial here: https://www.infragistics.com/products/wpf.
Create a WPF Project
Open VisualStudio and create a new WPF project.
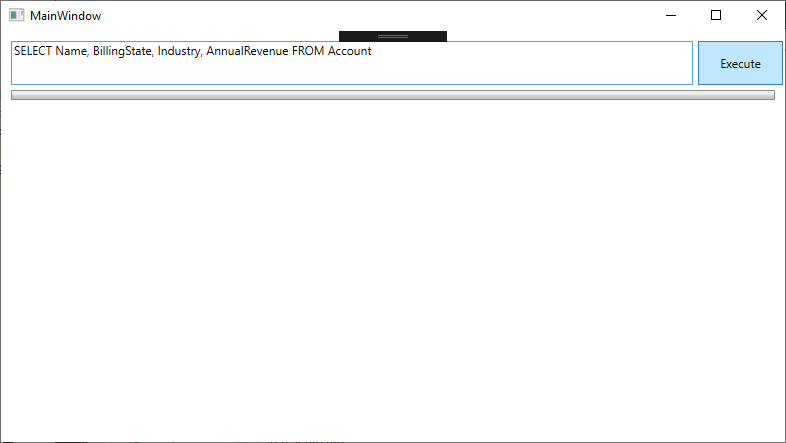
Add a TextBox for passing a SQL query to the CData ADO.NET Provider and a Button for executing the query.
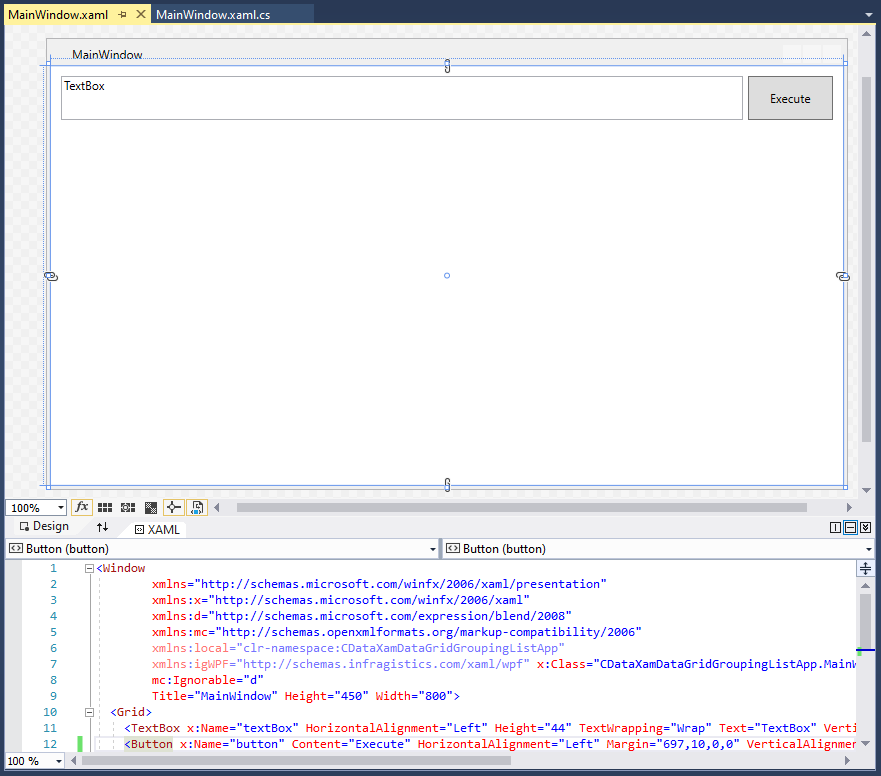
The XAML at this stage is as follows:
< Window
        xmlns="http://schemas.microsoft.com/winfx/2006/xaml/presentation"
        xmlns:x="http://schemas.microsoft.com/winfx/2006/xaml"
        xmlns:d="http://schemas.microsoft.com/expression/blend/2008"
        xmlns:mc="http://schemas.openxmlformats.org/markup-compatibility/2006"
        xmlns:local="clr-namespace:CDataXamDataGridGroupingListApp"
        xmlns:igWPF="http://schemas.infragistics.com/xaml/wpf" x:Class="CDataXamDataGridGroupingListApp.MainWindow"
        mc:Ignorable="d"
        Title="MainWindow" Height="450" Width="800">
  < Grid>
    < TextBox x:Name="textBox" HorizontalAlignment="Left" Height="44" TextWrapping="Wrap" Text="TextBox" VerticalAlignment="Top" Width="682" Margin="10,10,0,0"/>
    < Button x:Name="button" Content="Execute" HorizontalAlignment="Left" Margin="697,10,0,0" VerticalAlignment="Top" Width="85" Height="44"/>
  < /Grid>
< /Window>
Add and Configure a XamDataGrid
After adding the initial controls, add a XamDataGrid to the App. The component will appear in the Visual Studio toolbox.
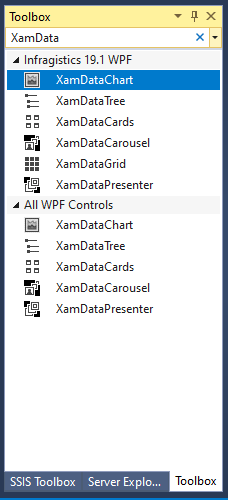
Arrange the component on the designer so that it is below the TextBox & Button and linked to the boundaries of the app.
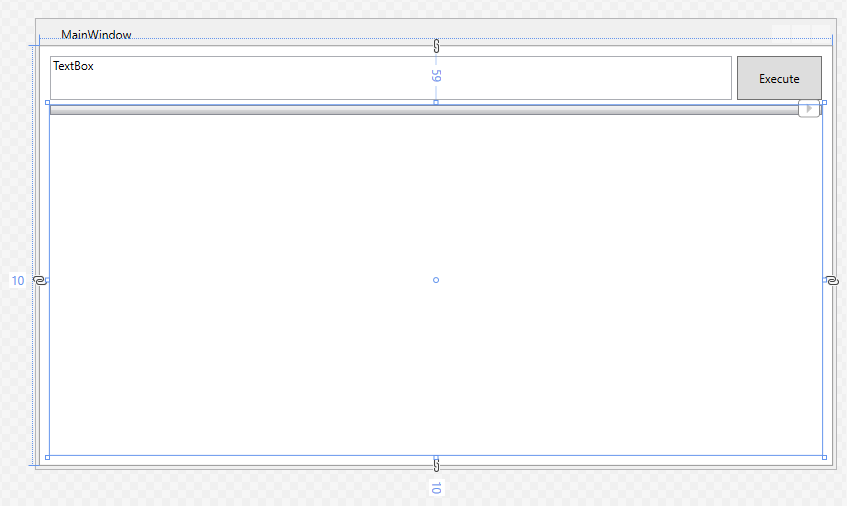
Once the XamDataGrid is placed, edit the XAML to set the XamDataGrid DataSource attribute to "{Binding}" and set the FieldSettings AllowRecordFiltering and AllowSummaries attributes to "true." Next, add an empty method as the Click event handler for the Button component. The XAML at this stage is as follows:
< Window
        xmlns="http://schemas.microsoft.com/winfx/2006/xaml/presentation"
        xmlns:x="http://schemas.microsoft.com/winfx/2006/xaml"
        xmlns:d="http://schemas.microsoft.com/expression/blend/2008"
        xmlns:mc="http://schemas.openxmlformats.org/markup-compatibility/2006"
        xmlns:local="clr-namespace:CDataXamDataGridGroupingListApp"
        xmlns:igWPF="http://schemas.infragistics.com/xaml/wpf" x:Class="CDataXamDataGridGroupingListApp.MainWindow"
        mc:Ignorable="d"
        Title="MainWindow" Height="450" Width="800">
  < Grid>
    < TextBox x:Name="textBox" HorizontalAlignment="Left" Height="44" TextWrapping="Wrap" Text="TextBox" VerticalAlignment="Top" Width="682" Margin="10,10,0,0"/>
    < Button x:Name="button" Content="Execute" HorizontalAlignment="Left" Margin="697,10,0,0" VerticalAlignment="Top" Width="85" Click="Button_Click" Height="44"/>

    < igWPF:XamDataGrid Margin="10,59,10,10" DataSource="{Binding}">
      < igWPF:XamDataGrid.FieldSettings>
        < igWPF:FieldSettings AllowSummaries="True" AllowRecordFiltering="True"/>
      < /igWPF:XamDataGrid.FieldSettings>
    < /igWPF:XamDataGrid>

  < /Grid>
< /Window>
Connect to and Query RabbitMQ
The last step in building our WPG App with a dynamic DataGrid is connecting to and querying live RabbitMQ data. First add a reference to the CData ADO.NET Provider to the project (typically found in C:\Program Files\CData[product_name]\lib).
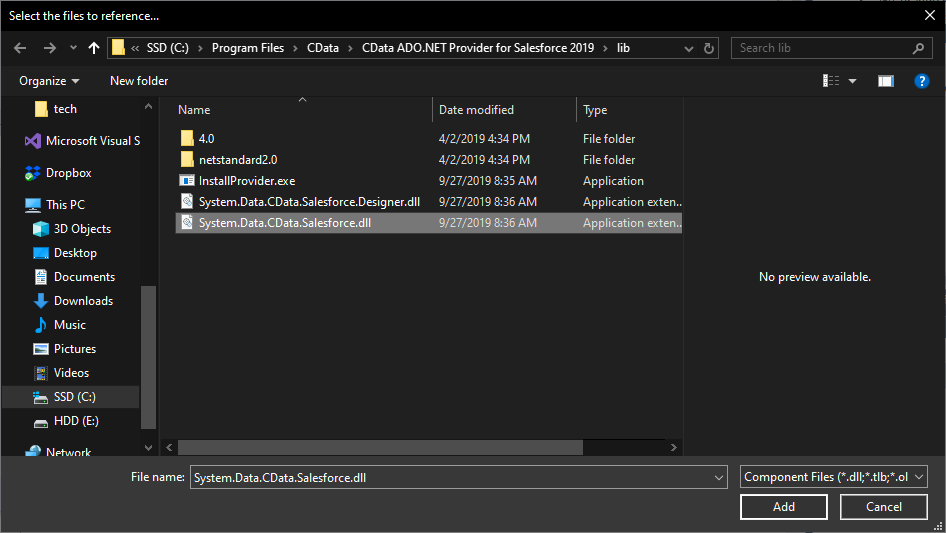
Next, add the Provider to the namespace, along with the standard Data library:
using System.Data.CData.API;
using System.Data;
Finally, add the code to connect to RabbitMQ and query using the text from the TextBox to the Click event handler.
About RabbitMQ Management HTTP API
RabbitMQ is an open-source message broker that supports multiple messaging protocols. The RabbitMQ Management HTTP API provides HTTP-based access to management and monitoring data for a RabbitMQ server. The API exposes information about virtual hosts, exchanges, queues, bindings, connections, channels, consumers, users, permissions, policies, and cluster-wide statistics.
The Management plugin must be enabled on the RabbitMQ server for the HTTP API to be available. By default, the management interface listens on port 15672.
Using Basic Authentication
RabbitMQ Management HTTP API uses HTTP Basic authentication. You must supply the username and password of a RabbitMQ management user.
To enable access to the management API:
- Ensure the RabbitMQ Management plugin is enabled on your server (rabbitmq-plugins enable rabbitmq_management).
- Use an existing management user or create one with the appropriate management tag (management, policymaker, monitoring, or administrator).
- Note the full base URL of your RabbitMQ Management HTTP API (e.g., http://localhost:15672).
After configuring your RabbitMQ server, set the following connection properties to connect:
- AuthScheme: Set this to Basic.
- URL: Set this to the base URL of your RabbitMQ Management HTTP API (e.g., http://localhost:15672).
- User: Set this to your RabbitMQ management username (e.g., guest).
- Password: Set this to your RabbitMQ management password.
Example connection string:
Profile=C:\profiles\RabbitMQ.apip;AuthScheme=Basic;URL=http://localhost:15672;User=guest;Password=guest;
Available Tables
The RabbitMQ profile provides access to the following tables:
- Overview - Cluster-wide statistics and information about the RabbitMQ node
- Nodes - Information about individual nodes in the RabbitMQ cluster
- NodeMemory - Detailed memory usage breakdown for a specific cluster node
- Connections - List of all open AMQP connections to the broker
- Channels - List of all open AMQP channels across all connections
- Consumers - List of all consumers registered across all queues
- Exchanges - List of exchanges declared across all virtual hosts
- Queues - List of queues declared across all virtual hosts
- Bindings - List of all bindings between exchanges and queues
- VirtualHosts - List of virtual hosts configured on the broker
- VhostPermissions - User permissions within a specific virtual host
- Users - List of all RabbitMQ users
- Permissions - Permission records for all users across all virtual hosts
- TopicPermissions - Topic-level permission records for all users
- Policies - List of policies applied to queues and exchanges in virtual hosts
- OperatorPolicies - List of operator policies applied to queues in virtual hosts
- Parameters - List of component parameters (e.g., federation, shovel) per virtual host
- GlobalParameters - List of global parameters that apply across all virtual hosts
- VhostLimits - Resource limits configured for specific virtual hosts
- UserLimits - Resource limits configured for specific users
- FeatureFlags - List of feature flags and their enabled/disabled state on the node
- DeprecatedFeatures - List of deprecated features and their usage state
- AuthAttempts - Authentication attempt statistics for the node
- ClusterName - The name of the RabbitMQ cluster
- WhoAmI - Information about the currently authenticated management user
- ExchangeBindingsSource - Bindings for which a specific exchange is the source
- ExchangeBindingsDestination - Bindings for which a specific exchange is the destination
- QueueBindings - Bindings for a specific queue within a virtual host
private void Button_Click(object sender, RoutedEventArgs e)
{
  //connecting to RabbitMQ
  string connString = "Profile=C:\profiles\\RabbitMQ.apip;AuthScheme=Basic;URL=http://localhost:15672;User=guest;Password=guest;";
  using (var conn = new APIConnection(connString))
  {
    //using the query from the TextBox
    var dataAdapter = new APIDataAdapter(textBox.Text, conn);
    var table = new DataTable();
    dataAdapter.Fill(table);

    //passing the DataRowCollection to the DataContext
    //  for use in the XamDataGrid
    this.DataContext = table.Rows;
  }
}
Run the Application
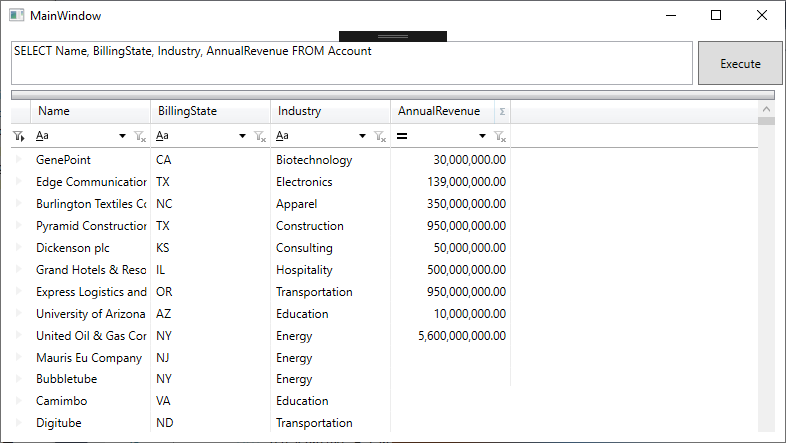
With the app fully configured, we are ready to display RabbitMQ data in our XamDataGrid. When you click "Execute," the app connects to RabbitMQ and submits the SQL query through the CData ADO.NET Provider.
Live RabbitMQ data is displayed in the grid.
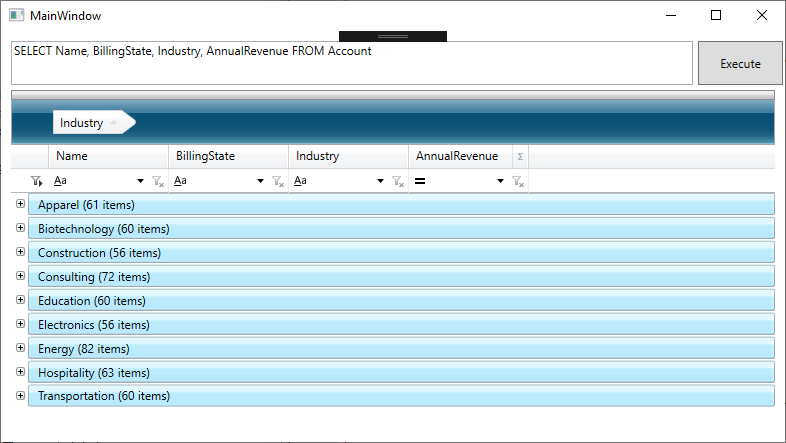
Group the data by dragging and dropping a column name into the header.
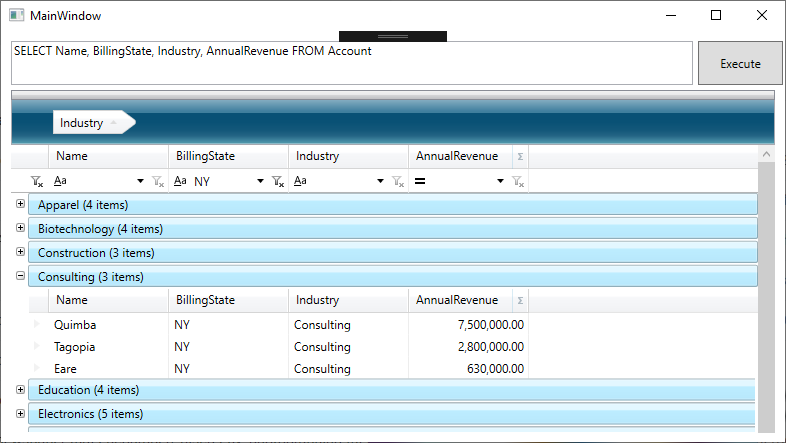
As you add groupings and filters, the underlying SQL query is submitted directly to RabbitMQ, making it possible to drill down into live RabbitMQ data to find only the specific information you need.
Free Trial & More Information
At this point, you have created a dynamic WPF App with access to live RabbitMQ data. For more information, visit the CData ADO.NET Provider page. Download a free, 30-day trial and start working live RabbitMQ data in apps built using the Infragistics UI controls today.