







Connect to Reply.io Data from Blazor Apps

Blazor is a framework for developing modern, client-side web UIs using .NET technology. Instead of coding in JavaScript, developers can use the familiar C# language and .NET libraries to build app UIs.
The CData API Driver for ADO.NET can be used with standard ADO.NET interfaces, such as LINQ and Entity Framework, to interact with live Reply.io data. Since Blazor supports .NET Core, developers can use CData ADO.NET Providers in Blazor apps. In this article, we will guide you to build a simple Blazor app that talks to Reply.io using standard SQL queries.
Install the CData API Driver for ADO.NET
CData ADO.NET Providers allow users to access Reply.io just like they would access SQL Server, using simple SQL queries.
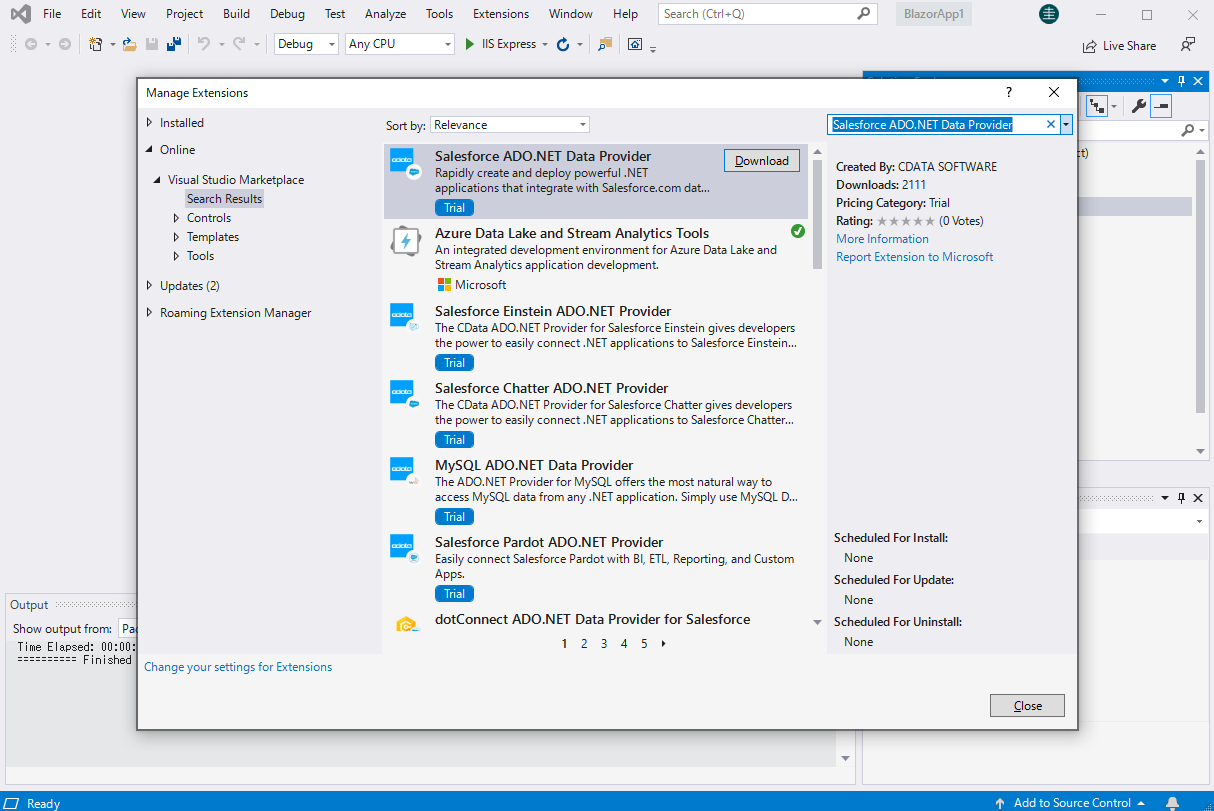
Install the Reply.io ADO.NET Data Provider from the CData website or from NuGet. Search NuGet for "Reply.io ADO.NET Data Provider."
Create a Reply.io-Connected Blazor App
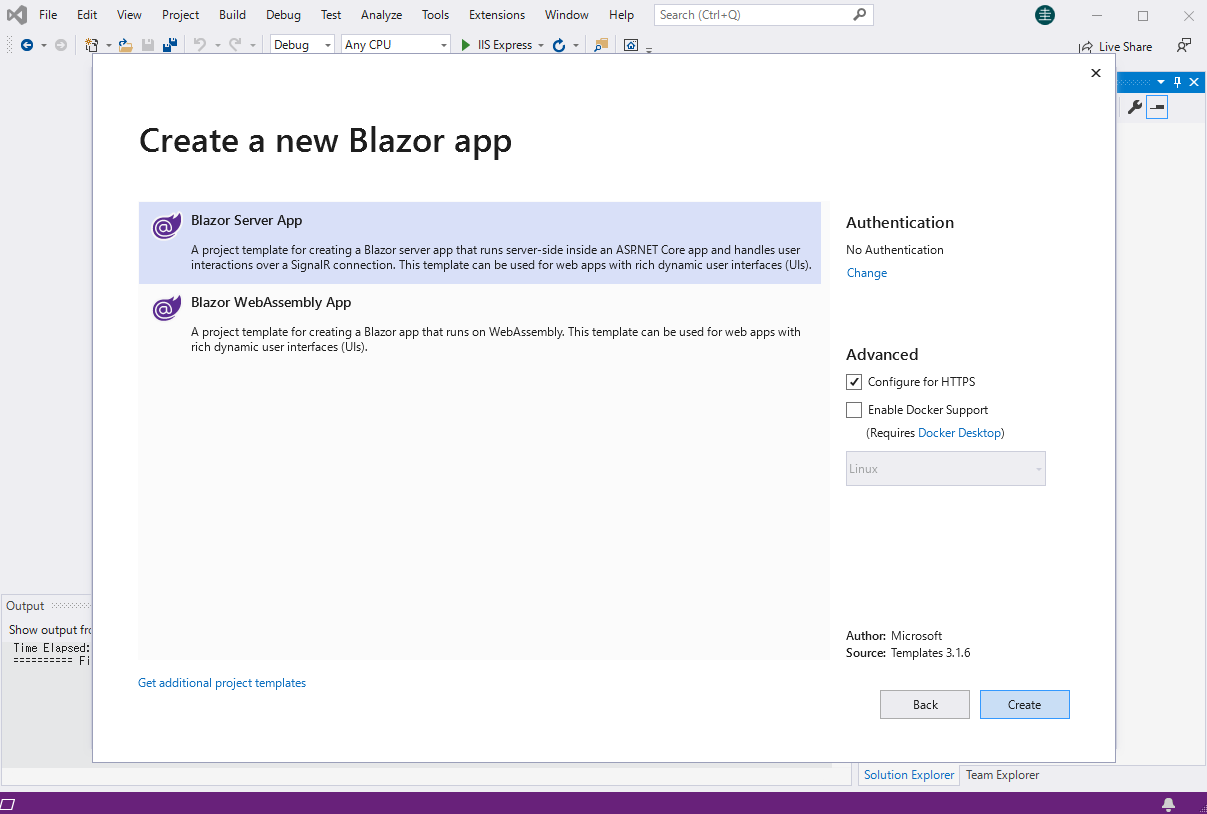
Start by creating a Blazor project that references the CData API Driver for ADO.NET
- Create a Blazor project on Visual Studio.
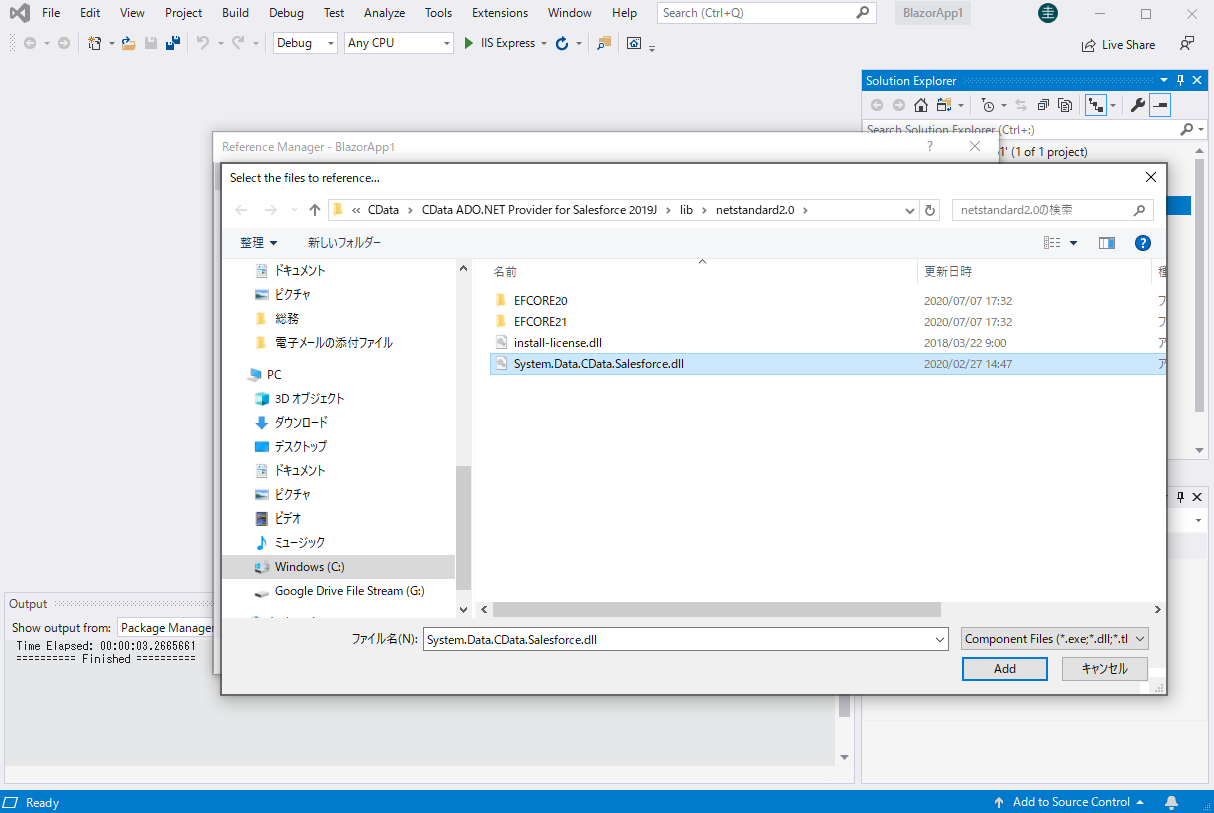
- From the Solution Explorer, right click Dependencies, then click Add Project Reference.
- In the Reference Manager, click the Browse button, and choose the .dll file of the installed ADO.NET Provider (e.g. System.Data.CData.API.dll, typically located at C:\Program Files\CData\CData API Driver for ADO.NET\lib etstandard2.0).
SELECT Reply.io Data from the Blazor App
- Open the Index.razor file from the Project page.
- In a APIConnection object, set the connection string:
The Reply.io API uses API Key authentication via the x-api-key request header.
Using API Key Authentication
Your Reply.io API key is required to create a connection. To obtain your API key:
- Log into your Reply.io account.
- Click your profile icon and select Settings.
- Navigate to the API section.
- Copy your API Key.
After obtaining your API key, set the following connection properties:
- AuthScheme: Set this to APIKey.
- APIKey: Set this to your Reply.io API key.
- UserEmail (optional): Set this to the email address of the Reply.io user on whose behalf requests are made.
Example connection string:
Profile=C:\profiles\ReplyIO.apip;AuthScheme=APIKey;ProfileSettings='APIKey=your_api_key';
For example: Profile=C:\profiles\ReplyIO.apip;AuthScheme=APIKey;ProfileSettings='APIKey=your_api_key';
- The code below creates a simple Blazor app for displaying Reply.io data, using standard SQL to query Reply.io just like SQL Server.
@page "/" @using System.Data; @using System.Data.CData.API; <h1>Hello, world!</h1> Welcome to your Data app. <div class="row"> <div class="col-12"> @using (APIConnection connection = new APIConnection( "Profile=C:\profiles\ReplyIO.apip;AuthScheme=APIKey;ProfileSettings='APIKey=your_api_key';")) { var sql = "SELECT , FROM BillingInfo WHERE = ''"; var results = new DataTable(); APIDataAdapter dataAdapter = new APIDataAdapter(sql, connection); dataAdapter.Fill(results); <table class="table table-bordered"> <thead class="thead-light"> <tr> @foreach (DataColumn item in results.Rows[0].Table.Columns) { <th scope="col">@item.ColumnName</th> } </tr> </thead> <tbody> @foreach (DataRow row in results.Rows) { <tr> @foreach (var column in row.ItemArray) { <td>@column.ToString()</td> } </tr> } </tbody> </table> } </div> </div> - Rebuild and run the project. The ADO.NET Provider renders Reply.io data as an HTML table in the Blazor app.
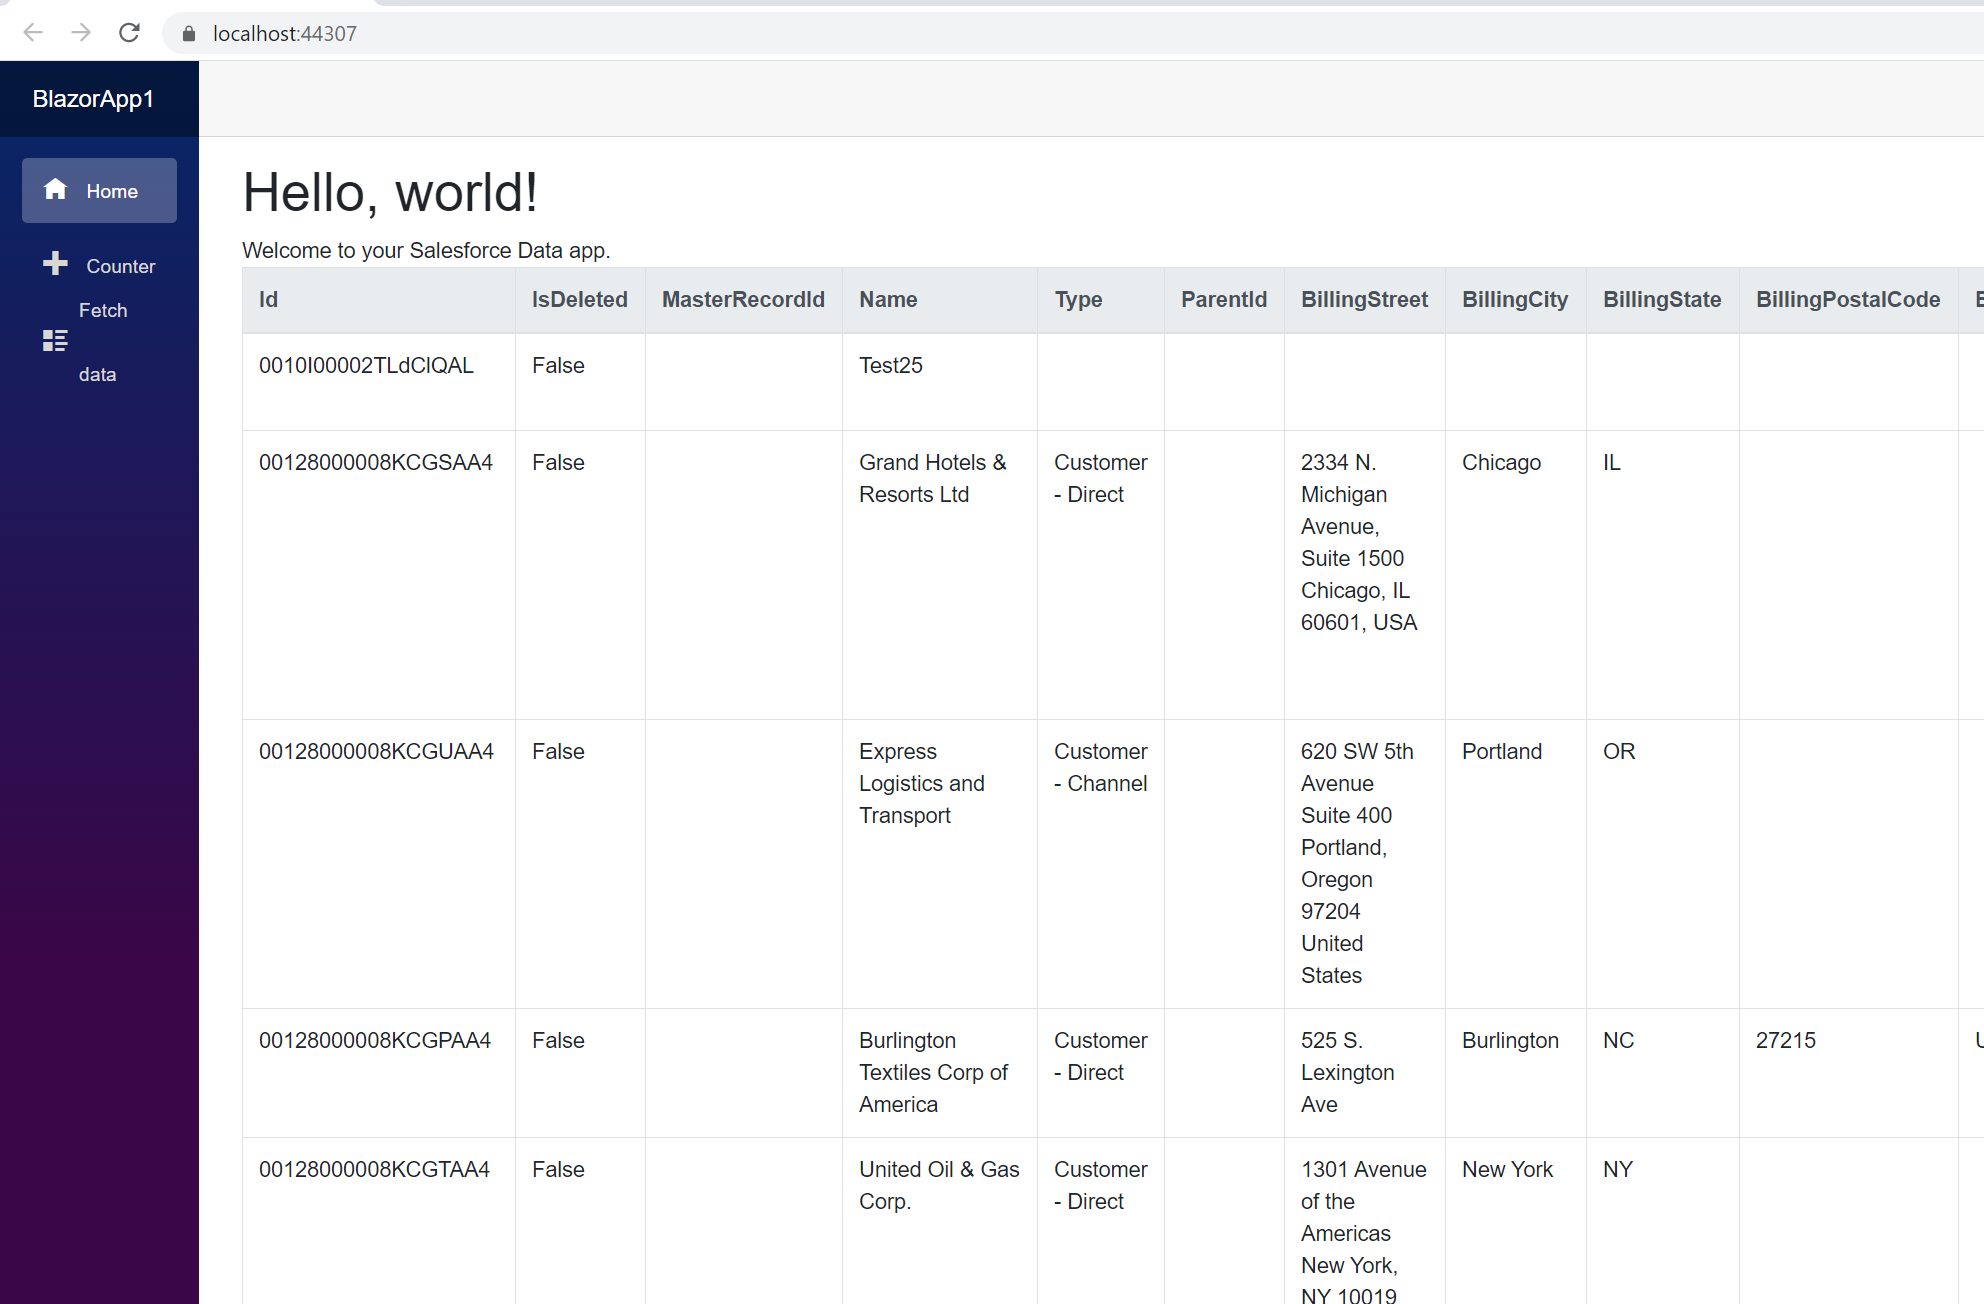
At this point, you have a Reply.io-connected Blazor app, capable of working with live Reply.io data just like you would work with a SQL Server instance. Download a free, 30-day trial and start working with live Reply.io data in your Blazor apps today.