







Access Live SQL Analysis Services Data in Excel (Desktop) via Connect AI

Microsoft Excel is a widely used spreadsheet software application, primarily used for tasks related to data management, analysis, and visualization. When combined with CData Connect AI, you gain immediate access to SQL Analysis Services data directly within Excel, facilitating data analysis, collaboration, calculations, and more.This article shows how to connect to SQL Analysis Services in your Connect AI instance and access live SQL Analysis Services data in Excel spreadsheets.
CData Connect AI provides a pure cloud-to-cloud interface for SQL Analysis Services, allowing you to easily access live SQL Analysis Services data in Excel for the web. Simply use the Connect AI Add-In to query live data (or write your own). Using optimized data processing out of the box, CData Connect AI pushes all supported query operations (filters, JOINs, etc) directly to SQL Analysis Services, leveraging server-side processing to quickly return SQL Analysis Services data.
This setup requires a CData Connect AI instance and the CData Connect AI Add-In for Excel. To get started, sign up a free trial of Connect AI and install the free Connect AI Excel Add-In.
Configure SQL Analysis Services Connectivity for Excel
Connectivity to SQL Analysis Services from Excel is made possible through CData Connect AI. To work with SQL Analysis Services data from Excel, we start by creating and configuring a SQL Analysis Services connection.
- Log into Connect AI, click Sources, and then click Add Connection
- Select "SQL Analysis Services" from the Add Connection panel
-
Enter the necessary authentication properties to connect to SQL Analysis Services.
To connect, provide authentication and set the Url property to a valid SQL Server Analysis Services endpoint. You can connect to SQL Server Analysis Services instances hosted over HTTP with XMLA access. See the Microsoft documentation to configure HTTP access to SQL Server Analysis Services.
To secure connections and authenticate, set the corresponding connection properties, below. The data provider supports the major authentication schemes, including HTTP and Windows, as well as SSL/TLS.
-
HTTP Authentication
Set AuthScheme to "Basic" or "Digest" and set User and Password. Specify other authentication values in CustomHeaders.
-
Windows (NTLM)
Set the Windows User and Password and set AuthScheme to "NTLM".
-
Kerberos and Kerberos Delegation
To authenticate with Kerberos, set AuthScheme to NEGOTIATE. To use Kerberos delegation, set AuthScheme to KERBEROSDELEGATION. If needed, provide the User, Password, and KerberosSPN. By default, the data provider attempts to communicate with the SPN at the specified Url.
-
SSL/TLS:
By default, the data provider attempts to negotiate SSL/TLS by checking the server's certificate against the system's trusted certificate store. To specify another certificate, see the SSLServerCert property for the available formats.
You can then access any cube as a relational table: When you connect the data provider retrieves SSAS metadata and dynamically updates the table schemas. Instead of retrieving metadata every connection, you can set the CacheLocation property to automatically cache to a simple file-based store.
See the Getting Started section of the CData documentation, under Retrieving Analysis Services Data, to execute SQL-92 queries to the cubes.

-
HTTP Authentication
- Click Save & Test
-
Navigate to the Permissions tab in the Add SQL Analysis Services Connection page and update the User-based permissions.



With the connection configured, you are ready to connect to SQL Analysis Services data from Excel.
Access Live SQL Analysis Services Data in Excel
The steps below outline connecting to CData Connect AI from Excel to access live SQL Analysis Services data.
- Open Excel, create a new sheet (or open an existing one).
- Click Insert and click Get Add-ins. (if you have already installed the Add-In, jump to step 4).
- Search for CData Connect AI Add-In and install the Add-in.
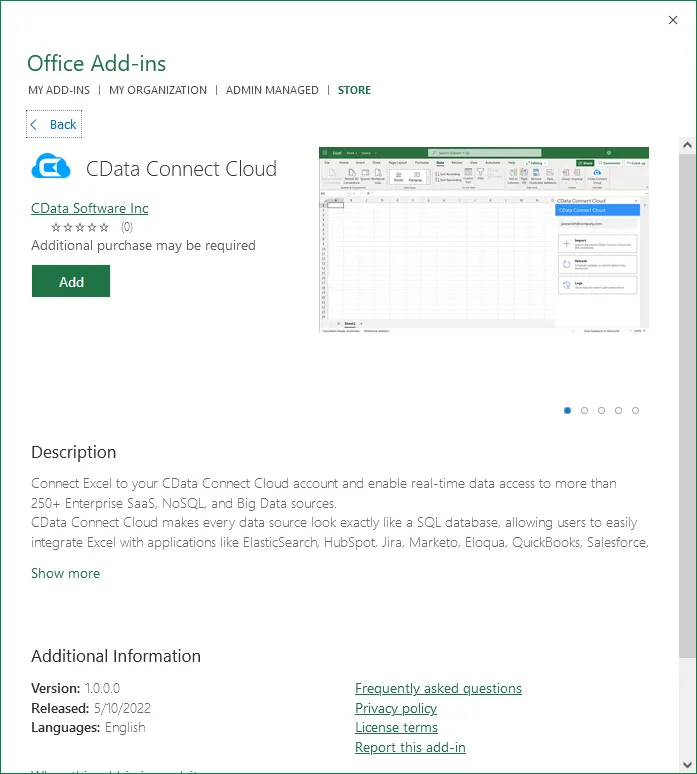
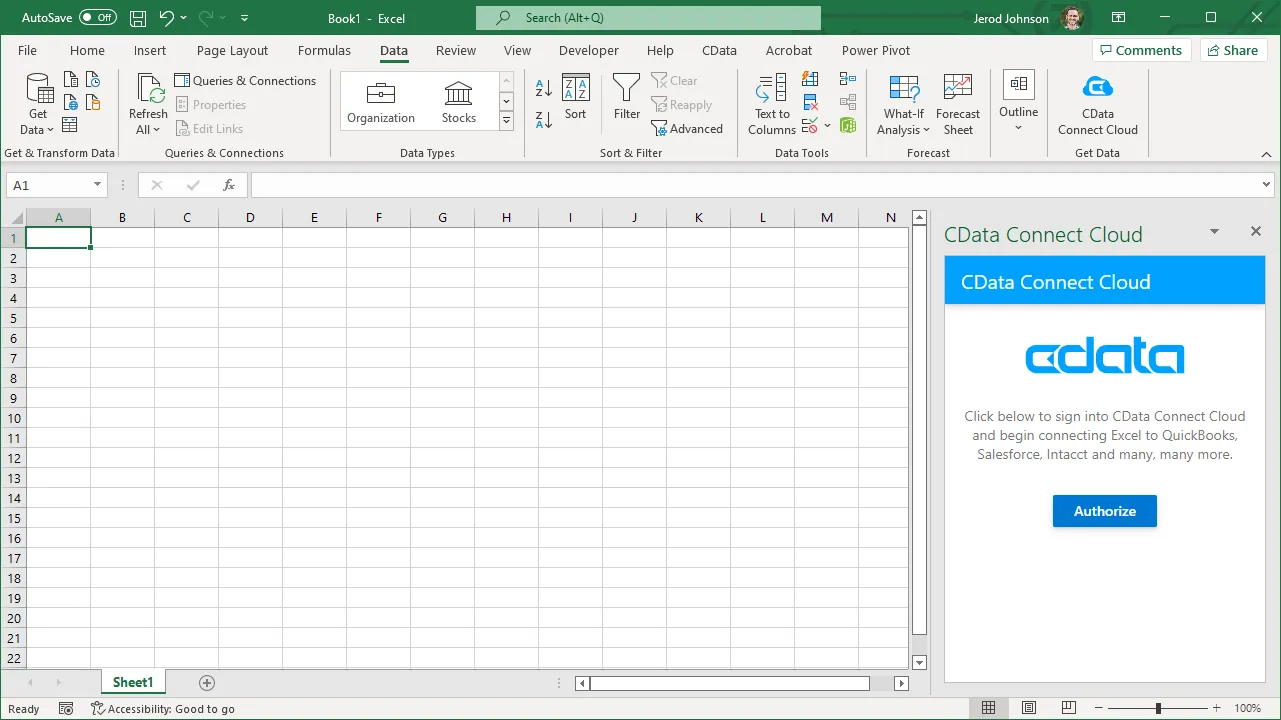
- Click Data and open the CData Connect AI Add-In.
- In the Add-In panel, click Authorize to authenticate with your CData Connect AI instance
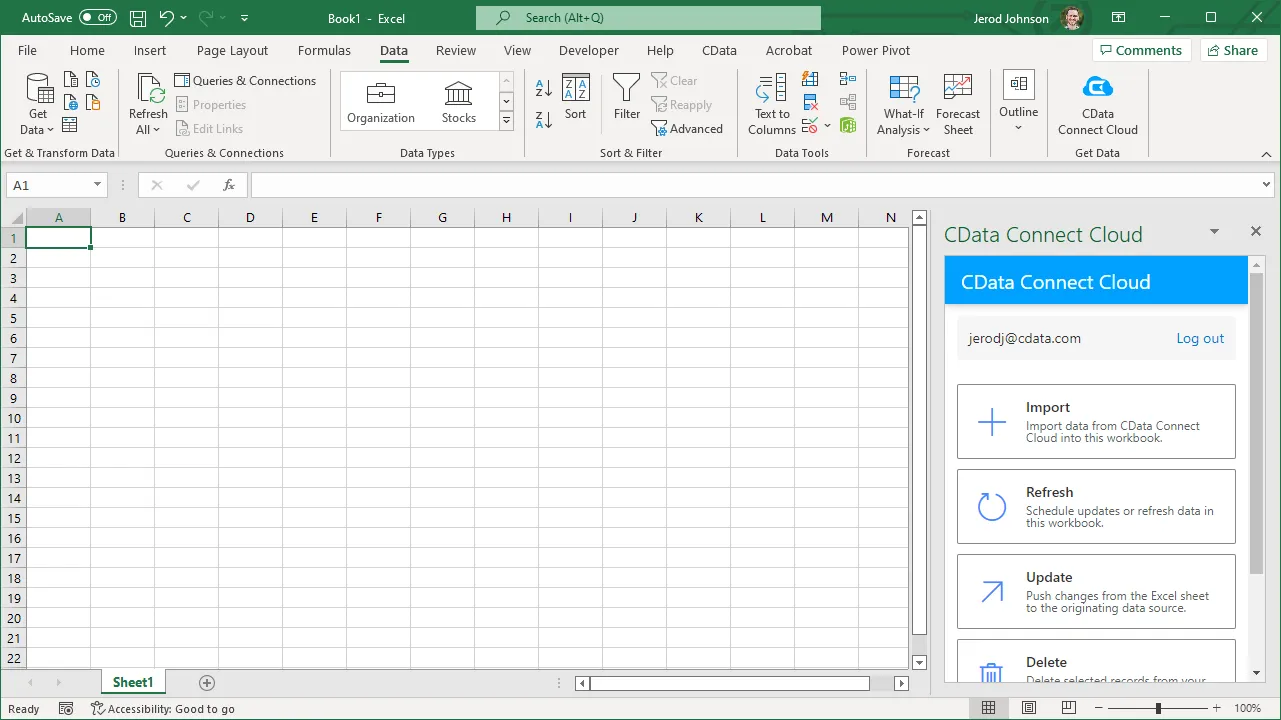
- In the CData Connect AI panel in Excel, click Import
- Choose a Connection (e.g. SSAS1), Table (e.g. Adventure_Works), and Columns to import
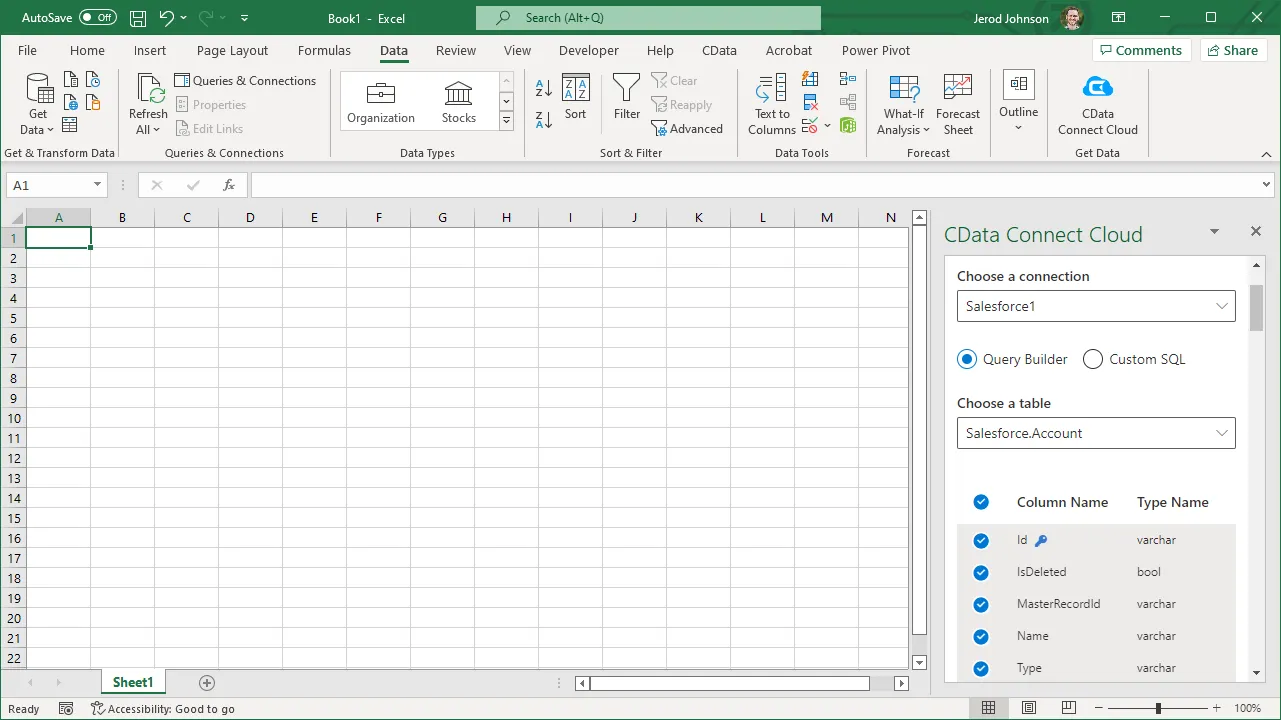
- Optionally add Filters, Sorting, and a Limit
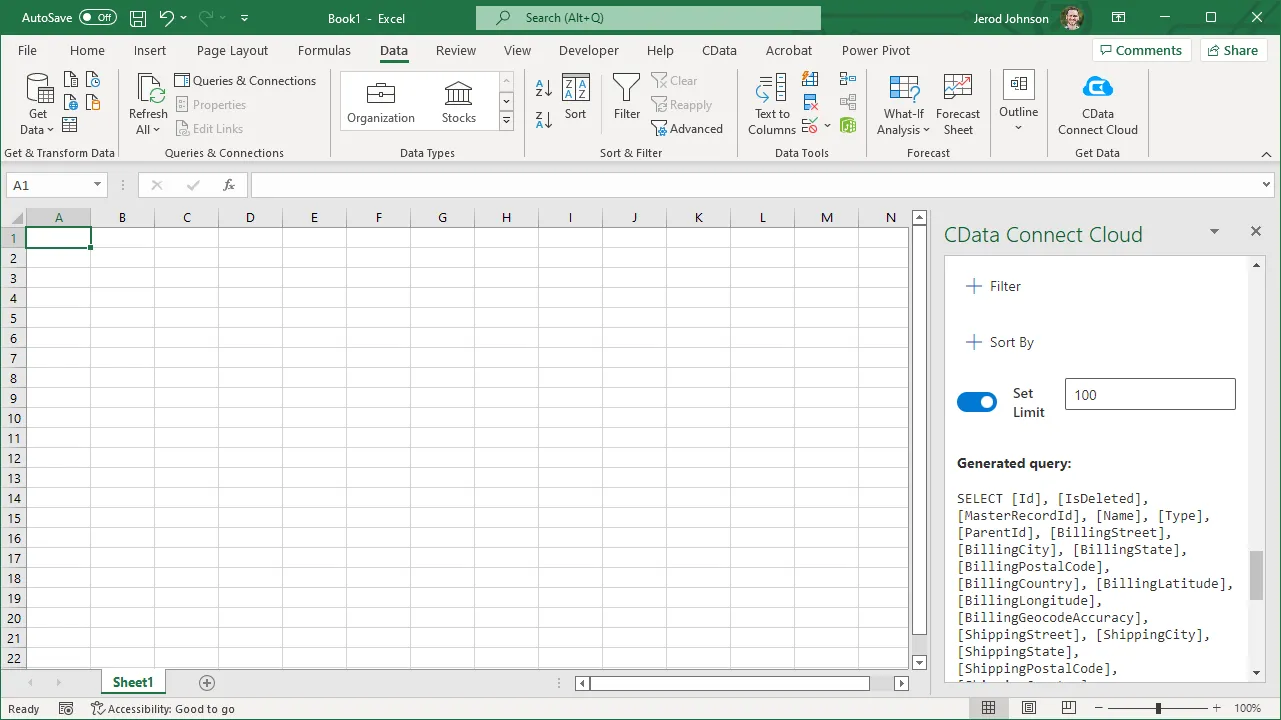
- Click Execute to import the data
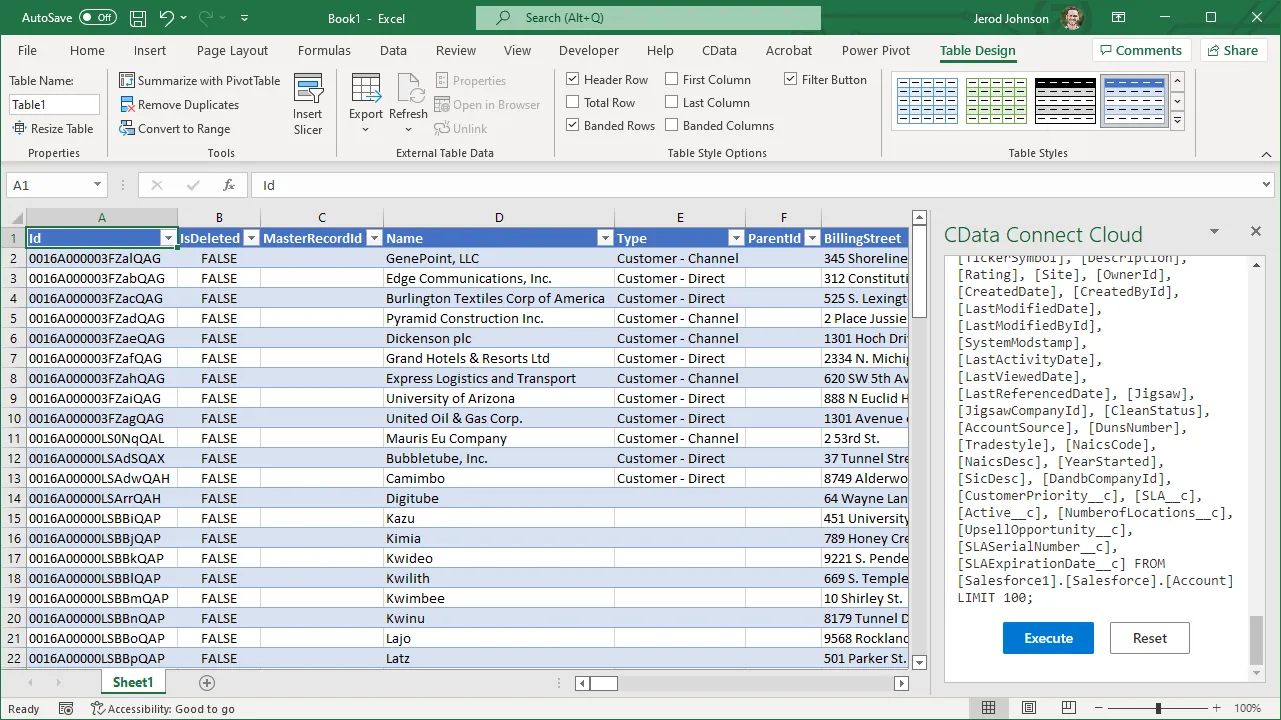
Live Access to SQL Analysis Services Data from Cloud Applications
Now, you have a direct, cloud-to-cloud connection to live SQL Analysis Services data from your Excel workbook. You can add more data to your workbook for calculations, aggregations, collaboration, and more.
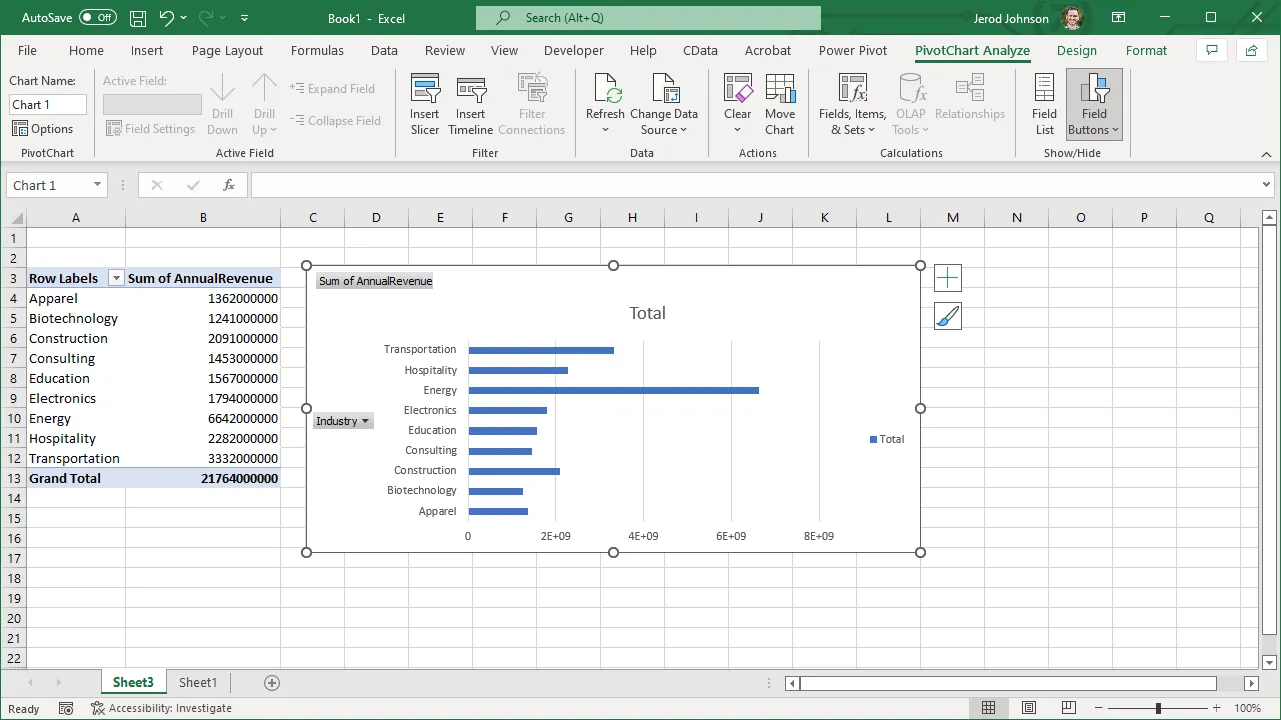
Try CData Connect AI and get real-time data access to hundreds of SaaS, Big Data, and NoSQL sources directly from your cloud applications.