







Integrate Goose with Live Okta Data via CData Connect AI

Goose is an open source AI agent that runs locally on your machine and works with a wide range of LLM providers. It supports the model context protocol (MCP) through its extensions framework, so you can add external tools and data sources and give the agent access to live systems beyond the model's training data.
By integrating Goose with CData Connect AI through the built-in MCP Server, Goose gains governed, real-time access to live Okta data. You can list catalogs, explore schemas, and query records from Okta data using natural language prompts, with all data access running securely against authorized sources.
This article explains how to configure Okta connectivity in Connect AI, generate the required personal access token, install and set up Goose, add the Connect AI MCP Server as a custom extension, and verify the integration by querying live Okta data from the Goose chat.
Step 1: Configure Okta connectivity for Goose
Connectivity to Okta from Goose is made possible through Connect AI's Remote MCP Server. To interact with Okta data from Goose, start by creating and configuring a Okta connection in Connect AI.
- Log into Connect AI, click Sources, and then click Add Connection
- Select Okta from the Add Connection panel
-
Enter the necessary authentication properties to connect to Okta.
To connect to Okta, set the Domain connection string property to your Okta domain.
You will use OAuth to authenticate with Okta, so you need to create a custom OAuth application.
Creating a Custom OAuth Application
From your Okta account:
- Sign in to your Okta developer edition organization with your administrator account.
- In the Admin Console, go to Applications > Applications.
- Click Create App Integration.
- For the Sign-in method, select OIDC - OpenID Connect.
- For Application type, choose Web Application.
- Enter a name for your custom application.
- Set the Grant Type to Authorization Code. If you want the token to be automatically refreshed, also check Refresh Token.
- Set the callback URL:
- For desktop applications and headless machines, use http://localhost:33333 or another port number of your choice. The URI you set here becomes the CallbackURL property.
- For web applications, set the callback URL to a trusted redirect URL. This URL is the web location the user returns to with the token that verifies that your application has been granted access.
- In the Assignments section, either select Limit access to selected groups and add a group, or skip group assignment for now.
- Save the OAuth application.
- The application's Client Id and Client Secret are displayed on the application's General tab. Record these for future use. You will use the Client Id to set the OAuthClientId and the Client Secret to set the OAuthClientSecret.
- Check the Assignments tab to confirm that all users who must access the application are assigned to the application.
- On the Okta API Scopes tab, select the scopes you wish to grant to the OAuth application. These scopes determine the data that the app has permission to read, so a scope for a particular view must be granted for the driver to have permission to query that view. To confirm the scopes required for each view, see the view-specific pages in Data Model < Views in the Help documentation.

- Click Save & Test
- Navigate to the Permissions tab and update user-based permissions



Add a Personal Access Token
A Personal Access Token (PAT) is used to authenticate the connection to Connect AI from Goose. It is best practice to create a separate PAT for each integration to maintain granular access control.
- Click the gear icon () at the top right of the Connect AI app to open Settings
- On the Settings page, go to the Access Tokens section and click Create PAT
- Give the PAT a descriptive name and click Create
- Copy the token when displayed and store it securely. It will not be shown again

With the Okta connection configured and a PAT generated, Goose can now connect to Okta data through Connect AI.
Step 2: Install and set up Goose
Next, install Goose, choose an LLM provider, and add the Connect AI Remote MCP Server as a custom extension so the agent can discover and call live data tools through Connect AI.
- Download and install Goose by following the official installation guide, then launch the application
-
On the Welcome to goose screen, choose an AI provider. Select Use Free/Local Providers to run a local model, or Connect to a Provider to configure a provider such as OpenAI, Anthropic, or Google, and enter the required API key
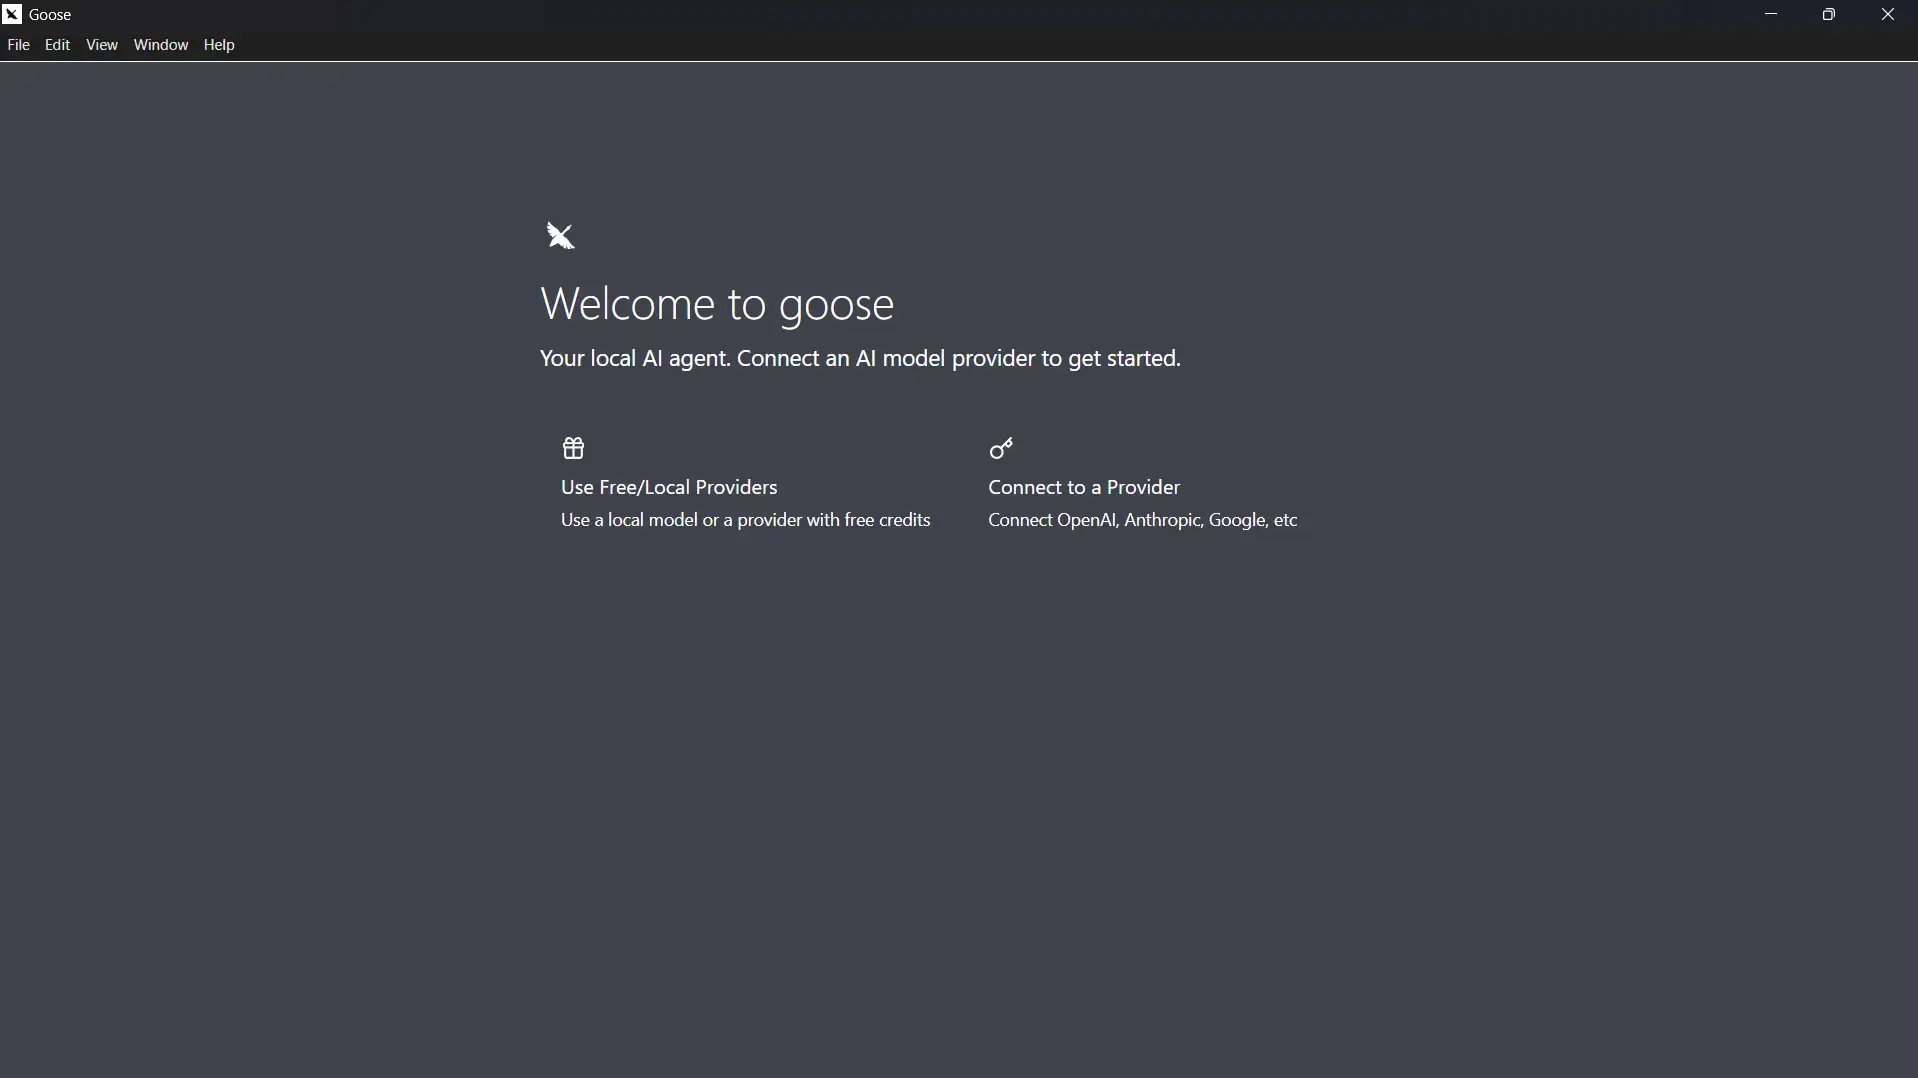
-
In the left navigation, click Extensions, then click + Add custom extension
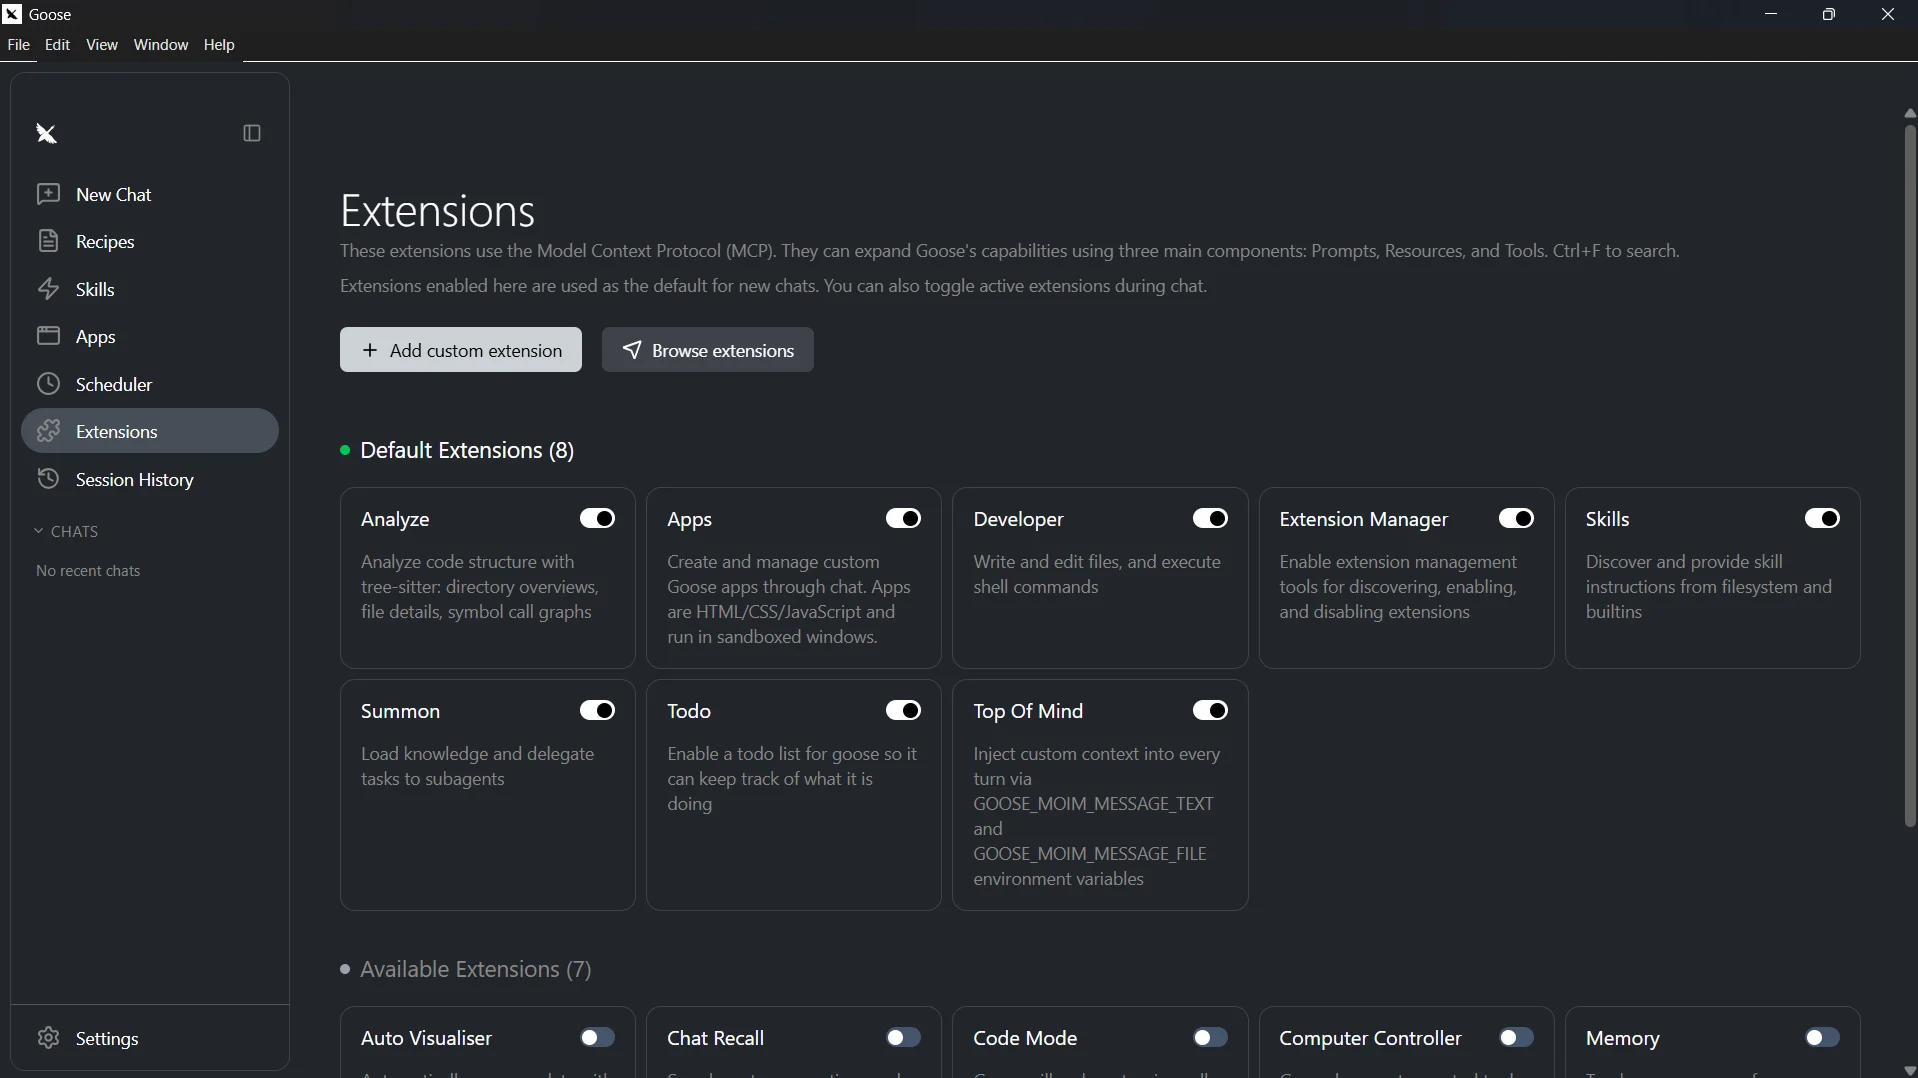
-
In the extension dialog, configure the server with the following values:
- Extension Name: CData MCP, or any name of your choice
- Type: Streamable HTTP
- Endpoint: https://mcp.cloud.cdata.com/mcp
-
Under Request Headers, add the following two headers and click + Add after each pair:
- Authorization: Basic your_base64_encoded_email_PAT
- Content-Type: application/json
Note: Goose will use Basic authentication with Connect AI. Combine your Connect AI user email and the PAT you created earlier in the format email:PAT, base64 encode the combined string, and prefix it with Basic. For example, given [email protected]:ABC123...XYZ789, the Authorization header value becomes something like: Basic dXNlckBkb21haW4uY29tOkFCQzEyMy4uLlhZWjc4OQ==
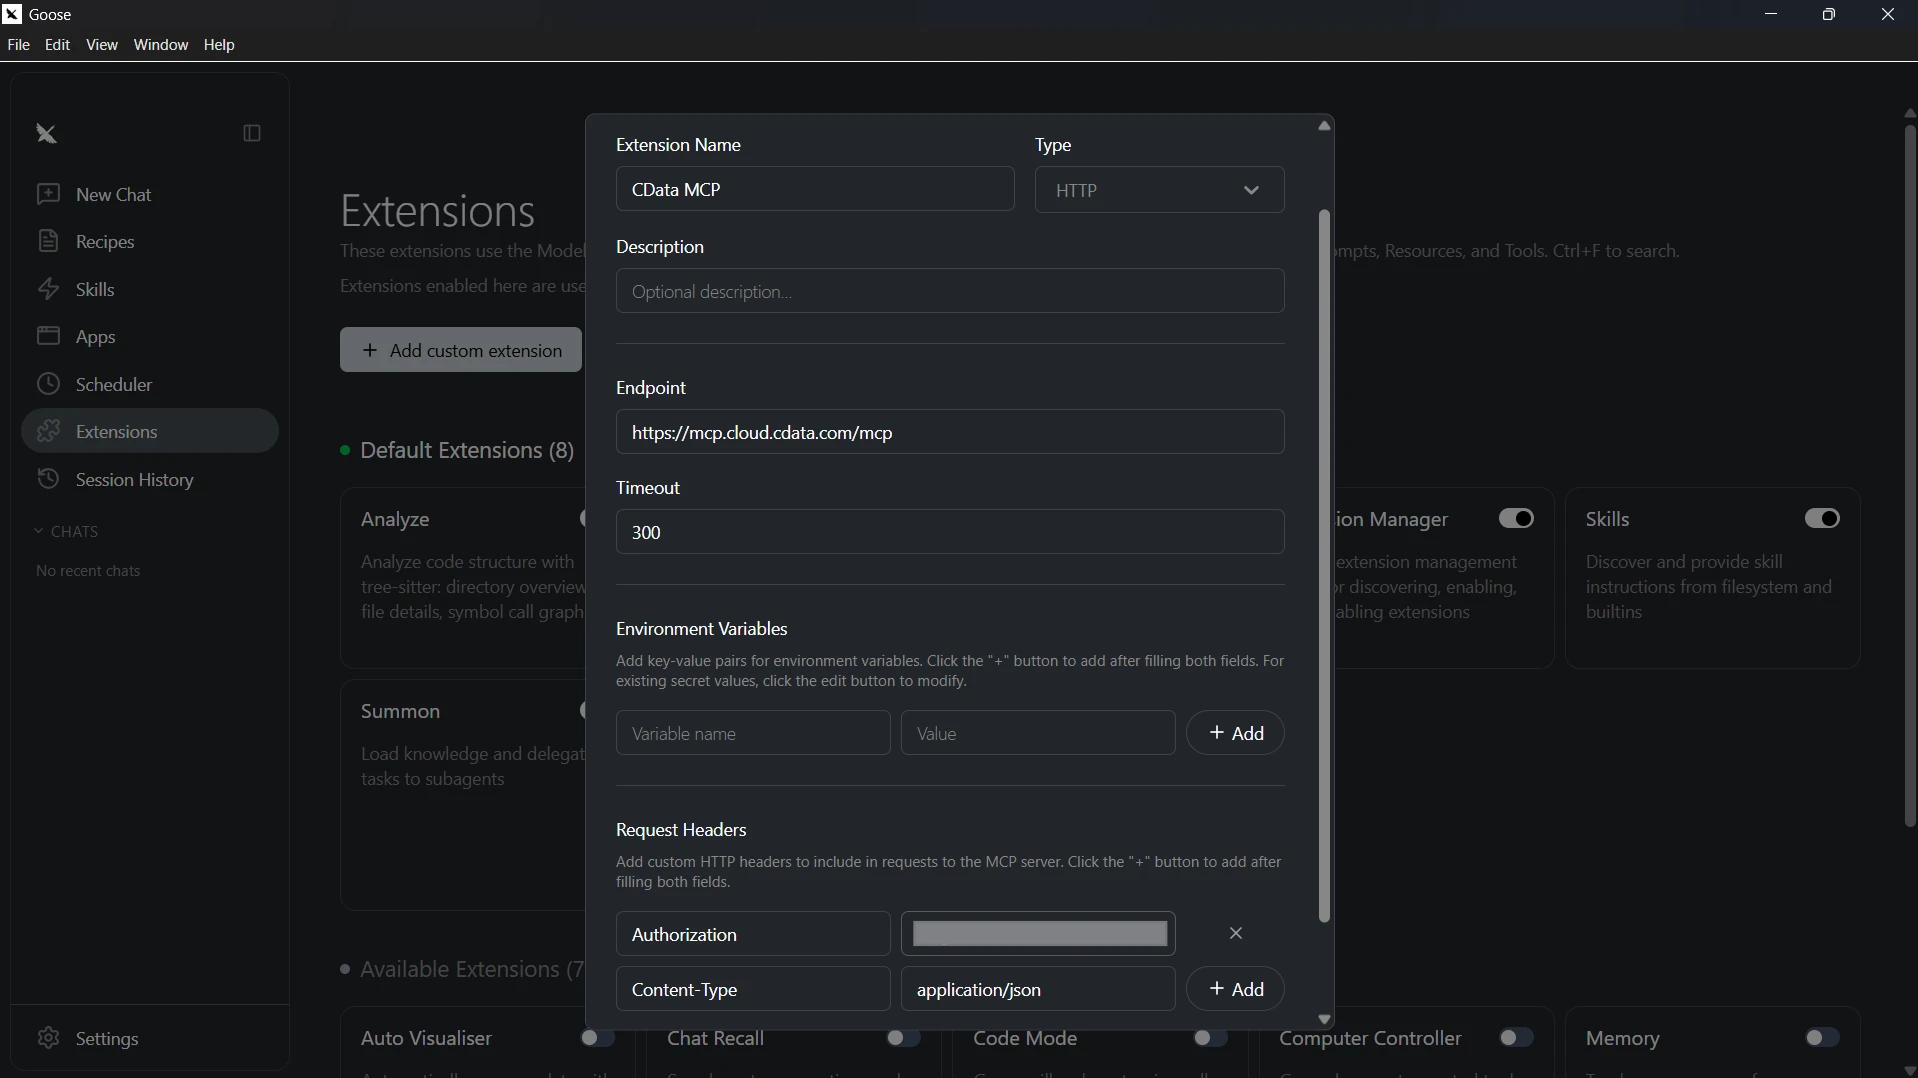
- Click Save to save the configuration
-
Return to the chat, click the extensions icon at the bottom of the chat input, and confirm that the configured MCP is enabled
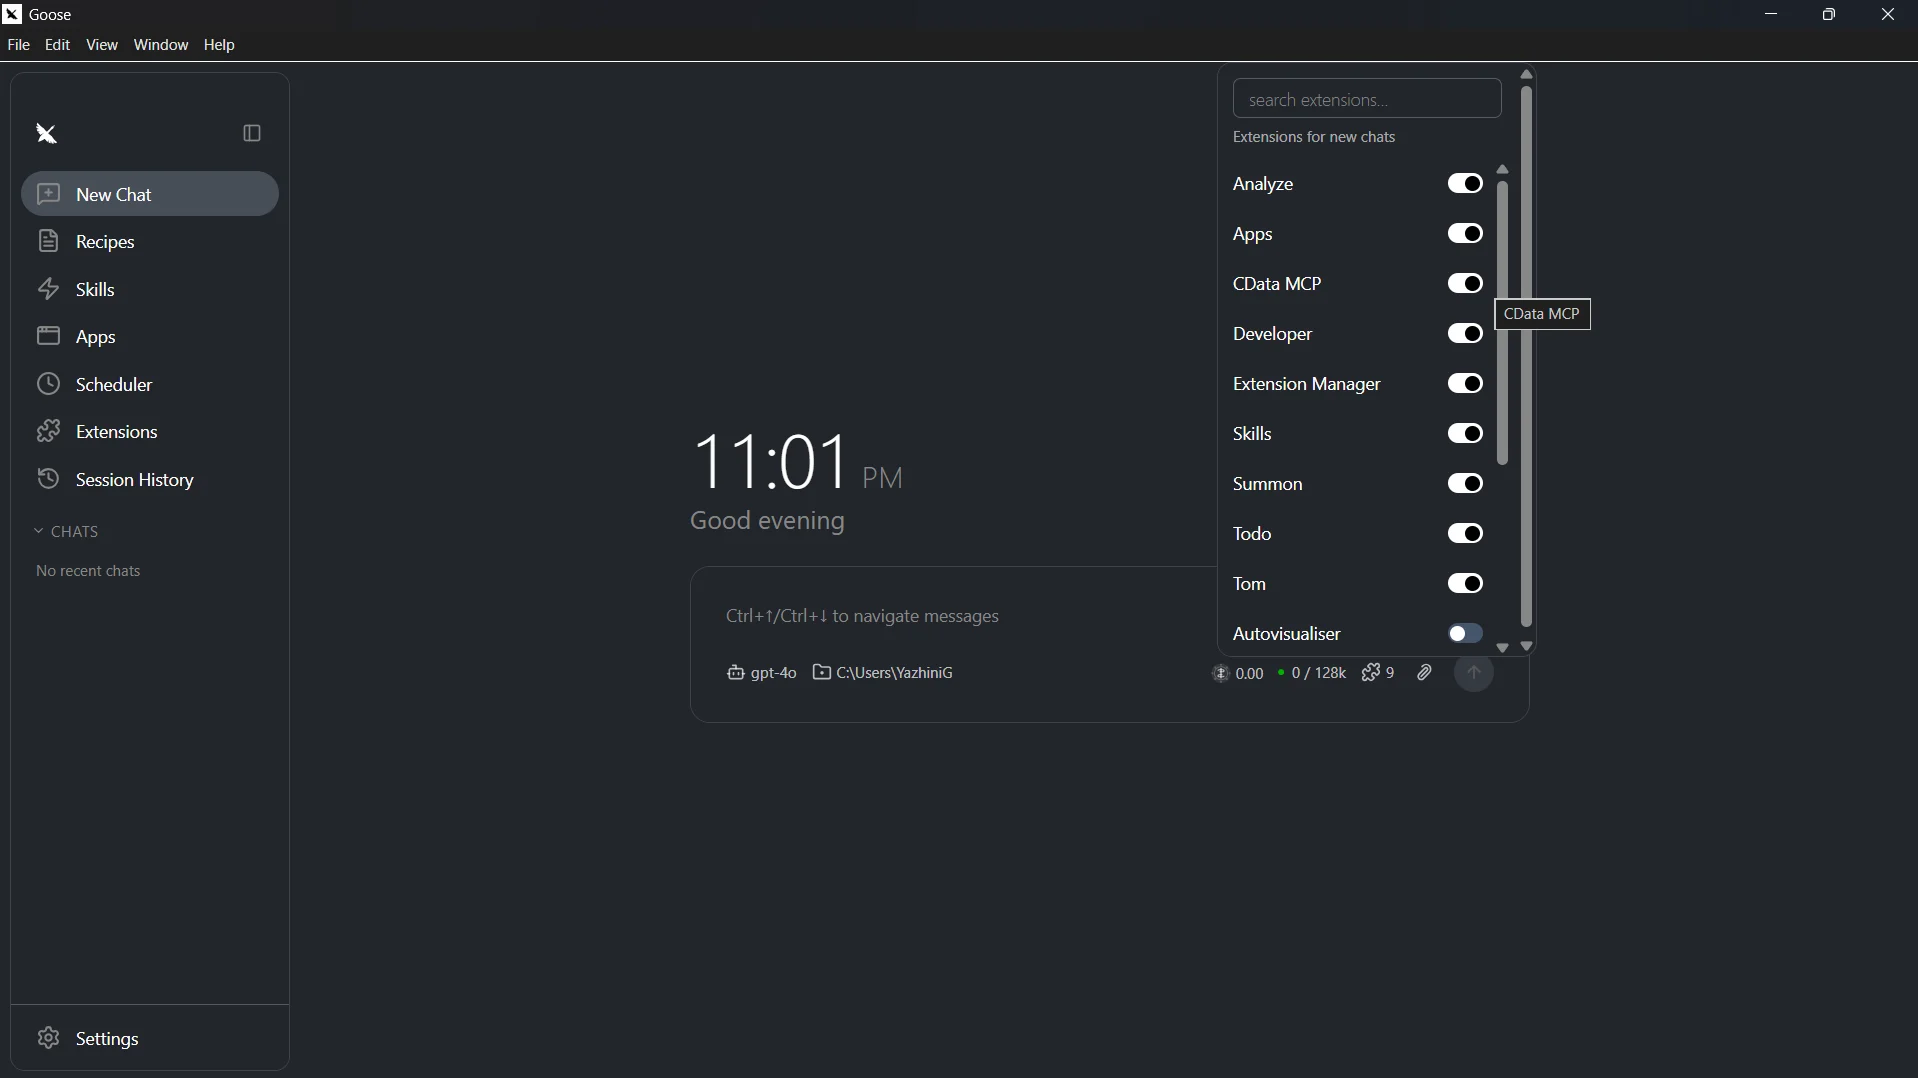
With the MCP server added and an LLM provider configured, Goose is ready to query live Okta data through Connect AI.
Step 3: Query live Okta data from Goose
With the integration complete, use the Goose chat to interact with live Okta data through natural language prompts handled by the configured LLM.
-
With the CData MCP extension enabled, type a prompt in the chat, for example:
- List catalogs from my CData MCP
- Show the available schemas and tables for Okta
- Query the top 5 records from a table in Okta data
-
Goose calls the Connect AI MCP Server and returns live results from Okta data
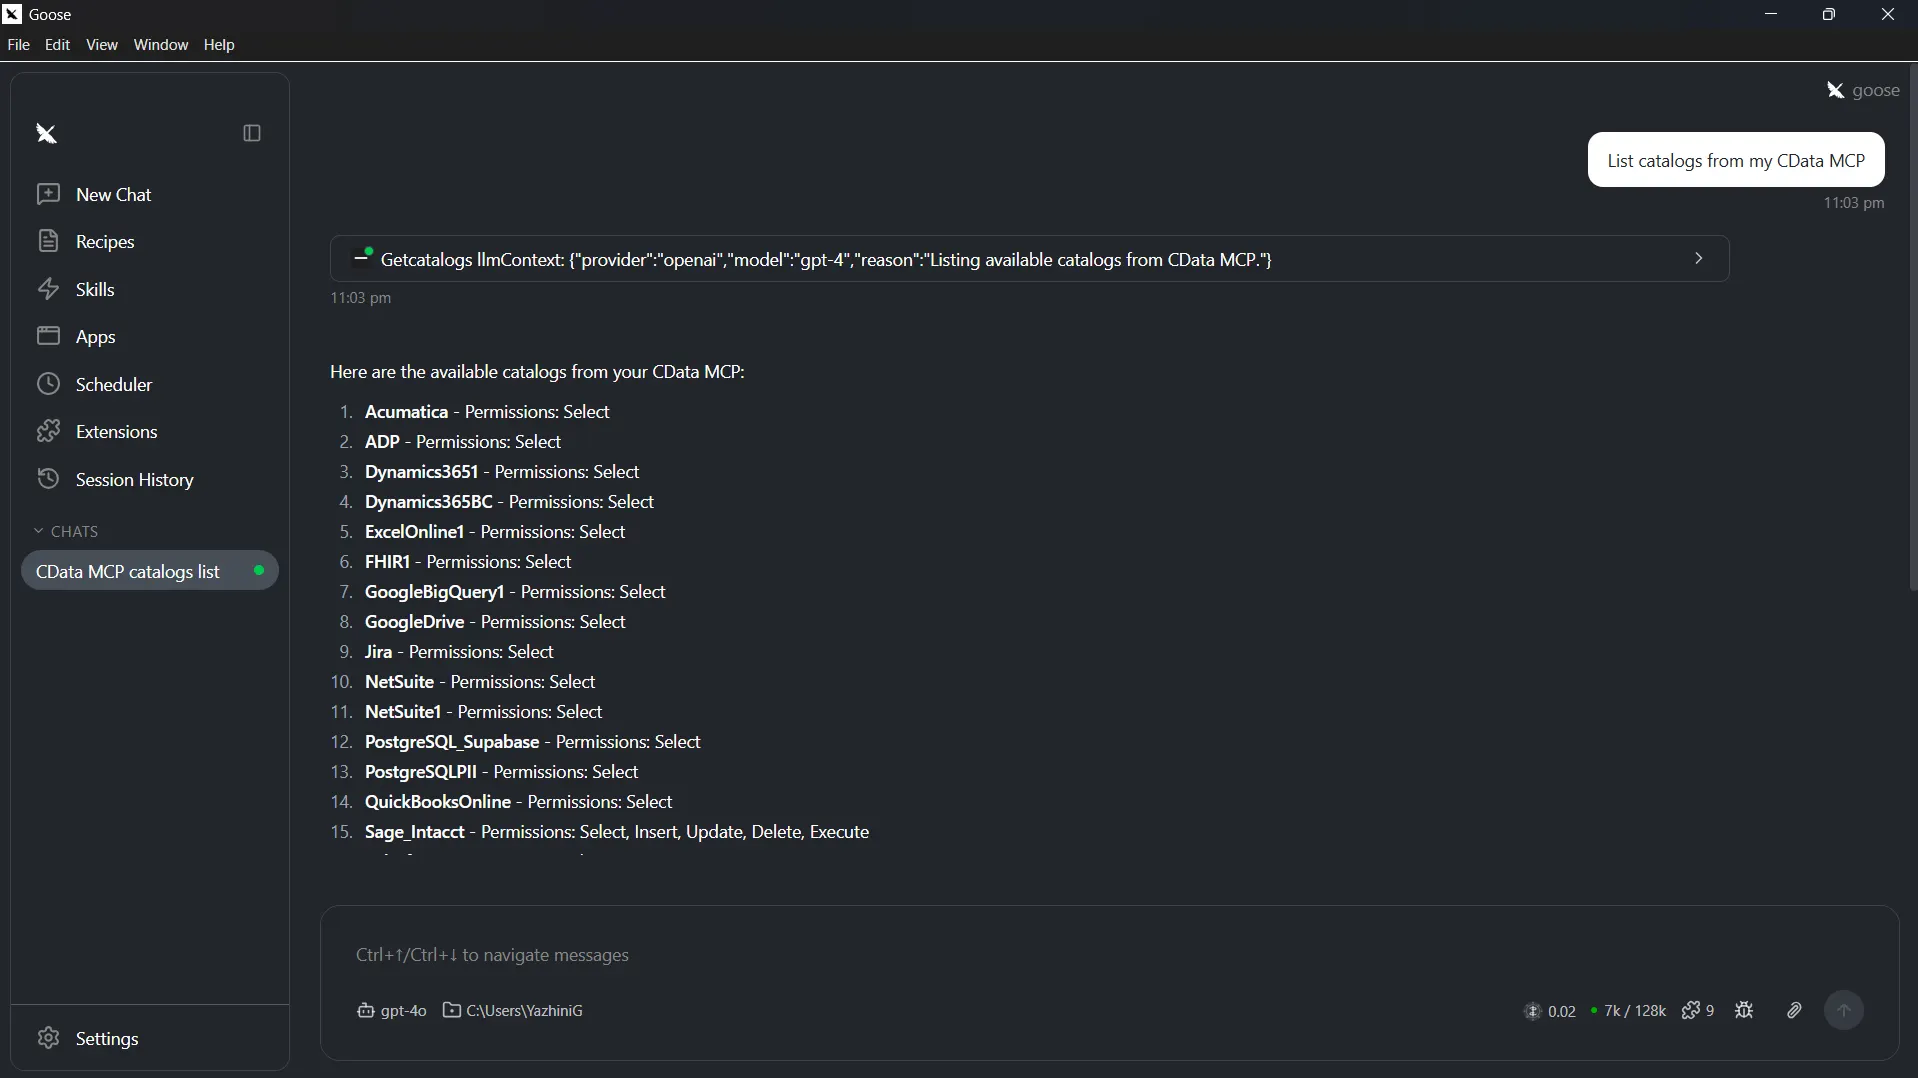
At this point, your Goose agent communicates with the Connect AI MCP Server and retrieves live Okta data through remote MCP tools directly from the chat.
Get CData Connect AI
To access hundreds of SaaS, big data, and NoSQL sources directly from your cloud applications, try CData Connect AI today. Download a free 14-day trial of CData Connect AI, and our Support Team is available to help with any questions you have.