Discover how a bimodal integration strategy can address the major data management challenges facing your organization today.
Get the Report →Launch the CData Connect Azure Virtual Machine
CData Connect creates virtual databases and/or OData feeds for dozens of cloud-based SaaS, Big Data, and NoSQL sources. The CData Connect Azure VM comes as a Linux-based instance with CData Connect pre-configured and ready to run, with no additional configuration necessary.
The Azure VM can be found in the Azure Marketplace as CData Connect. You can launch a new instance of CData Connect from the Azure VM in three simple steps.
-
Click "Get in Now" on the listing, fill in your contact information, and click "Continue" to accept the Terms and Conditions. Once you acquire the VM, you can launch a new instance of CData Connect.
-
Select a Plan and click "Create". You will be prompted to choose a Resource group, Virtual Machine name, Region, and Virtual Machine size. You will also need to create an Administrator user and password.
-
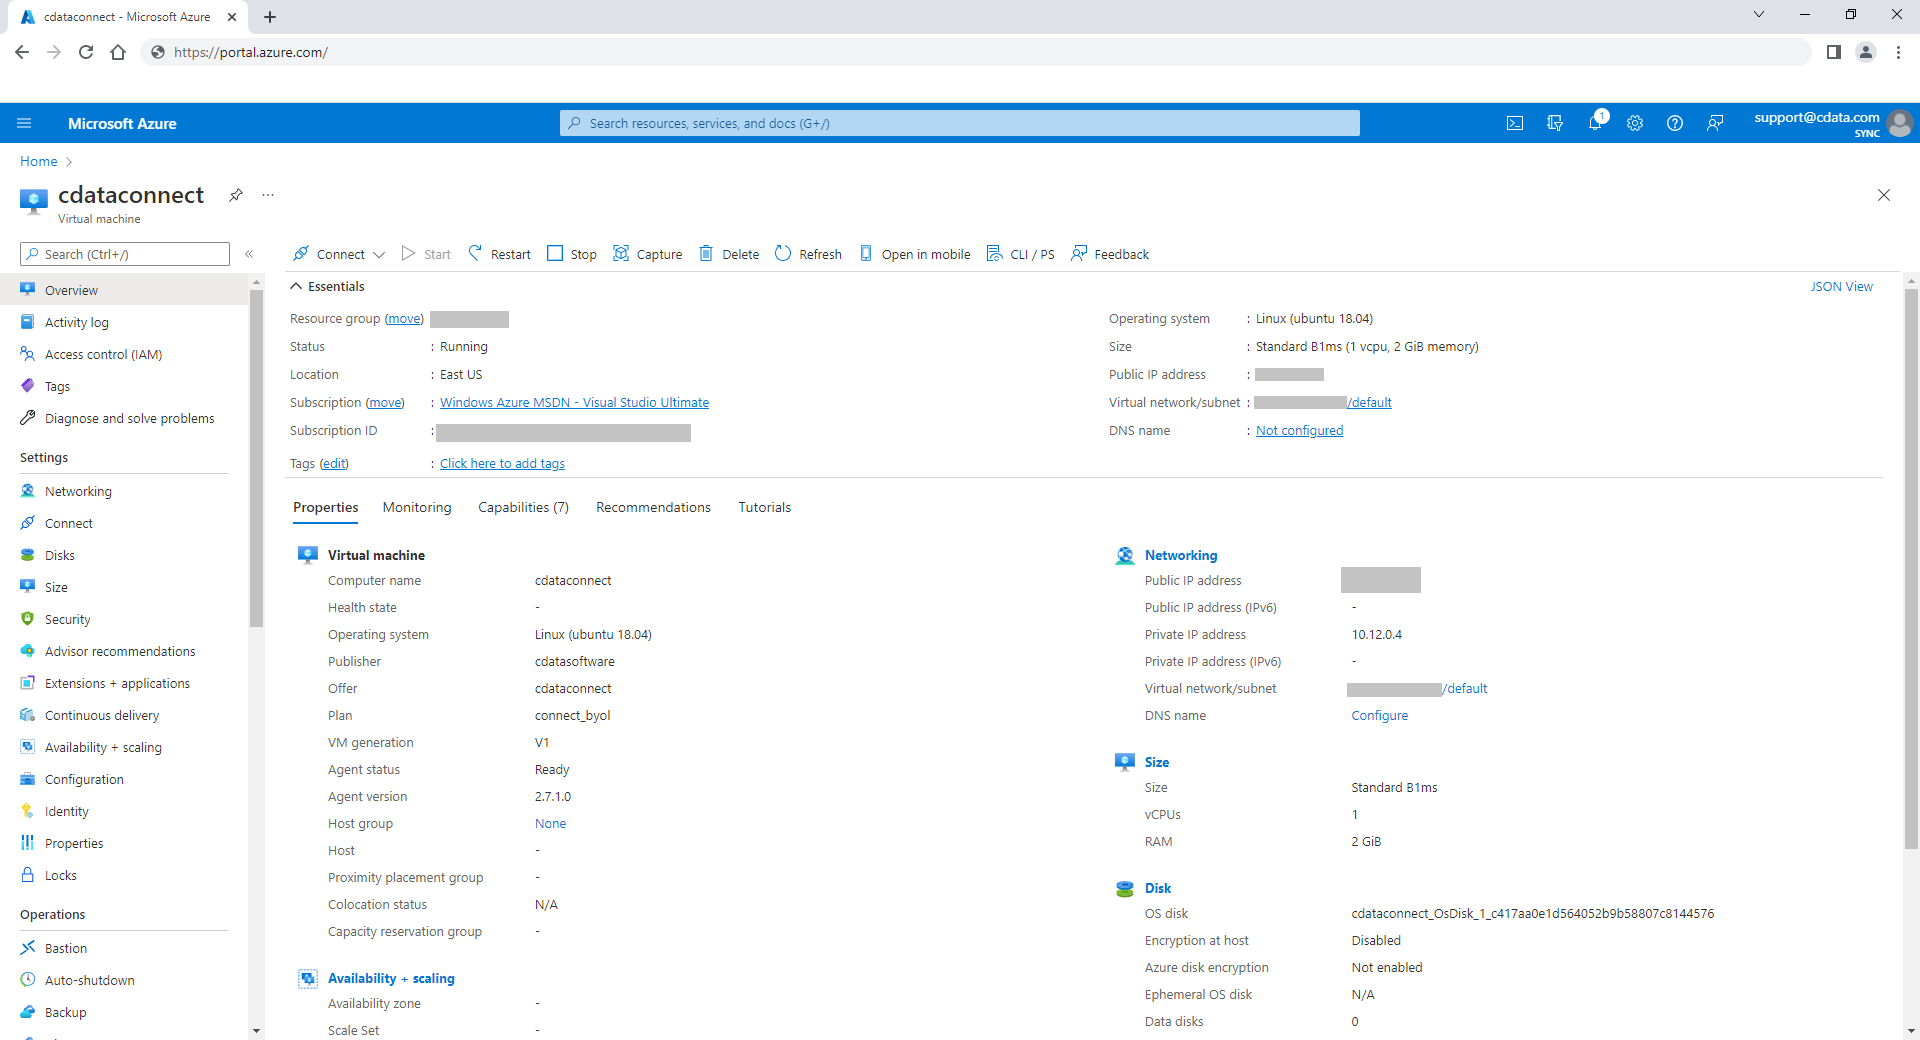
Once the CData Connect VM has started, it will be assigned a public IP address. To access CData Connect, open your browser and navigate to http://your-ip-address. Login with the user 'admin'. The password is the first 15 characters of the Virtual Machine name.

You can now connect to your data sources, secure connections with SSL and the standard authentication methods. See the "Getting Started" chapter in the help for a guide to setting the required connection properties and setting up access control.
Advanced Configuration
The CData Connect Azure VM works out-of-the-box without additional configuration. However, for advanced users, it is possible to manage CData Connect in more details.
Access the Instance via SSH
Connecting to the Azure VM via SSH can be useful for advanced configuration of the service. The CData Connect Azure VM is based of a standard Ubuntu 20.04LTS VM, and the main user is azureuser. You can connect to it via SSH using the key-pair selected when launching the instance:
ssh -i my_key_pair.pem azureuser@<your-ip-address>
Stop, Start, or Restart the CData Connect service
CData Connect is configured to run as a service. Once connected to the instance, use systemctl to manage the Connect service:
sudo systemctl restart cdata-connect
sudo systemctl stop cdata-connect
sudo systemctl start cdata-connect
Install a Trusted Certificate
By default, the CData Connect Azure VM generates a new self-signed certificate upon creation, preventing any two Azure VMs from sharing the same certificate. However, not all client applications accept self-signed certificates. To get around this, you can replace the default certificate with a trusted one.
First, obtain a trusted certificate from a certificate provider. This certificate must match the public URL you are using to access Connect.
In the Azure VM, the Jetty web-container handles the SSL configuration. Import your certificate as a new keystore file in your Azure VM. In the file /opt/cdata/etc/ssl.xml, modify the lines referencing the path to the current certificate keystore with the new path and password:
<Set name='KeyStorePath'><Property name='jetty.base' default='.'/>/etc/my_trusted_keystore</Set>
<Set name='KeyStorePassword'>my_keystore_password</Set>
Note that the keystore path is a relative path starting from the Jetty Base directory (/opt/cdata). After saving the modifications to this file, restart the Connect service for these changes to take effect.
Upgrade the CData Connect Azure VM
You can upgrade your CData Connect Azure VM using the following instructions.
Upgrade the WAR File
- Download the latest version of CData Connect and extract the WAR file (connect.war): https://www.cdata.com/connect/server/download/
- Copy the WAR file onto your Azure VM instance:
scp -i your_ssh_key.pem connect.war azureuser@<your-ip-address>:~/ - Log into the Azure VM via SSH (see instructions above).
- Stop the Service (see instructions above).
- Overwrite the old connect.war file:
sudo cp ~/connect.war /opt/cdata/webapps/connect.war
Upgrade the JAR File
- Extract the JAR file (connect.jar): https://www.cdata.com/connect/server/download/
- Copy the JAR file onto your Azure VM instance:
scp -i your_ssh_key.pem connect.jar azureuser@<your-ip-address>:~/ - Log into the Azure VM via SSH (see instructions above).
- Stop the Service (see instructions above).
- Overwrite the old connect.jar file:
sudo cp ~/connect.jar /opt/cdata/connect.jar - Restart the service (see instructions above).
Restart the Connect Service
After copying the WAR and JAR files, restart the Connect service:
sudo systemctl restart cdata-connect
Install External Dependencies
If the connection you are using is dependent upon any external libraries (see the Help documentation), copy them to the lib/ext/ directory in the installation directory: sudo cp ~/dependent-library /opt/cdata/lib/ext/dependent-library
You may need to create the ext directory: sudo mkdir -p /opt/cdata/lib/ext/
Ensure that the service user "connect" has read permissions on any library files copied.


