Discover how a bimodal integration strategy can address the major data management challenges facing your organization today.
Get the Report →Using the CData JDBC drivers with the Pentaho Report Designer
The CData JDBC Driver for Salesforce enables access to live data from dashboards and reports. This article shows how to connect to Salesforce data as a JDBC data source and publish reports based on Salesforce data in Pentaho.
Connect and Create a Report
- Copy the JAR file of the JDBC driver, located in the lib subfolder of the installation directory, to the \Report-Designer\lib\jdbc\ folder in the Pentaho directory.
- Run the report-designer.bat file in the \Report-Designer\ folder to open the Report-Designer UI.
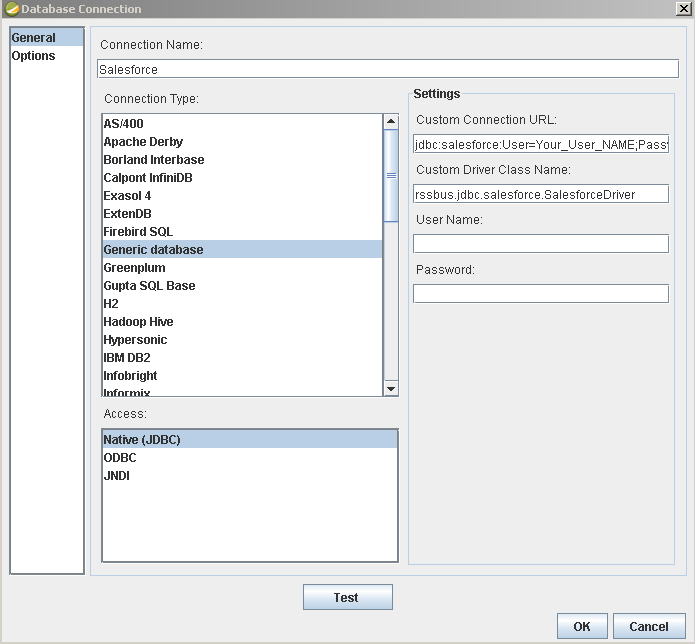
Create a new data source with the driver by clicking Data -> Add Data Source -> Advanced -> JDBC (Custom) and then creating a new Salesforce connection. In the resulting dialog, configure the connection properties as shown below.
Custom Connection URL property: Enter the JDBC URL. This starts with jdbc:salesforce: and is followed by a semicolon-separated list of connection properties. Below is a typical JDBC URL:
jdbc:salesforce:User=username;Password=password;AccessToken=Your_Access_Token;
- Custom Driver Class Name: Enter cdata.jdbc.salesforce.SalesforceDriver.
- User Name: The username to authenticate with.
- Password: The password to authenticate with.
![]()
Add Salesforce Data to a Report
You are now ready to create a report with Salesforce data.
-
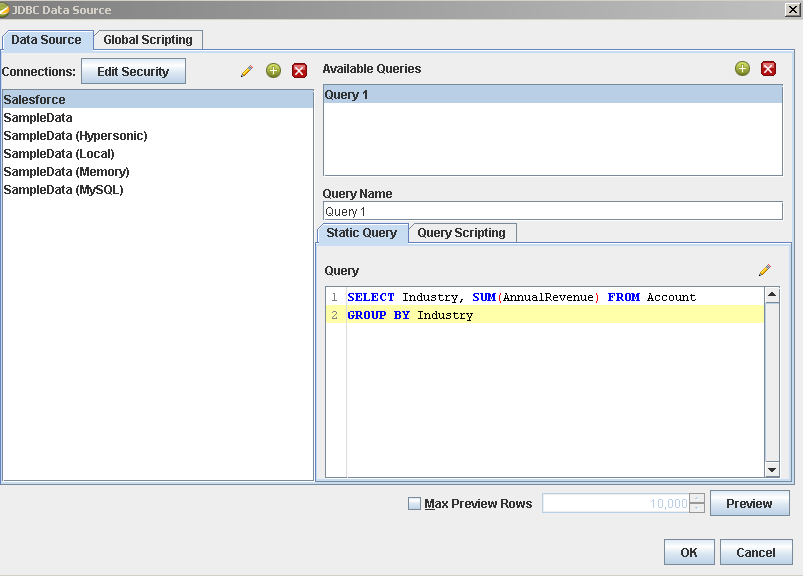
Add the Salesforce source to your report: Click Data -> Add Data Source -> JDBC and select the data source.
Configure the query. This article uses the one below:
SELECT Contact.Name, SUM(Account.AnnualRevenue) FROM Contact, Account
![]()
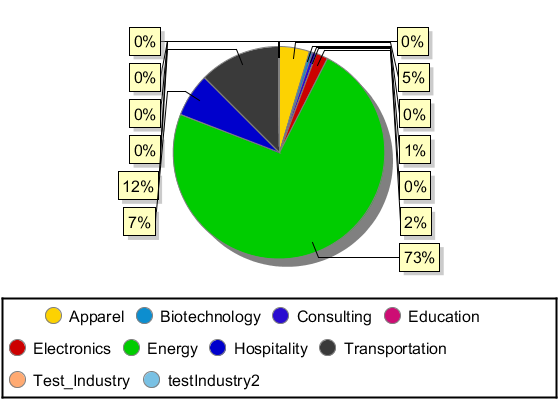
- Drag a chart onto your report and double-click it to edit the chart. Run the report to display the chart. You can use the results of this query to create a simple chart for the Account table.
- Finally, run the report to see the chart.
