Discover how a bimodal integration strategy can address the major data management challenges facing your organization today.
Get the Report →Import and Visualize Amazon Athena Data in Power View
Create data visualizations based on Amazon Athena data in Excel.
You can use the built-in ODBC support in Excel to rapidly create Power View reports featuring Amazon Athena data. This article shows how to use the Data Connection Wizard, accessible from the Data ribbon, to import Amazon Athena data into a Power View report.
Connect to Amazon Athena as an ODBC Data Source
If you have not already, first specify connection properties in an ODBC DSN (data source name). This is the last step of the driver installation. You can use the Microsoft ODBC Data Source Administrator to create and configure ODBC DSNs.
Authenticating to Amazon Athena
To authorize Amazon Athena requests, provide the credentials for an administrator account or for an IAM user with custom permissions: Set AccessKey to the access key Id. Set SecretKey to the secret access key.
Note: Though you can connect as the AWS account administrator, it is recommended to use IAM user credentials to access AWS services.
Obtaining the Access Key
To obtain the credentials for an IAM user, follow the steps below:
- Sign into the IAM console.
- In the navigation pane, select Users.
- To create or manage the access keys for a user, select the user and then select the Security Credentials tab.
To obtain the credentials for your AWS root account, follow the steps below:
- Sign into the AWS Management console with the credentials for your root account.
- Select your account name or number and select My Security Credentials in the menu that is displayed.
- Click Continue to Security Credentials and expand the Access Keys section to manage or create root account access keys.
Authenticating from an EC2 Instance
If you are using the CData Data Provider for Amazon Athena 2018 from an EC2 Instance and have an IAM Role assigned to the instance, you can use the IAM Role to authenticate. To do so, set UseEC2Roles to true and leave AccessKey and SecretKey empty. The CData Data Provider for Amazon Athena 2018 will automatically obtain your IAM Role credentials and authenticate with them.
Authenticating as an AWS Role
In many situations it may be preferable to use an IAM role for authentication instead of the direct security credentials of an AWS root user. An AWS role may be used instead by specifying the RoleARN. This will cause the CData Data Provider for Amazon Athena 2018 to attempt to retrieve credentials for the specified role. If you are connecting to AWS (instead of already being connected such as on an EC2 instance), you must additionally specify the AccessKey and SecretKey of an IAM user to assume the role for. Roles may not be used when specifying the AccessKey and SecretKey of an AWS root user.
Authenticating with MFA
For users and roles that require Multi-factor Authentication, specify the MFASerialNumber and MFAToken connection properties. This will cause the CData Data Provider for Amazon Athena 2018 to submit the MFA credentials in a request to retrieve temporary authentication credentials. Note that the duration of the temporary credentials may be controlled via the TemporaryTokenDuration (default 3600 seconds).
Connecting to Amazon Athena
In addition to the AccessKey and SecretKey properties, specify Database, S3StagingDirectory and Region. Set Region to the region where your Amazon Athena data is hosted. Set S3StagingDirectory to a folder in S3 where you would like to store the results of queries.
If Database is not set in the connection, the data provider connects to the default database set in Amazon Athena.
When you configure the DSN, you may also want to set the Max Rows connection property. This will limit the number of rows returned, which is especially helpful for improving performance when designing reports and visualizations.
Connect with the Data Connection Wizard
Follow the steps below to connect to the DSN from the Data Connection Wizard in Excel.
- On the Data tab, click From Other Sources -> From Data Connection Wizard.
- In the Data Connection Wizard, select the ODBC DSN option.
- Select the ODBC DSN for Amazon Athena from the list.
Select the tables you want to work with.
If you want to import multiple tables, deselect the "Connect to a specific table" option. After you connect to the data source, you can select multiple tables: After you click Finish to close the Data Connection Wizard, select the "Enable selection of multiple tables" option in the Select Table dialog.
- In the Import Data dialog, select the destination for your data. For example, select the Table option and the Existing worksheet option. Then click the cell in your worksheet where results should be output.
- Click Insert -> Power View to create a new Power View report.
Create a Table
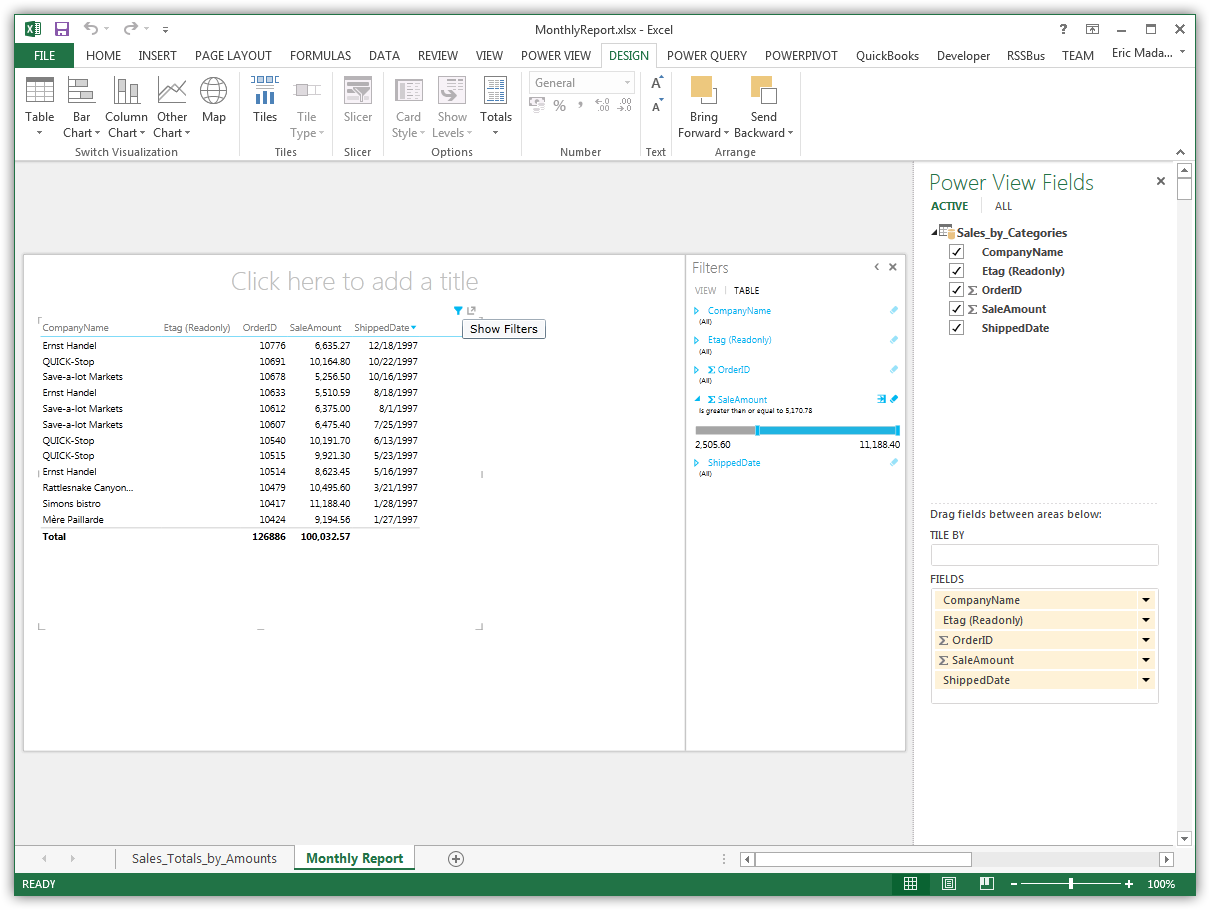
Tables are the starting point for charts and other representations of your data. To create a table, select a column in the field list. You can also drag and drop table names and column names onto the view.

Create Data Visualizations
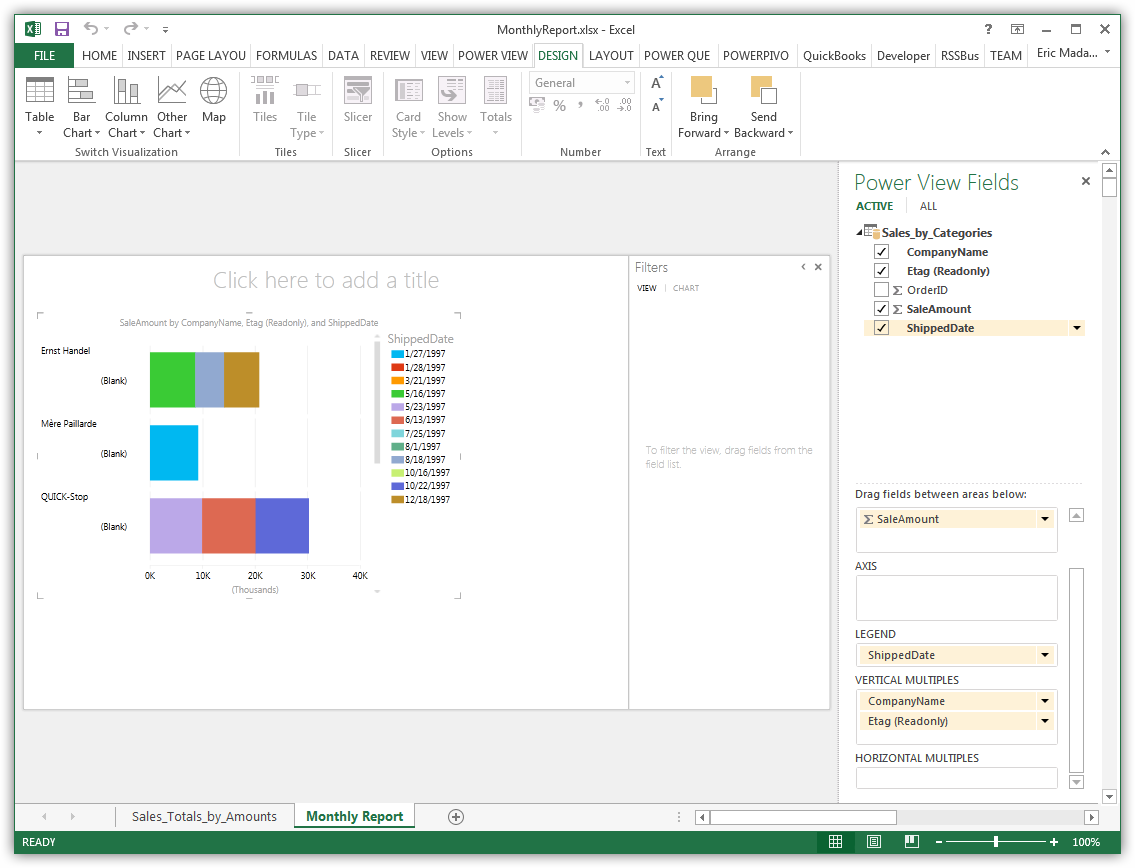
On the Design tab, you can change tables into charts and other visualizations.


