Discover how a bimodal integration strategy can address the major data management challenges facing your organization today.
Get the Report →How to connect to Databricks Data from IntelliJ
Integrate connectivity to Databricks data with wizards in IntelliJ.
The CData JDBC Driver for Databricks enables you to access Databricks as a JDBC data source, providing integration with rapid development tools in IDEs. This article shows how to use the data source configuration wizard to connect to Databricks data in IntelliJ.
About Databricks Data Integration
Accessing and integrating live data from Databricks has never been easier with CData. Customers rely on CData connectivity to:
- Access all versions of Databricks from Runtime Versions 9.1 - 13.X to both the Pro and Classic Databricks SQL versions.
- Leave Databricks in their preferred environment thanks to compatibility with any hosting solution.
- Secure authenticate in a variety of ways, including personal access token, Azure Service Principal, and Azure AD.
- Upload data to Databricks using Databricks File System, Azure Blog Storage, and AWS S3 Storage.
While many customers are using CData's solutions to migrate data from different systems into their Databricks data lakehouse, several customers use our live connectivity solutions to federate connectivity between their databases and Databricks. These customers are using SQL Server Linked Servers or Polybase to get live access to Databricks from within their existing RDBMs.
Read more about common Databricks use-cases and how CData's solutions help solve data problems in our blog: What is Databricks Used For? 6 Use Cases.
Getting Started
Create a JBDC Data Source for Databricks
Follow the steps below to add the driver JAR and define connection properties required to connect to Databricks data.
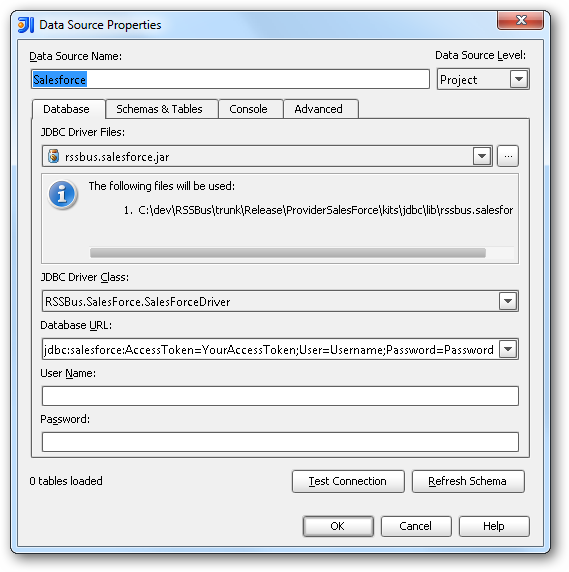
- In the Data Sources window, right-click and then click Add Data Source -> DB Data Source.
In the Data Source Properties dialog that appears, the following properties are required:
- JDBC Driver Files: Click the button next to this menu to add the JDBC Driver file cdata.jdbc.databricks.jar, located in the installation directory.
- JDBC Driver Class: In this menu, select cdata.jdbc.databricks.DatabricksDriver from the list.
Database URL: Enter the connection URL in the JDBC URL property. The URL must start with jdbc:databricks: and includes connection properties separated with semicolons.
To connect to a Databricks cluster, set the properties as described below.
Note: The needed values can be found in your Databricks instance by navigating to Clusters, and selecting the desired cluster, and selecting the JDBC/ODBC tab under Advanced Options.
- Server: Set to the Server Hostname of your Databricks cluster.
- HTTPPath: Set to the HTTP Path of your Databricks cluster.
- Token: Set to your personal access token (this value can be obtained by navigating to the User Settings page of your Databricks instance and selecting the Access Tokens tab).
Built-in Connection String Designer
For assistance in constructing the JDBC URL, use the connection string designer built into the Databricks JDBC Driver. Either double-click the JAR file or execute the jar file from the command-line.
java -jar cdata.jdbc.databricks.jarFill in the connection properties and copy the connection string to the clipboard.
![Using the built-in connection string designer to generate a JDBC URL (Salesforce is shown.)]()
A typical JDBC URL is the following:
jdbc:databricks:Server=127.0.0.1;Port=443;TransportMode=HTTP;HTTPPath=MyHTTPPath;UseSSL=True;User=MyUser;Password=MyPassword;

Edit and Save Databricks Data
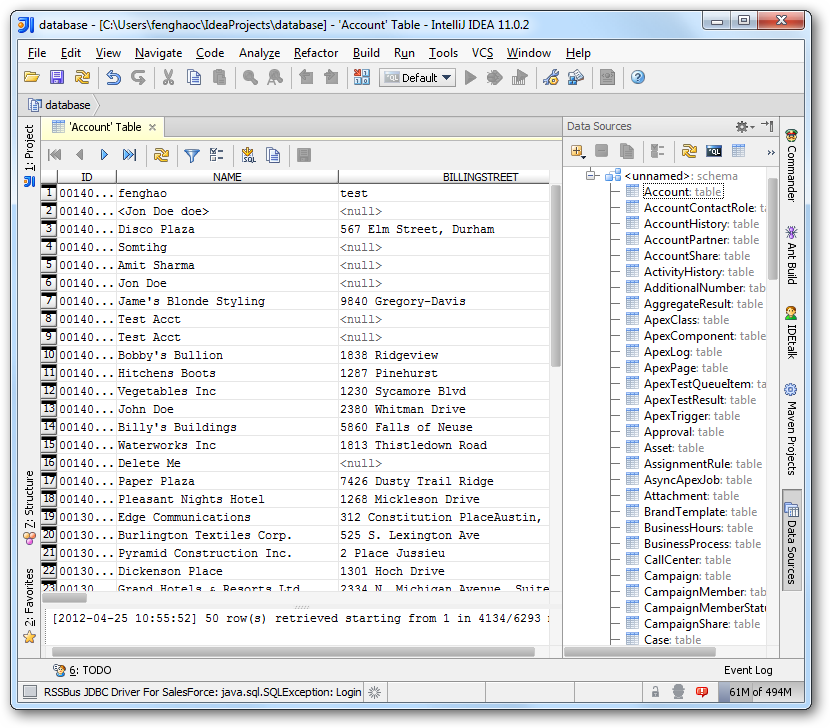
To discover schema information, right-click the data source you just created and click Refresh Tables. To query a table, right-click it and then click Open Tables Editor. You can also modify records in the Table Editor.


