Discover how a bimodal integration strategy can address the major data management challenges facing your organization today.
Get the Report →Integrate Odoo Data in Your Informatica Cloud Instance
Use CData JDBC drivers with the Informatica Cloud Secure Agent to access live Odoo data from Informatica Cloud.
Informatica Cloud allows you to perform extract, transform, and load (ETL) tasks in the cloud. With the Cloud Secure Agent and the CData JDBC Driver for Odoo, you get live access to Odoo data, directly within Informatica Cloud. In this article, we will walk through downloading and registering the Cloud Secure Agent, connecting to Odoo through the JDBC Driver and generating a mapping that can be used in any Informatica Cloud process.
About Odoo Data Integration
Accessing and integrating live data from Odoo has never been easier with CData. Customers rely on CData connectivity to:
- Access live data from both Odoo API 8.0+ and Odoo.sh Cloud ERP.
-
Extend the native Odoo features with intelligent handling of many-to-one, one-to-many, and many-to-many data properties. CData's connectivity solutions also intelligently handle complex data properties within Odoo. In addition to columns with simple values like text and dates, there are also columns that contain multiple values on each row. The driver decodes these kinds of values differently, depending upon the type of column the value comes from:
- Many-to-one columns are references to a single row within another model. Within CData solutions, many-to-one columns are represented as integers, whose value is the ID to which they refer in the other model.
- Many-to-many columns are references to many rows within another model. Within CData solutions, many-to-many columns are represented as text containing a comma-separated list of integers. Each value in that list is the ID of a row that is being referenced.
- One-to-many columns are references to many rows within another model - they are similar to many-to-many columns (comma-separated lists of integers), except that each row in the referenced model must belong to only one in the main model.
- Use SQL stored procedures to call server-side RFCs within Odoo.
Users frequently integrate Odoo with analytics tools such as Power BI and Qlik Sense, and leverage our tools to replicate Odoo data to databases or data warehouses.
Getting Started
Informatica Cloud Secure Agent
To work with the Odoo data through the JDBC Driver, install the Cloud Secure Agent.
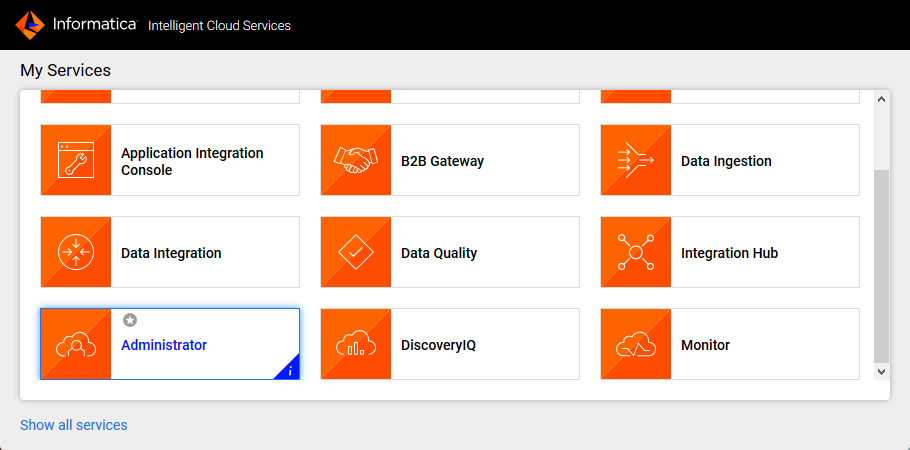
- Navigate to the Administrator page in Informatica Cloud
![]()
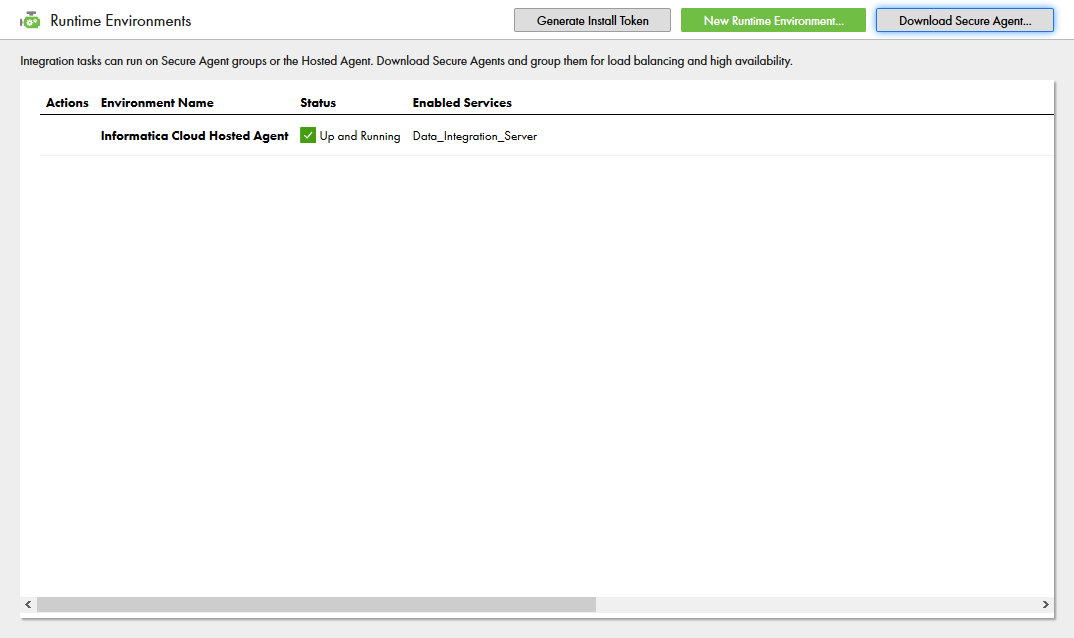
- Select the Runtime Environments tab
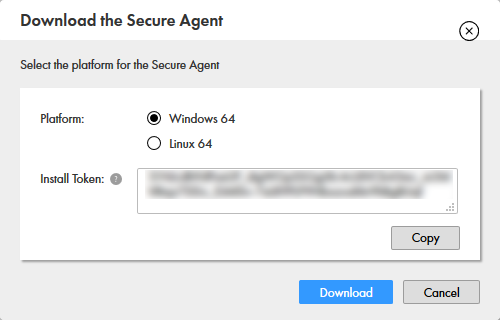
- Click "Download Secure Agent"
![]()
- Make note of the Install Token
![]()
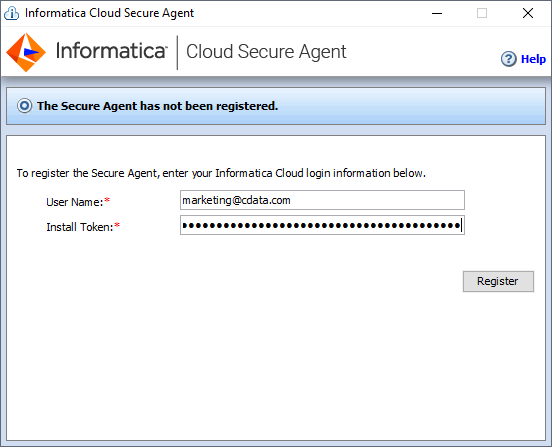
- Run the installer on the client machine and register the Cloud Secure Agent with your username and install token
![]()
NOTE: It may take some time for all of the Cloud Secure Agent services to get up and running.
Connecting to the Odoo JDBC Driver
With the Cloud Secure Agent installed and running, you are ready to connect to Odoo through the JDBC Driver.
Adding the JDBC Driver to the Secure Agent Machine
- Navigate to the following directory on the Secure Agent machine:
%Secure Agent installation directory%/ext/connectors/thirdparty/ - Create a folder and add the driver JAR file (cdata.jdbc.odoo.jar) based on the type of mapping that you want to configure.
For mappings, create the following folder and add the driver JAR file:
informatica.jdbc_v2/commonFor mappings in advanced mode, also create the following folder and add the driver JAR file:
informatica.jdbc_v2/spark - Restart the Secure Agent.
Connecting to Odoo in Informatica Cloud
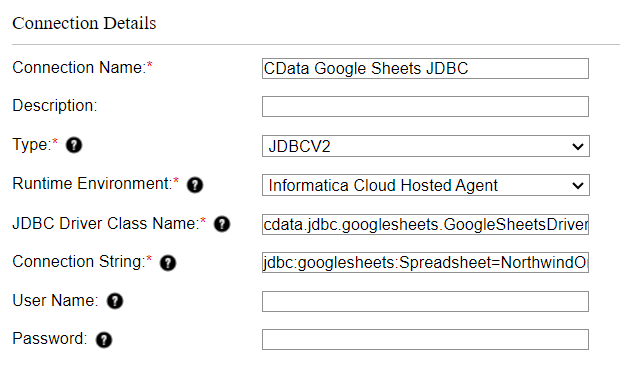
After installing the driver JAR file, you are ready to configure your connection to Odoo in Informatica Cloud. Start by clicking the Connections tab and clicking New Connection. Fill in the following properties for the connection:- Connection Name: Name your connection (i.e.: CData Odoo Connection)
- Type: Select "JDBC_V2"
- Runtime Environment: Select the runtime environment where you installed the Secure Agent
- JDBC Driver Class Name: The name of the JDBC driver class: cdata.jdbc.odoo.OdooDriver
- JDBC Connection URL: Set this to the JDBC URL for Odoo. Your URL will look similar to the following:
jdbc:odoo:User=MyUser;Password=MyPassword;URL=http://MyOdooSite/;Database=MyDatabase;To connect, set the Url to a valid Odoo site, User and Password to the connection details of the user you are connecting with, and Database to the Odoo database.
Built-In Connection String Designer
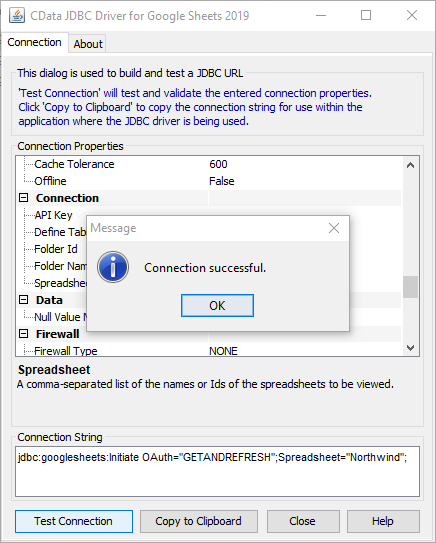
For assistance in constructing the JDBC URL, use the connection string designer built into the Odoo JDBC Driver. Either double-click the .jar file or execute the .jar file from the command-line.
java -jar cdata.jdbc.odoo.jarFill in the connection properties and copy the connection string to the clipboard.
![Using the built-in connection string designer to generate a JDBC URL (Google Sheets is shown.)]()
- Username: Set this to the username for Odoo
- Password: Set this to the password for Odoo
Create a Mapping for Odoo Data
With the connection to Odoo configured, we can now access Odoo data in any Informatica process. The steps below walk through creating a mapping for Odoo to another data target.
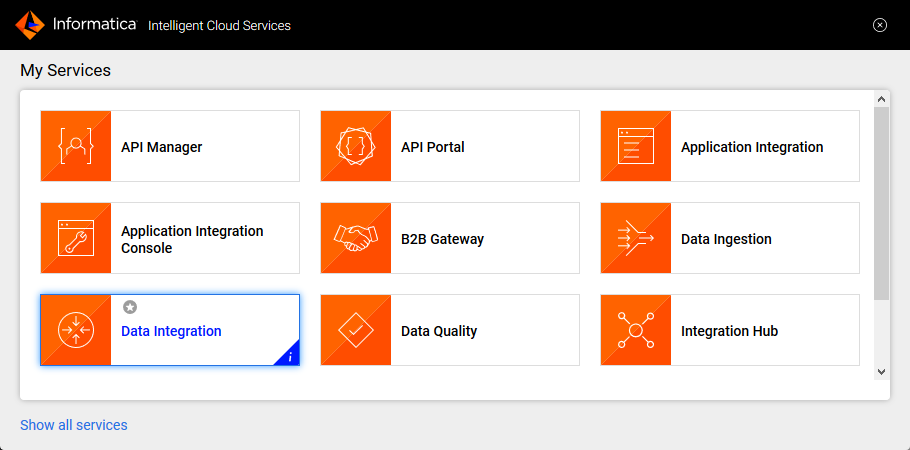
- Navigate to the Data Integration page
![]()
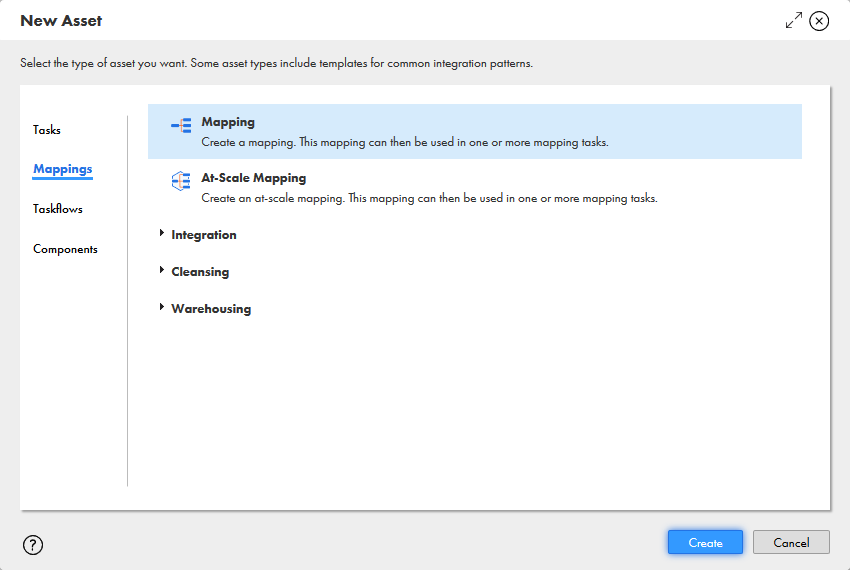
- Click New.. and select Mapping from the Mappings tab
![]()
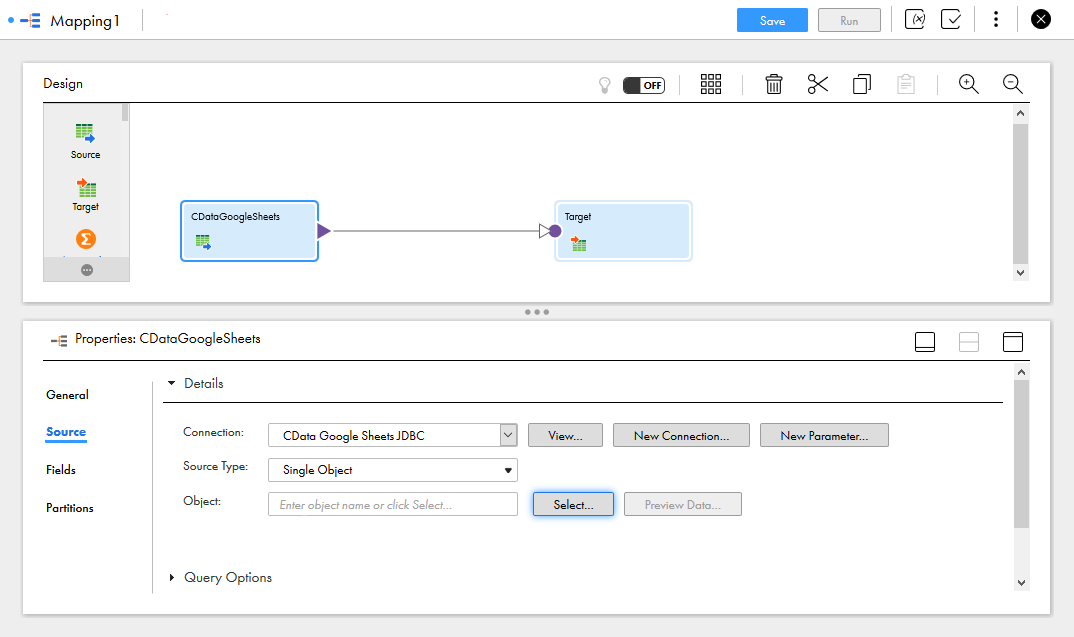
- Click the Source Object and in the Source tab, select the Connection and set the Source Type
![Selecting the Source Connection and Source Type]()
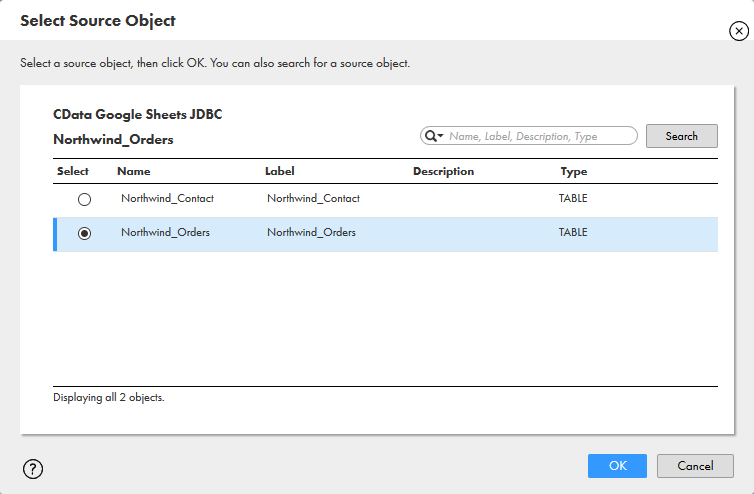
- Click "Select" to choose the table to map
![Selecting the Source Object]()
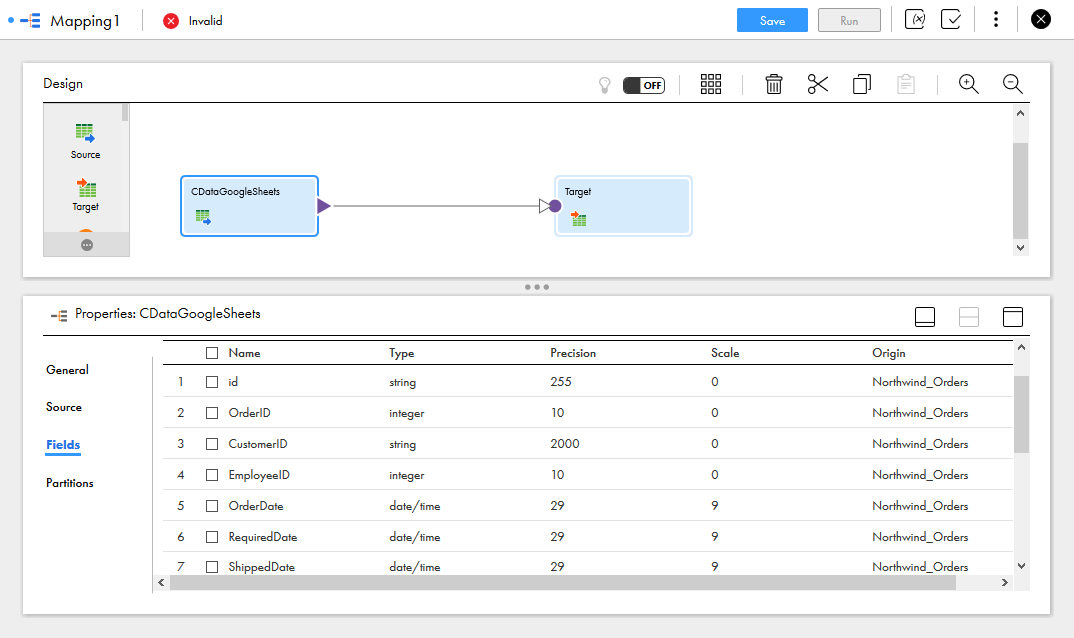
- In the Fields tab, select the fields from the Odoo table to map
![Selecting Source Fields to map]()
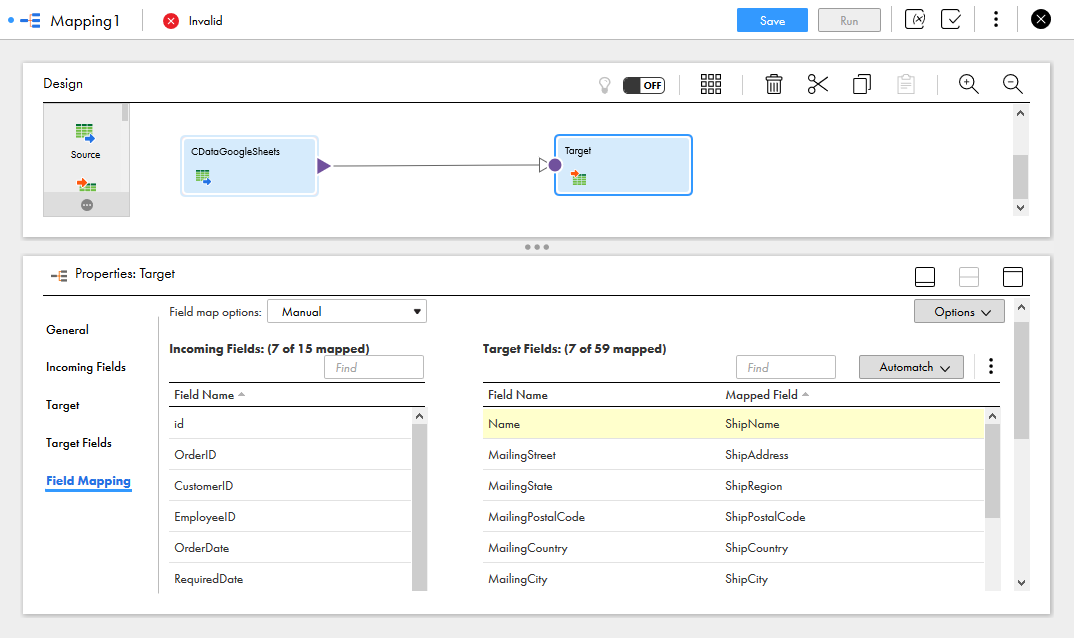
- Click the Target object and configure the Target source, table and fields. In the Field Mapping tab, map the source fields to the target fields.
![Selecting the Target Field Mappings]()
With the mapping configured, you are ready to start integrating live Odoo data with any of the supported connections in Informatica Cloud. Download a free, 30-day trial of the CData JDBC Driver for Odoo and start working with your live Odoo data in Informatica Cloud today.

