Discover how a bimodal integration strategy can address the major data management challenges facing your organization today.
Get the Report →Export Data from SQL Server to Salesforce Pardot through SSIS
Easily push SQL Server data to Salesforce Pardot using the CData SSIS Tasks for Salesforce Pardot.
SQL Server databases are commonly used to store enterprise records. It is often necessary to move this data to other locations. The CData SSIS Task for Salesforce Pardot allows you to easily transfer Salesforce Pardot data. In this article you will export data from SQL Server to Salesforce Pardot.
Add Source and Destination Components
To get started, add a new ADO.NET Source control and a new Salesforce Pardot Destination control to the data flow task.
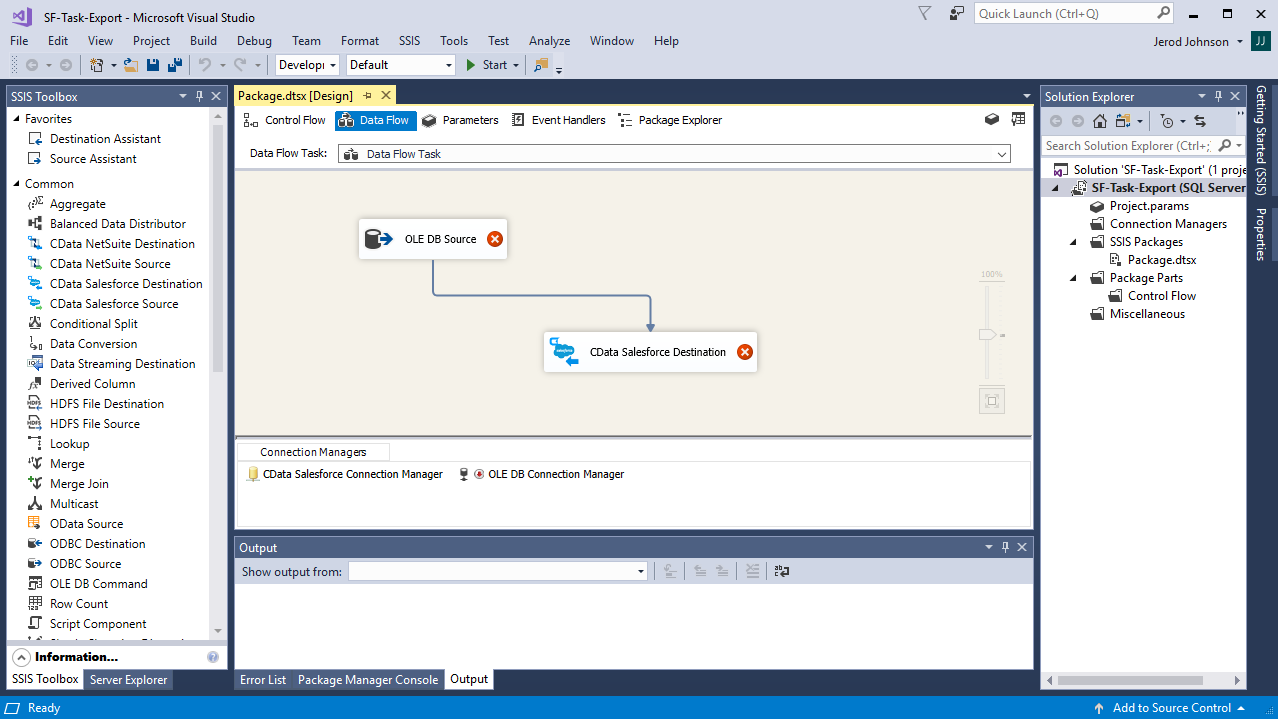
Configure the ADO.NET Source
Follow the steps below to specify properties required to connect to the SQL Server instance.
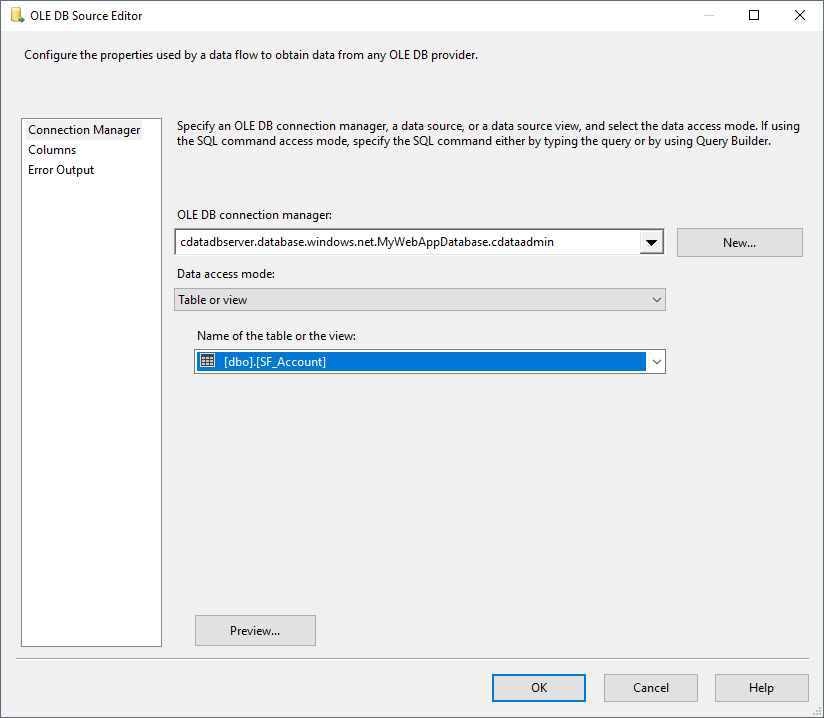
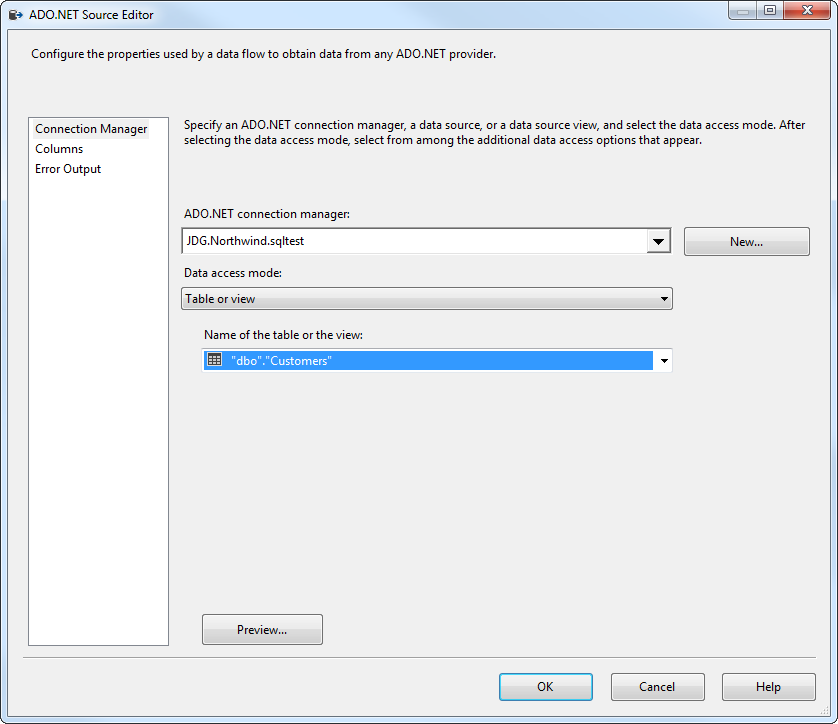
- Open the ADO.NET Source and add a new connection. Enter your server and database information here.
- In the Data access mode menu, select "Table or view" and select the table or view to export into Salesforce Pardot.
- Close the ADO NET Source wizard and connect it to the destination component.

Create a New Connection Manager for Salesforce Pardot
Follow the steps below to set required connection properties in the Connection Manager.
- Create a new connection manager: In the Connection Manager window, right-click and then click New Connection. The Add SSIS Connection Manager dialog is displayed.
- Select CData SalesforcePardot Connection Manager in the menu.
-
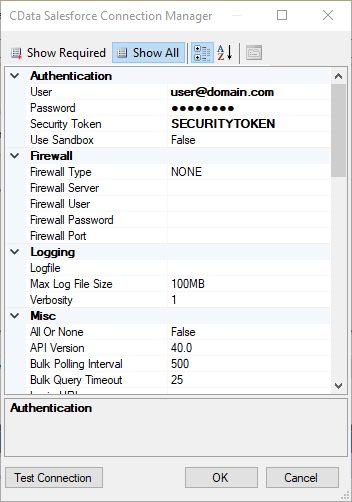
Configure the connection properties.
Salesforce Pardot supports connecting through API Version, Username, Password and User Key.
- ApiVersion: The Salesforce Pardot API version which the provided account can access. Defaults to 4.
- User: The Username of the Salesforce Pardot account.
- Password: The Password of the Salesforce Pardot account.
- UserKey: The unique User Key for the Salesforce Pardot account. This key does not expire.
- IsDemoAccount (optional): Set to TRUE to connect to a demo account.
Accessing the Pardot User Key
The User Key of the current account may be accessed by going to Settings -> My Profile, under the API User Key row.
Configure the Salesforce Pardot Destination
In the destination component Connection Manager, define mappings from the SQL Server source table into the Salesforce Pardot destination table and the action you want to perform on the Salesforce Pardot data. In this article, you will insert Prospects entities to Salesforce Pardot.
- Double-click the Salesforce Pardot destination to open the destination component editor.
- In the Connection Managers tab, select the connection manager previously created.
-
In the Use a Table, menu, select Prospects.
In the Action menu, select Insert.
![The destination table and action to be performed.]()
-
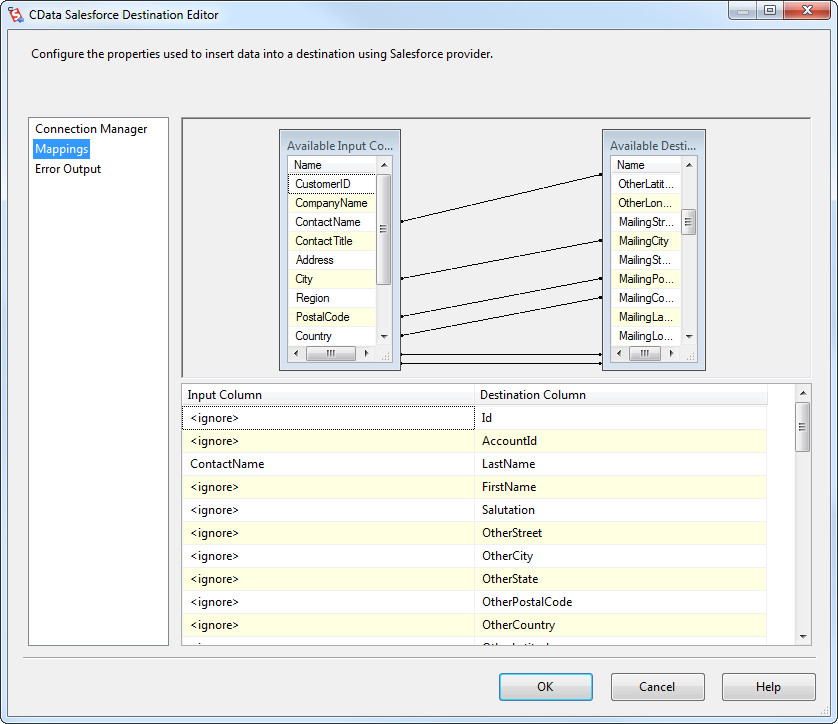
On the Column Mappings tab, configure the mappings from the input columns to the destination columns.
![The mappings from the SQL Server source to the SSIS destination component.]()
Run the Project
You can now run the project. After the SSIS Task has finished executing, data from your SQL table will be exported to the chosen table.
