Discover how a bimodal integration strategy can address the major data management challenges facing your organization today.
Get the Report →Build PostgreSQL-Connected Apps in Mendix
Use CData Connect Cloud to create an OData feed for PostgreSQL Data and create custom apps in Mendix.
Mendix is a high-productivity app platform that allows you to build and maintain both mobile and web applications at-scale. When paired with CData Connect Cloud, Mendix provides instant, cloud-to-cloud access to PostgreSQL data for applications. This article demonstrates how to connect to a CData Connect Cloud data source from within Mendix.
CData Connect Cloud provides a pure cloud-to-cloud interface for PostgreSQL, allowing you to import data from live PostgreSQL data in Mendix — without replicating the data to a natively supported database. As you build web and mobile applications from within Mendix, CData Connect Cloud pushes all supported SQL operations (filters, JOINs, etc.) directly to PostgreSQL, leveraging server-side processing to return the requested PostgreSQL data quickly.
Configure PostgreSQL Connectivity for Mendix
Connectivity to PostgreSQL from Mendix is made possible through CData Connect Cloud. To work with PostgreSQL data from Mendix, we start by creating and configuring a PostgreSQL connection.
- Log into Connect Cloud, click Connections and click Add Connection
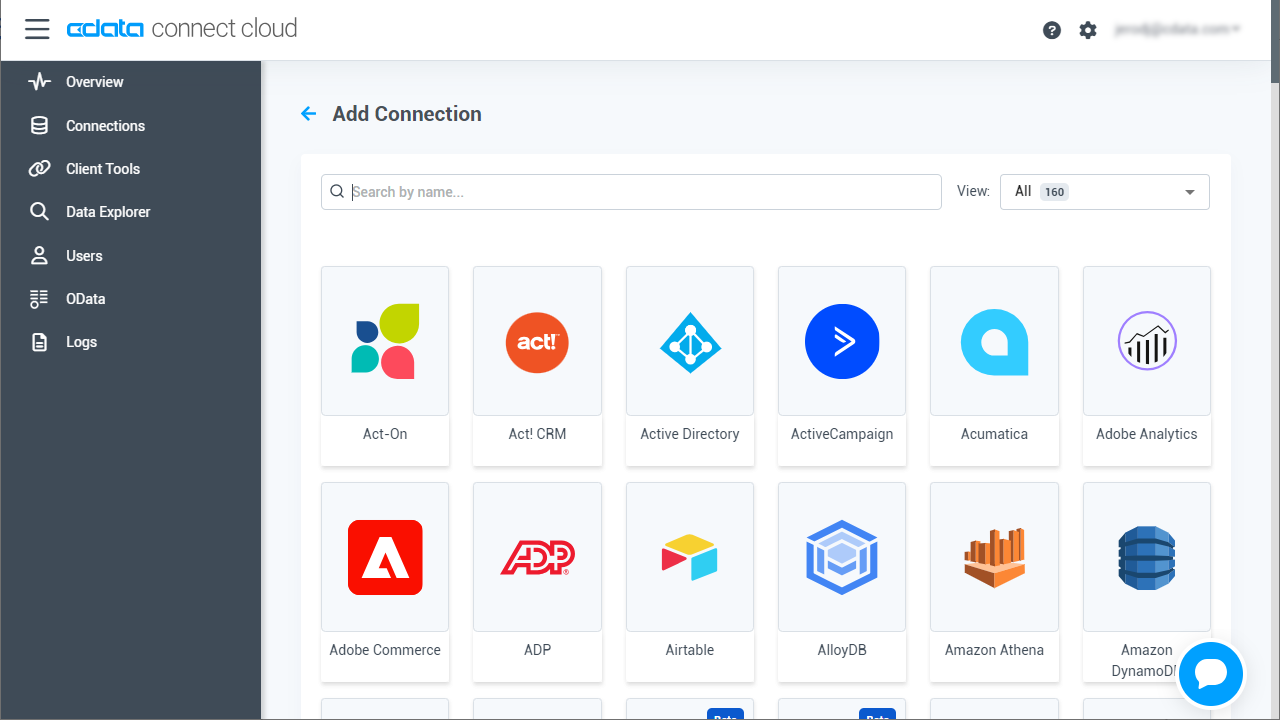
- Select "PostgreSQL" from the Add Connection panel
-
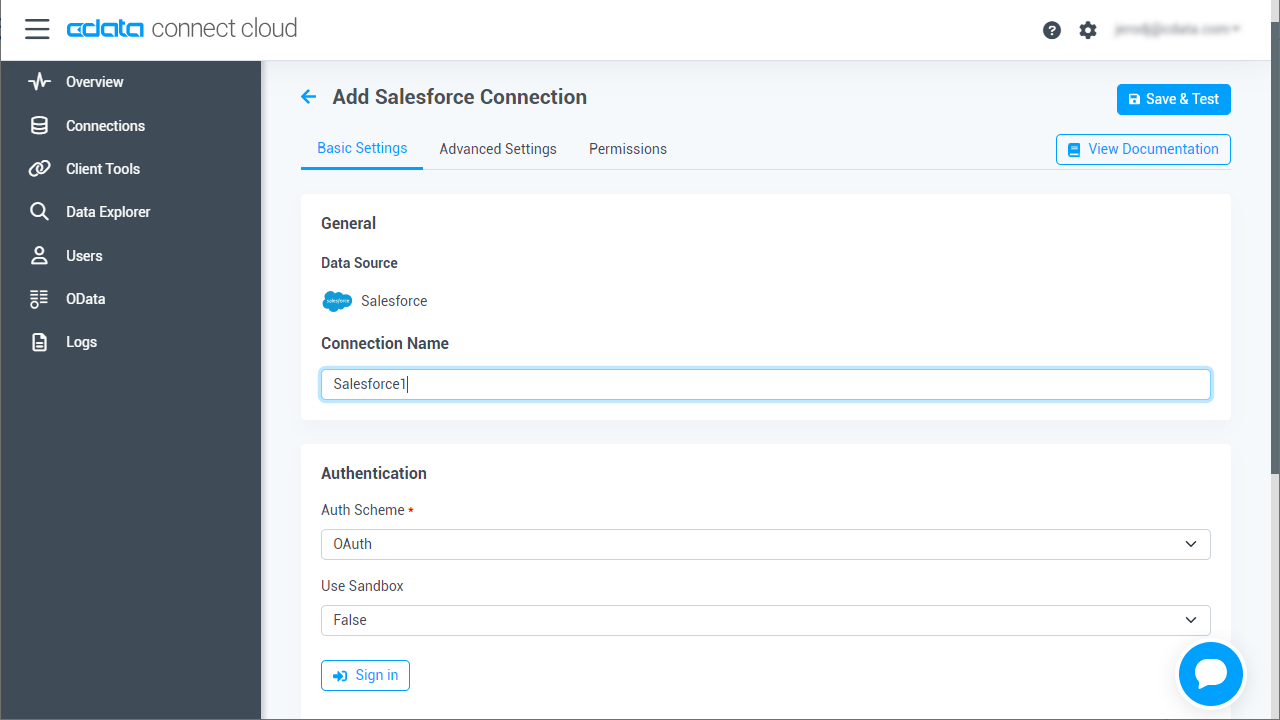
Enter the necessary authentication properties to connect to PostgreSQL.
To connect to PostgreSQL, set the Server, Port (the default port is 5432), and Database connection properties and set the User and Password you wish to use to authenticate to the server. If the Database property is not specified, the data provider connects to the user's default database.
![Configuring a connection (Salesforce is shown)]()
- Click Create & Test
-
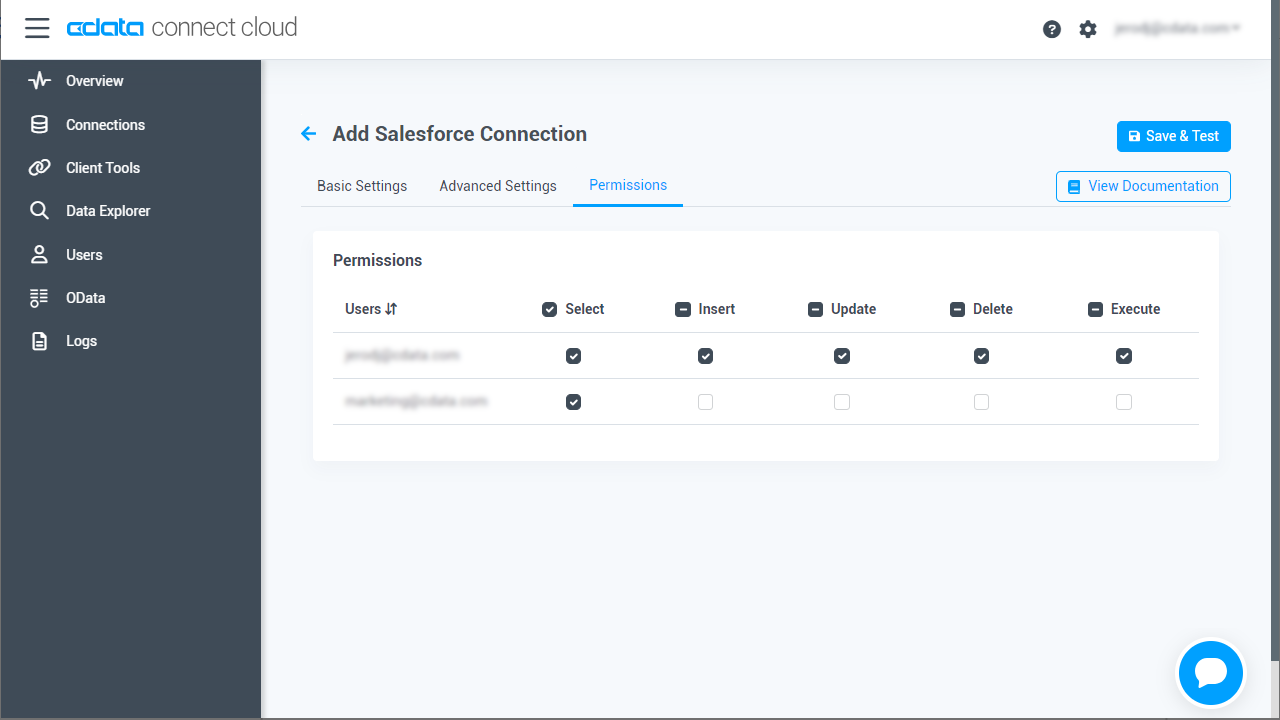
Navigate to the Permissions tab in the Add PostgreSQL Connection page and update the User-based permissions.
![Updating permissions]()
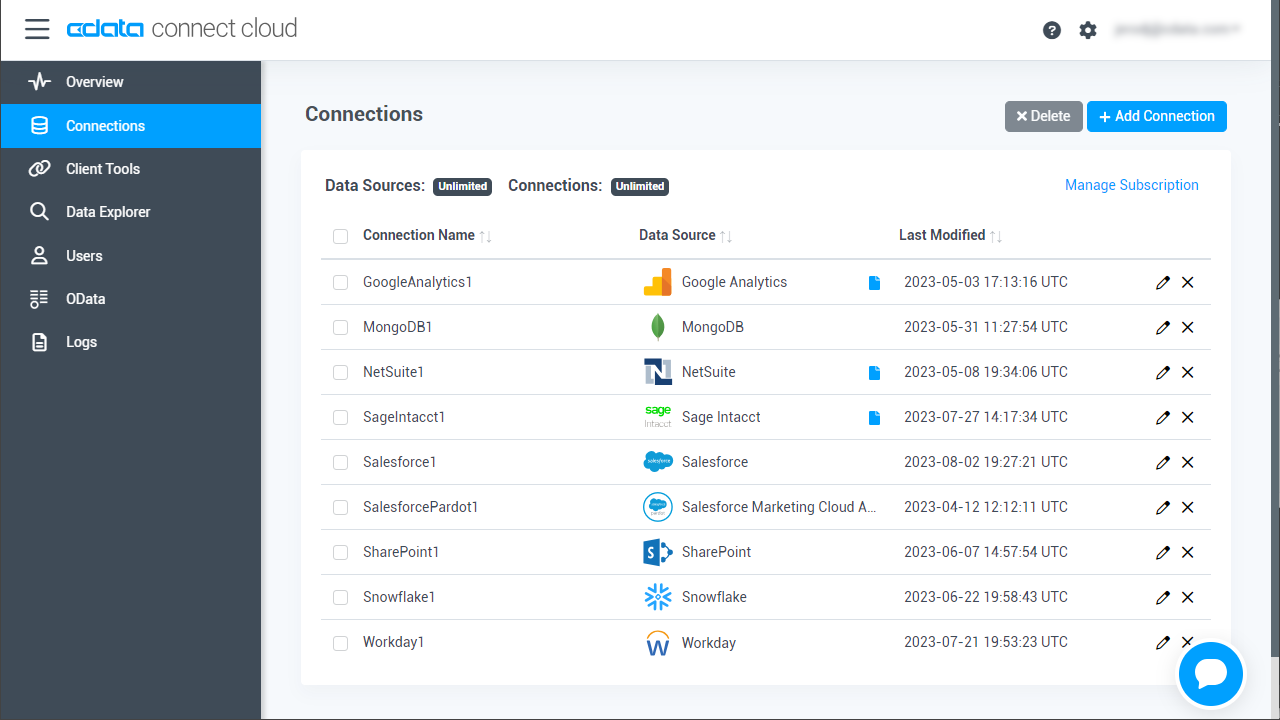
Add PostgreSQL OData Endpoints in Connect Cloud
After connecting to PostgreSQL, create OData Endpoints for the desired table(s).
- Navigate to the OData page and click Add to create new OData endpoints
- Select the PostgreSQL connection (e.g. PostgreSQL1) and click Next
-
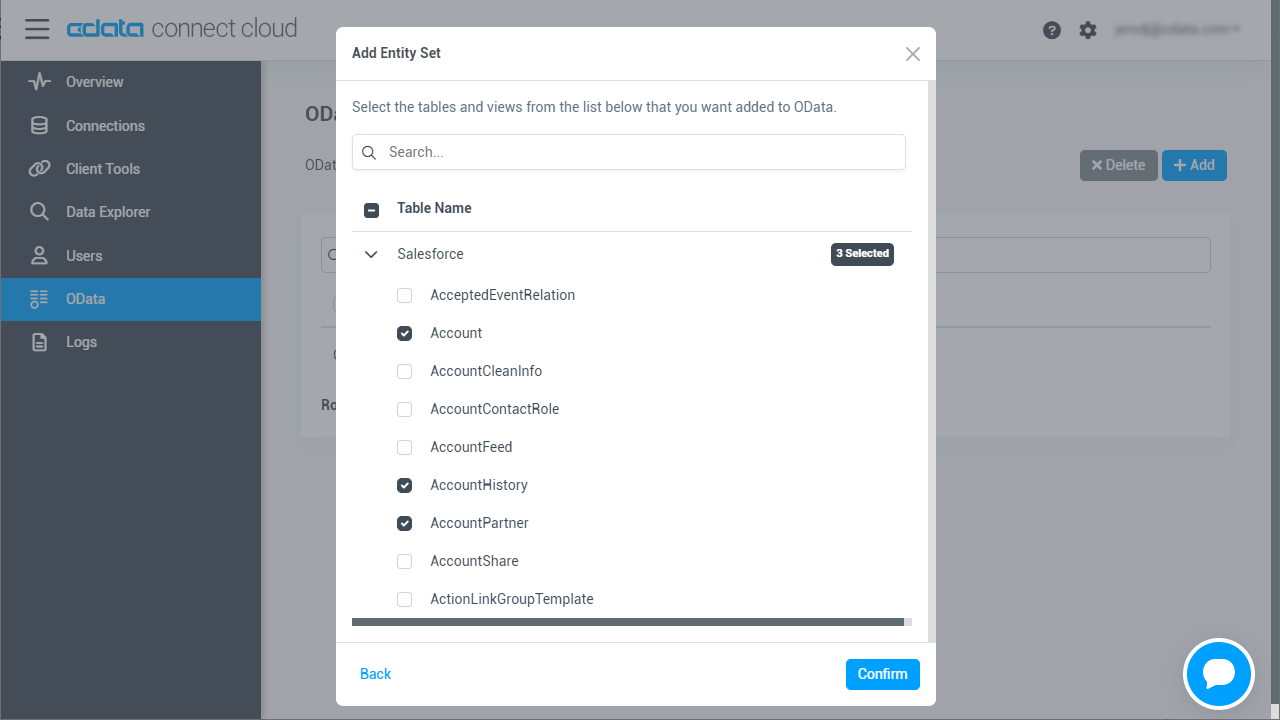
Select the table(s) you wish to work with and click Confirm
![Selecting Tables (Salesforce is shown)]()
With the connection and OData endpoints configured, you are ready to connect to PostgreSQL data from Mendix.
Build a PostgreSQL-Connected App
With OData endpoints added to Connect Cloud, you can build an app in Mendix with live access to PostgreSQL data.
Downloading the OData Metadata File
When creating a connection in Mendix, the connection flow requires a Data Source Contract File. Follow these steps to download the OData metadata file for CData Connect Cloud using curl, a command line tool:
- Open a command-line window for your operating system. On Windows, open the start menu, type cmd, and press the Enter key to open a command prompt. On macOS and Linux, open a Terminal window.
- To check if curl is installed on your system, type curl -help and press the enter key. If it is not installed, install it from the curl website.
-
Issue the following curl command, replacing USER with your CData Connect Cloud
username and PAT with the PAT you generated above:
curl -u USER:PAT https://cloud.cdata.com/api/odata/service/$metadata -o metadata.xml - Locate the metadata.xml file that the curl command created and move it to an accessible location.
Connecting to CData Connect Cloud in Mendix
Follow these steps to establish a connection from Mendix to CData Connect Cloud:
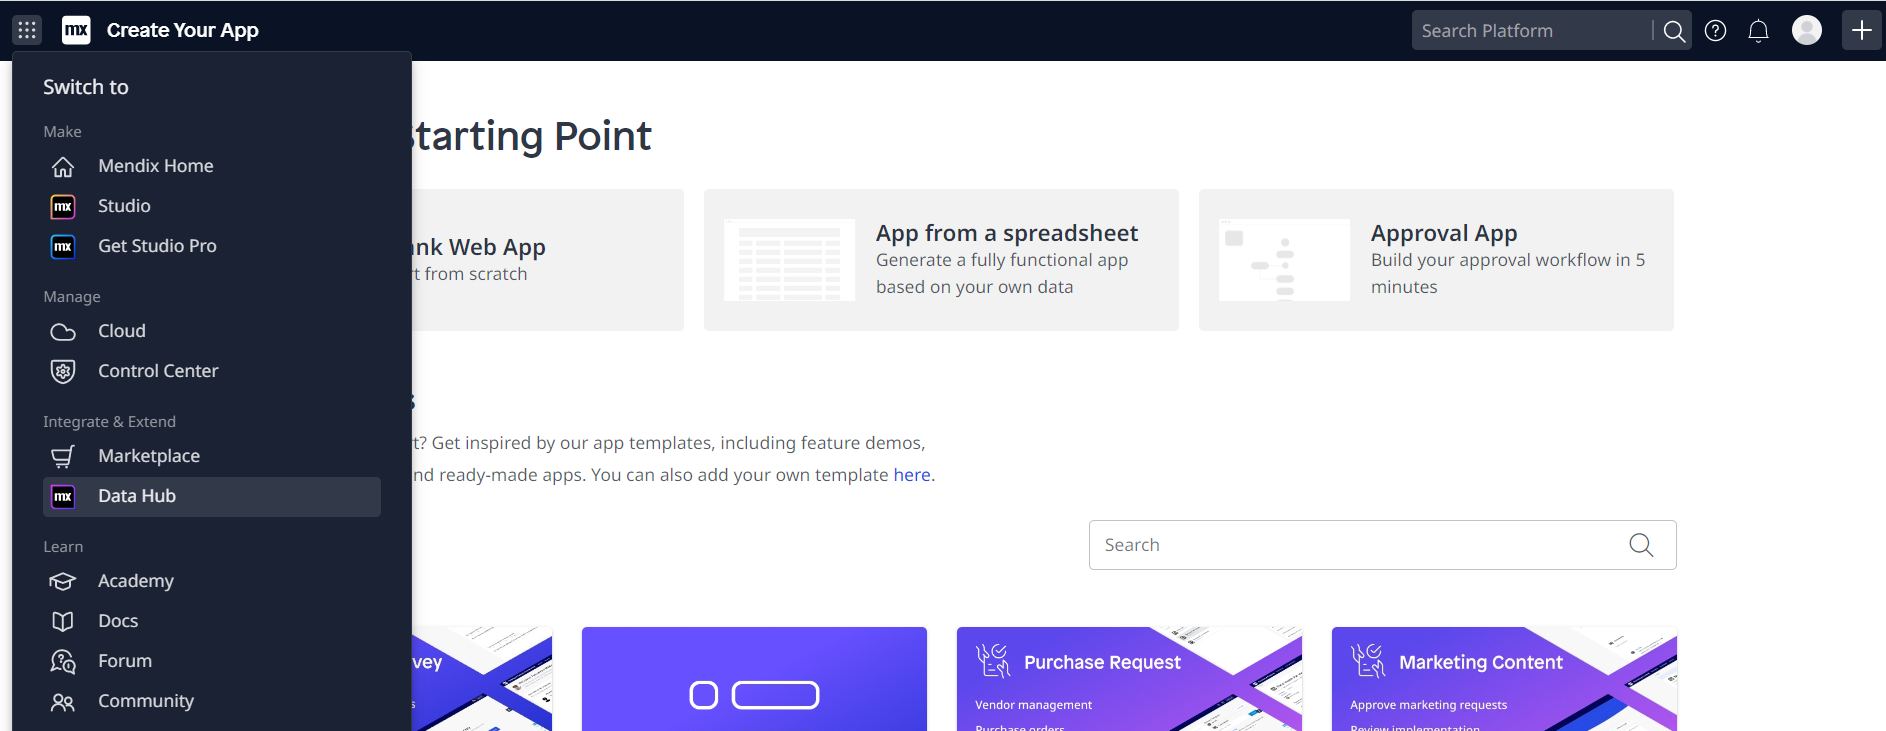
- Login to Mendix and open the Data Hub page.
- In the Register a Data Source section, select OData.
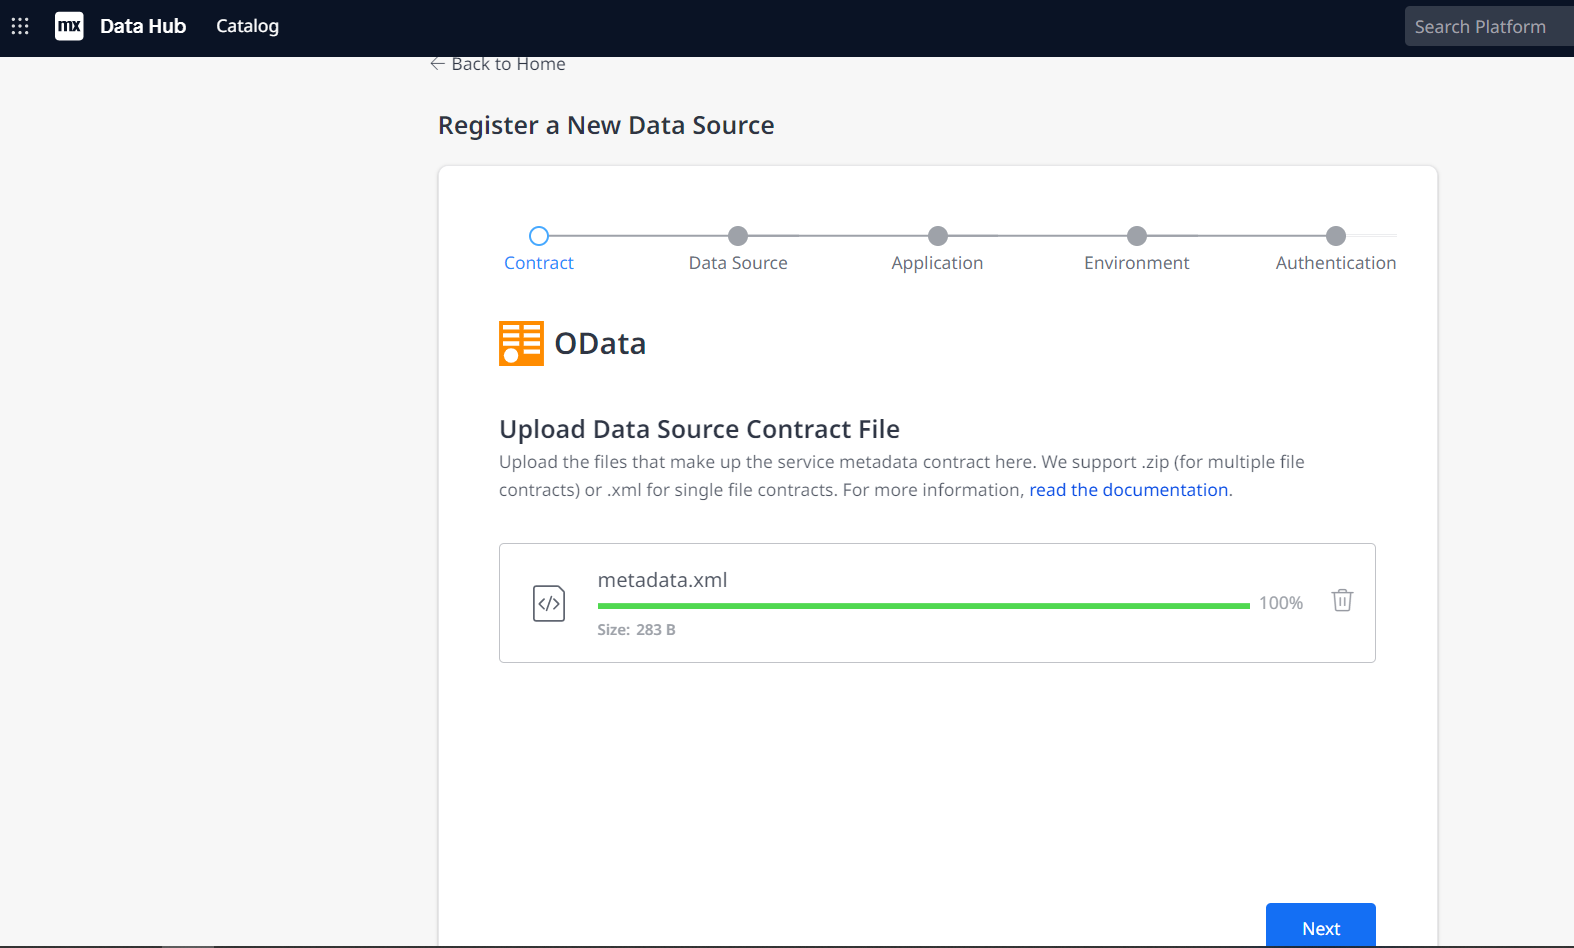
- Upload the metadata.xml file from the steps above and click Next.
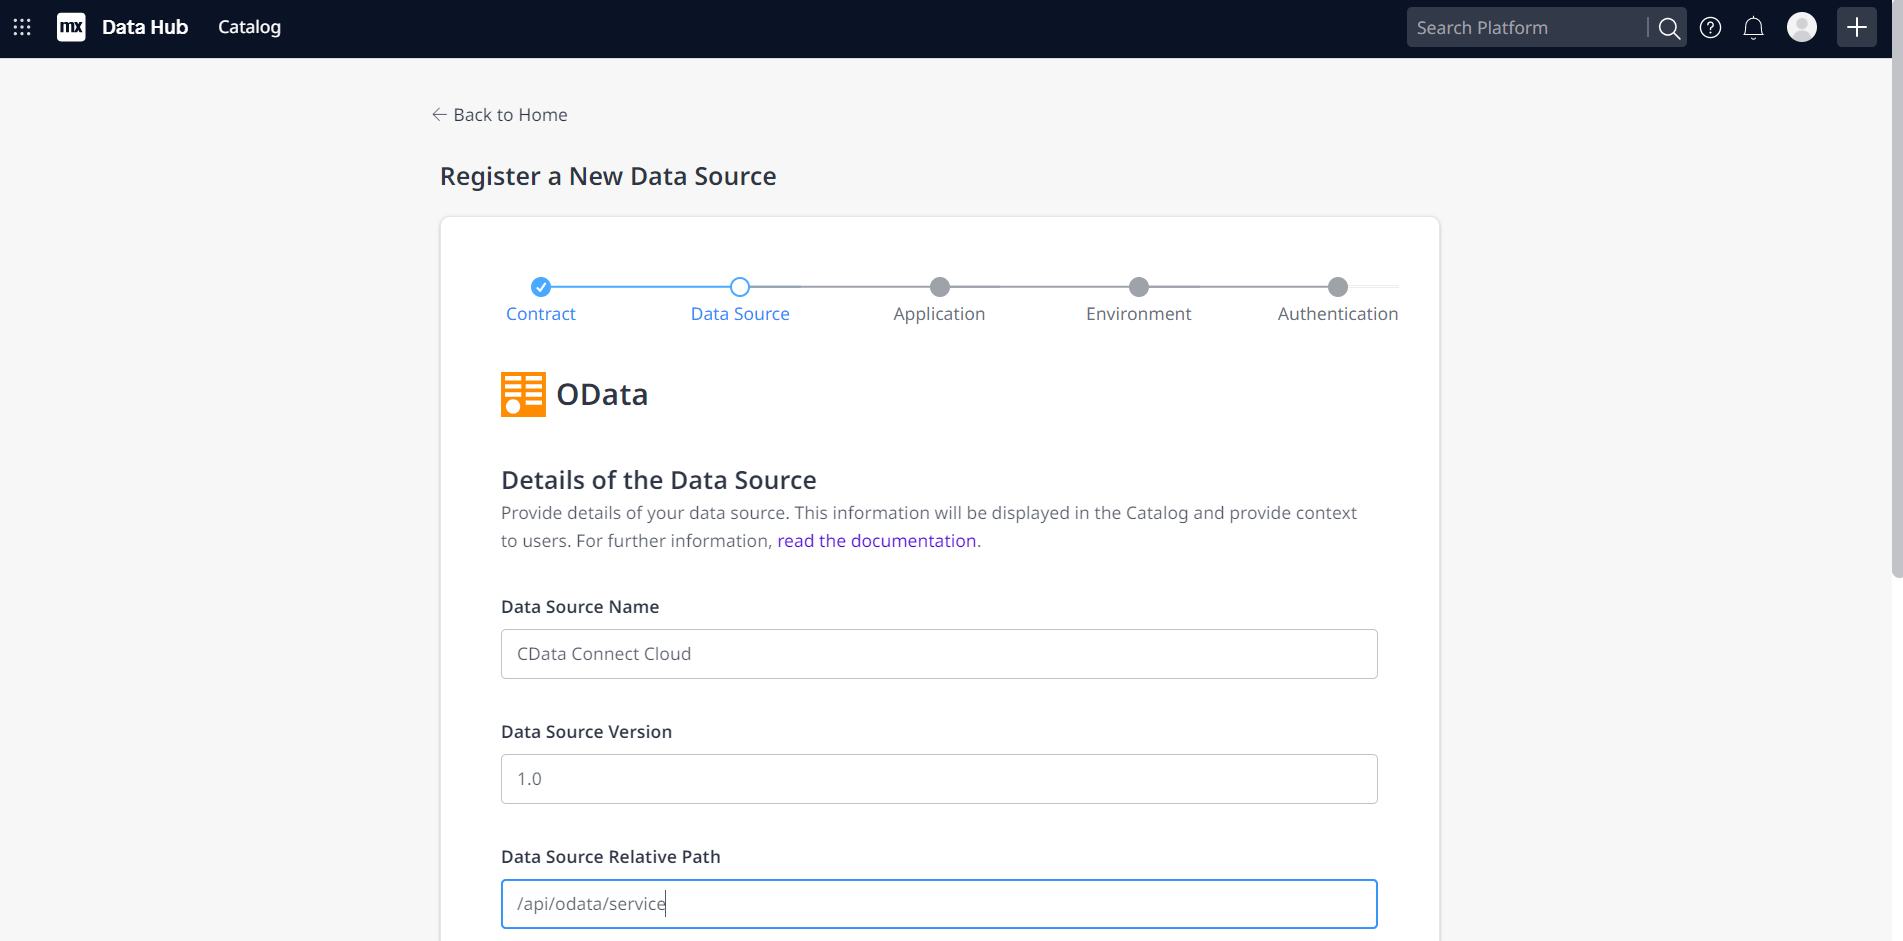
- Enter your desired values for Data Source Name and Data Source Version. In the Data Source Relative Path field, enter /api/odata/service and click Next.
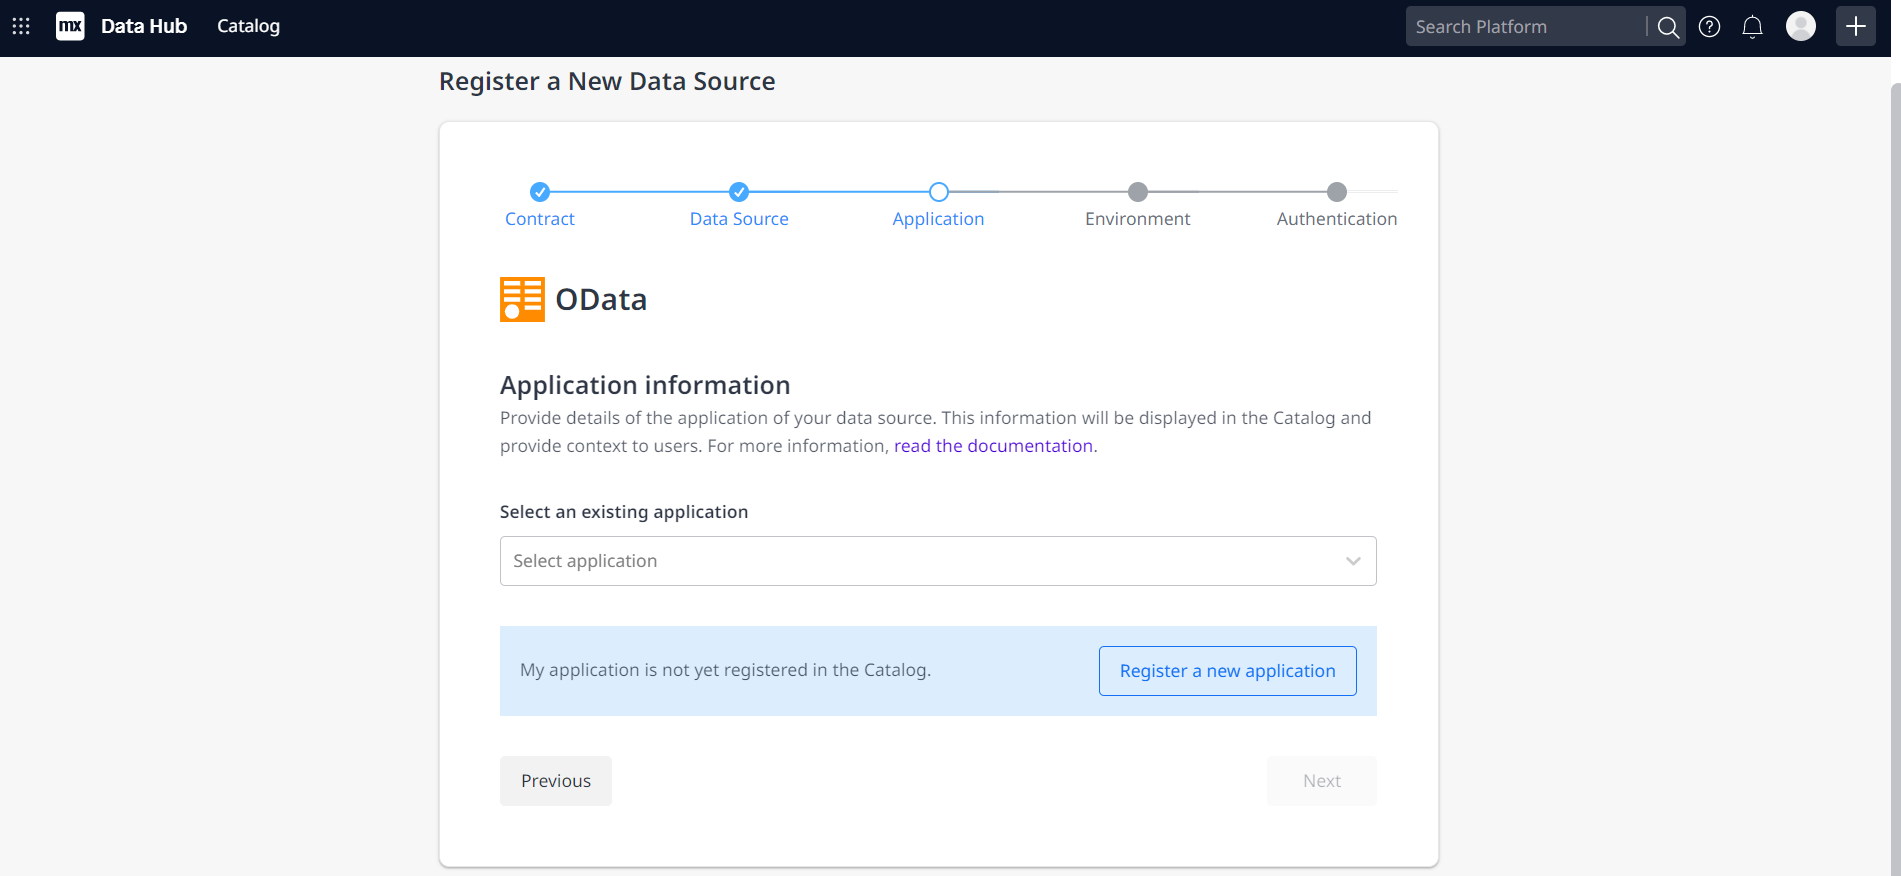
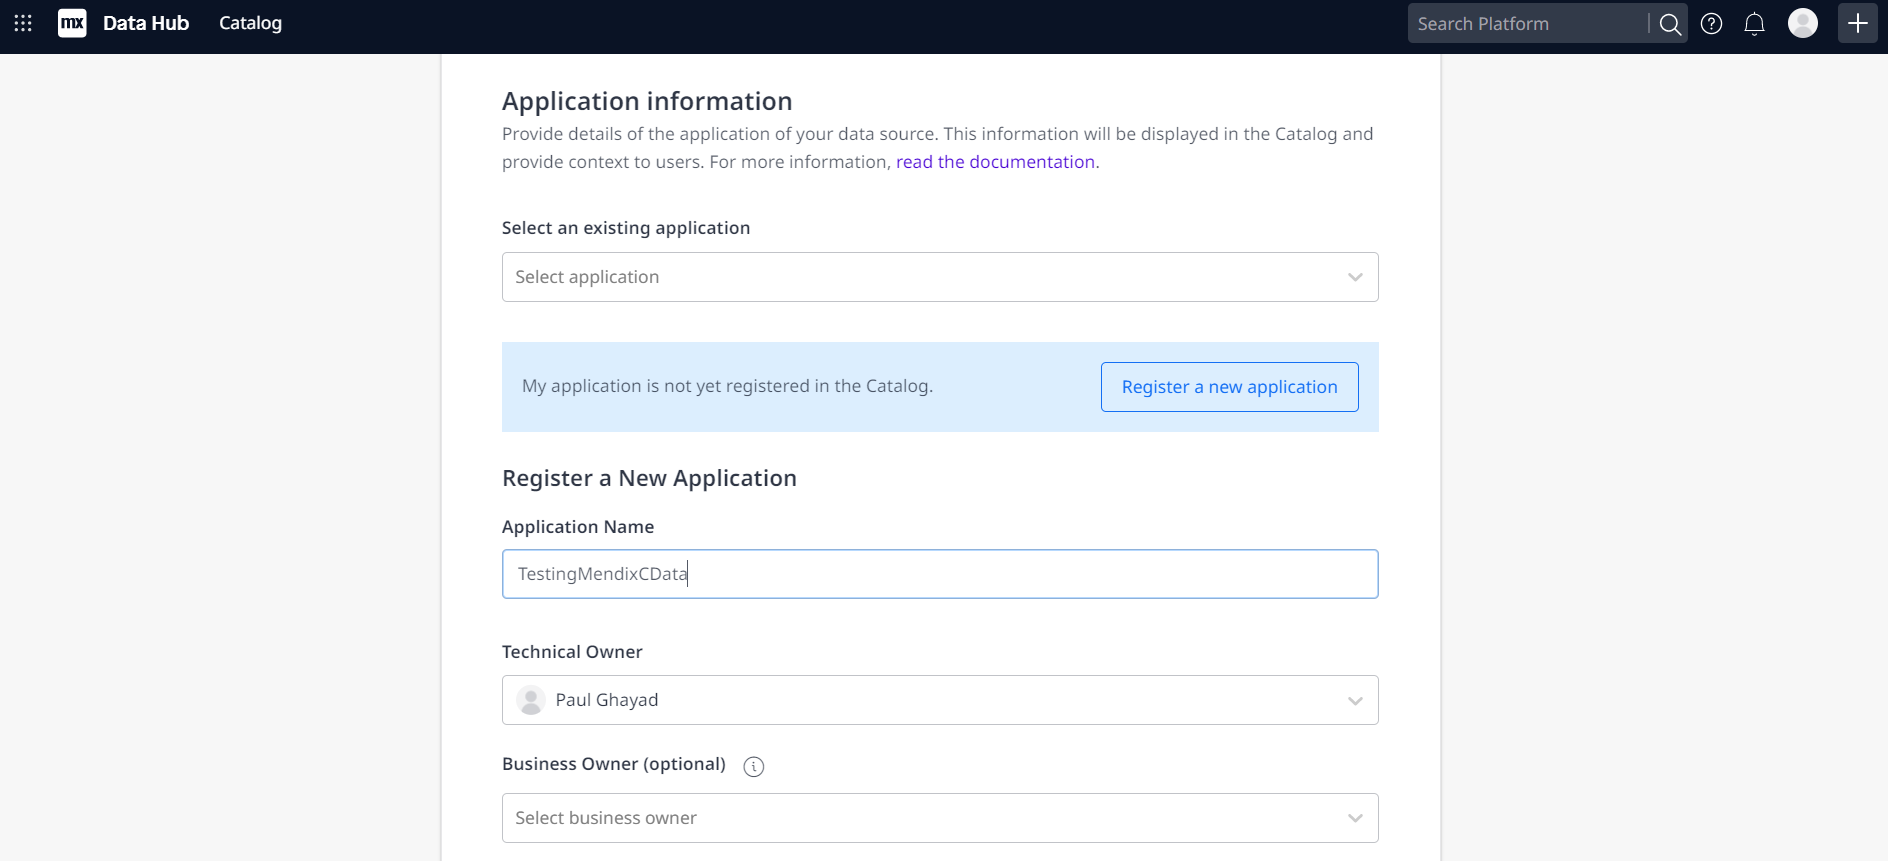
- On the Application information page, click Register a new application.
- Enter a name in Application Name and select a technical owner (by default, this is the user who is currently logged in).
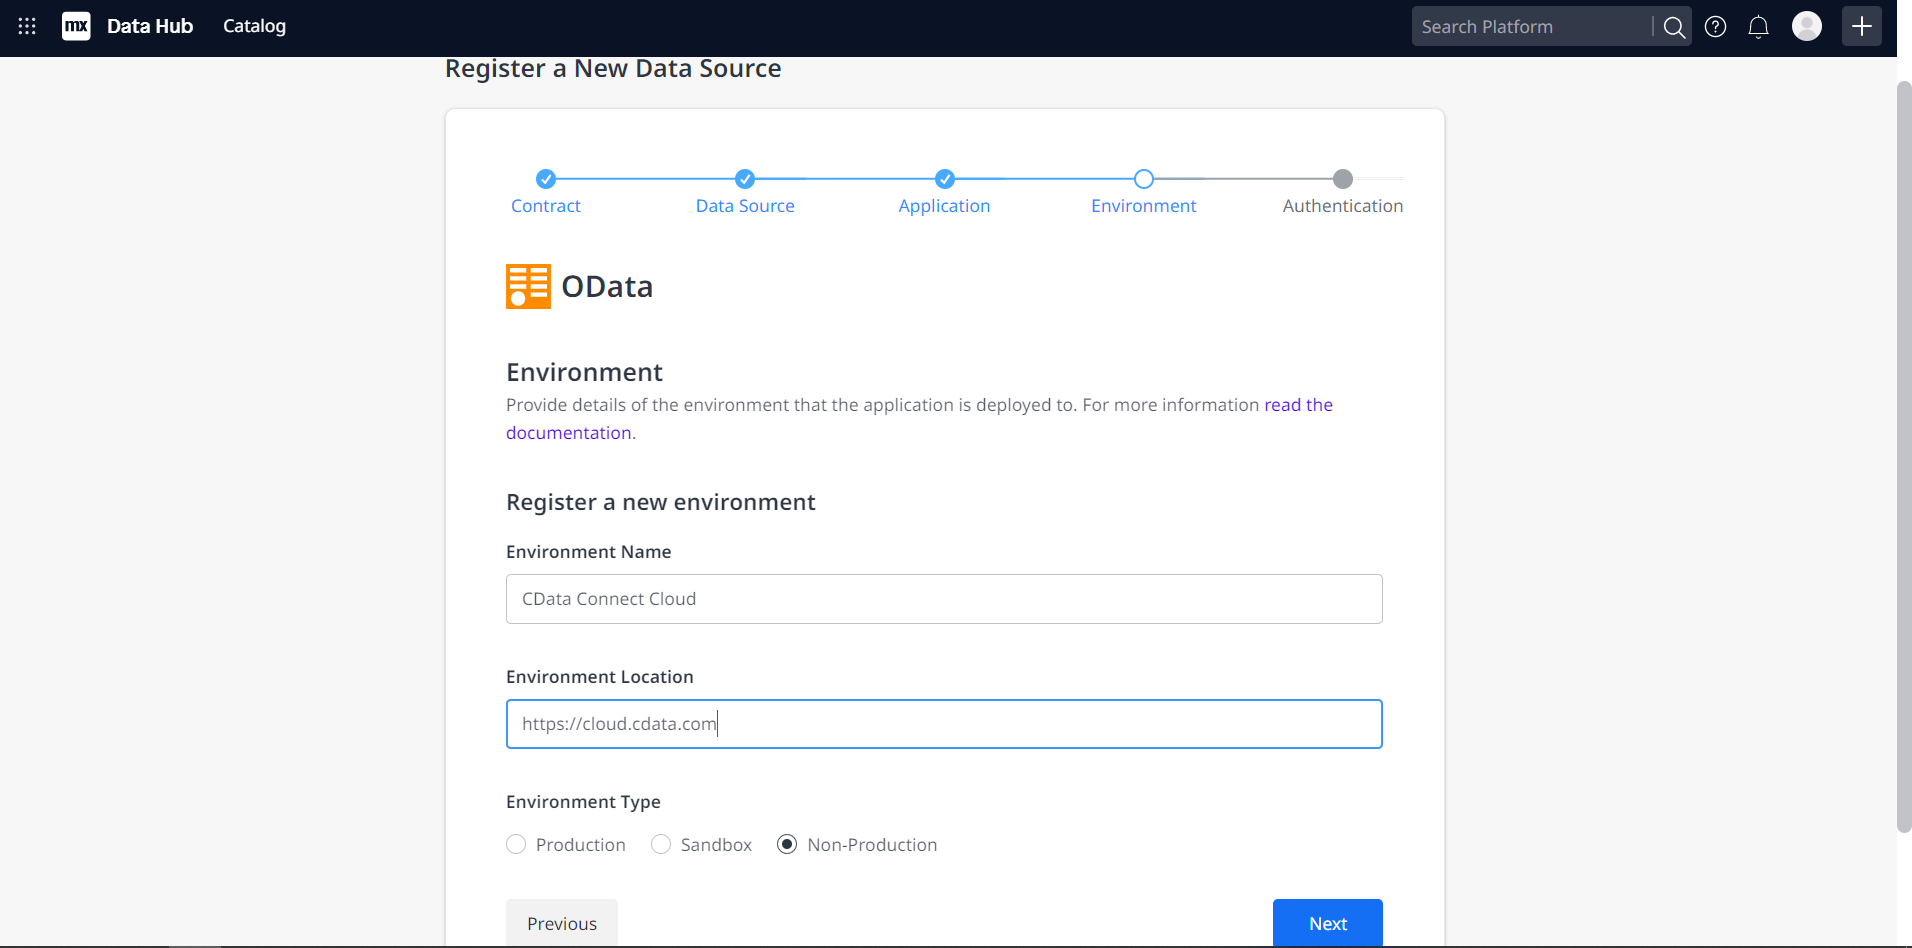
- Click Next. In the Environment Name field, enter a desired name (for example, CData Connect Cloud). In the Environment Location field, enter https://cloud.cdata.com and select the appropriate Environment Type (e.g. Production), depending on what is needed.
- Click Done! to create your connection.

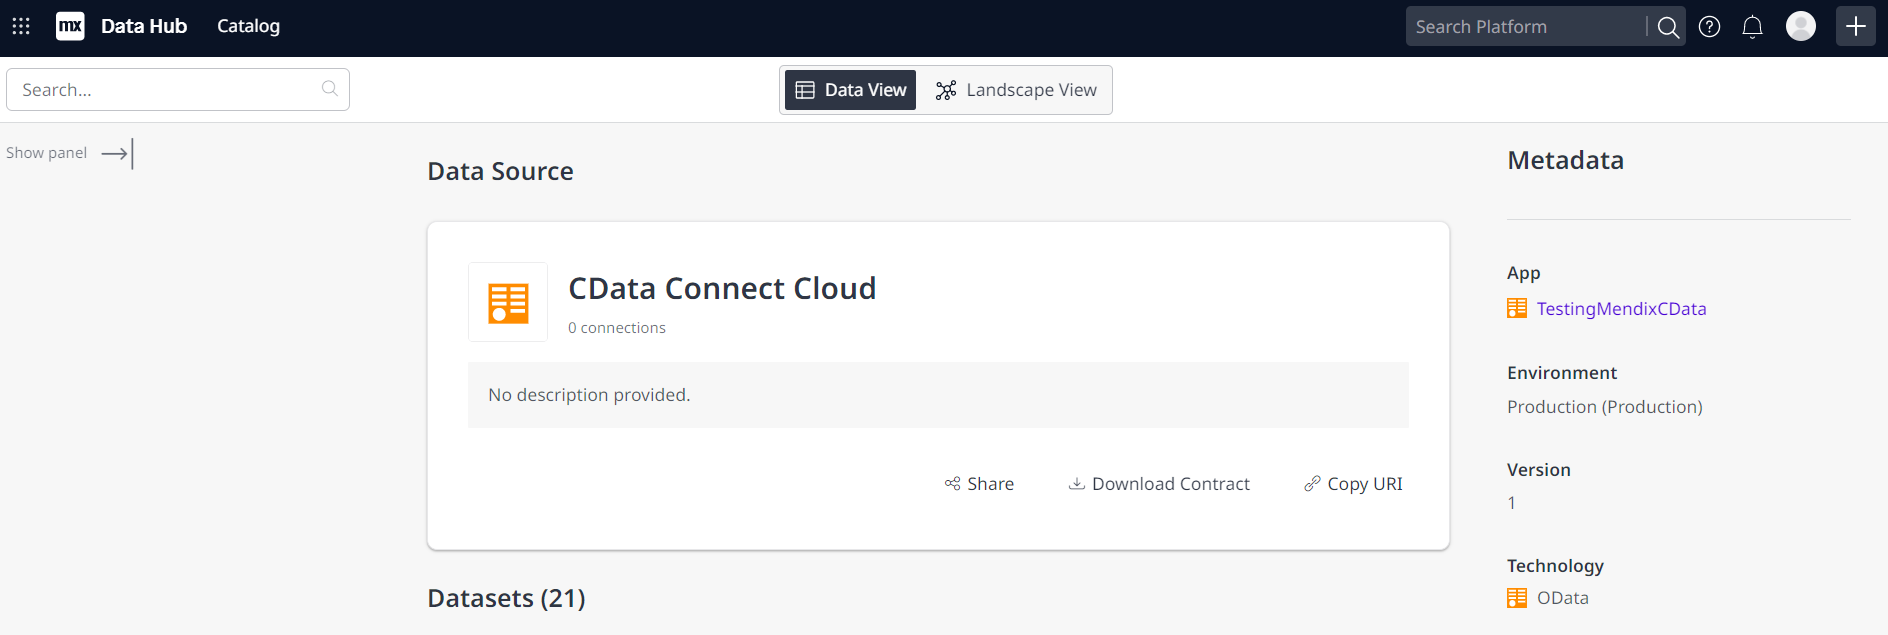
You can now use your connection in Mendix Studio Pro to easily create applications with access to live PostgreSQL data.
Get CData Connect Cloud
To get live data access to 100+ SaaS, Big Data, and NoSQL sources directly from your cloud applications, try CData Connect Cloud today!


