Discover how a bimodal integration strategy can address the major data management challenges facing your organization today.
Get the Report →How to connect to SAP Ariba Procurement Data from IntelliJ
Integrate connectivity to SAP Ariba Procurement data with wizards in IntelliJ.
The CData JDBC Driver for SAP Ariba Procurement enables you to access SAP Ariba Procurement as a JDBC data source, providing integration with rapid development tools in IDEs. This article shows how to use the data source configuration wizard to connect to SAP Ariba Procurement data in IntelliJ.
Create a JBDC Data Source for SAP Ariba Procurement
Follow the steps below to add the driver JAR and define connection properties required to connect to SAP Ariba Procurement data.
- In the Data Sources window, right-click and then click Add Data Source -> DB Data Source.
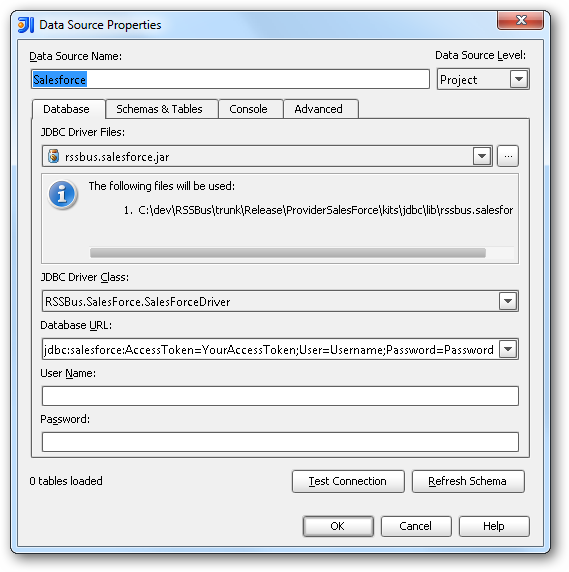
In the Data Source Properties dialog that appears, the following properties are required:
- JDBC Driver Files: Click the button next to this menu to add the JDBC Driver file cdata.jdbc.saparibaprocurement.jar, located in the installation directory.
- JDBC Driver Class: In this menu, select cdata.jdbc.saparibaprocurement.SAPAribaProcurementDriver from the list.
Database URL: Enter the connection URL in the JDBC URL property. The URL must start with jdbc:saparibaprocurement: and includes connection properties separated with semicolons.
In order to connect with SAP Ariba Procurement, set the following:
- ANID: Your Ariba Network ID.
- ANID: Specify which API you would like the provider to retrieve SAP Ariba data from. Select the Buyer or Supplier API based on your business role (possible values are PurchaseOrdersBuyerAPIV1 or PurchaseOrdersSupplierAPIV1).
- Environment: Indicate whether you are connecting to a test or production environment (possible values are TEST or PRODUCTION).
Authenticating with OAuth
After setting connection properties, you need to configure OAuth connectivity to authenticate.
- Set AuthScheme to OAuthClient.
- Register an application with the service to obtain the APIKey, OAuthClientId and OAuthClientSecret.
For more information on creating an OAuth application, refer to the Help documentation.
Automatic OAuth
After setting the following, you are ready to connect:
-
APIKey: The Application key in your app settings.
OAuthClientId: The OAuth Client Id in your app settings.
OAuthClientSecret: The OAuth Secret in your app settings.
When you connect, the provider automatically completes the OAuth process:
- The provider obtains an access token from SAP Ariba and uses it to request data.
- The provider refreshes the access token automatically when it expires.
- The OAuth values are saved in memory relative to the location specified in OAuthSettingsLocation.
Built-in Connection String Designer
For assistance in constructing the JDBC URL, use the connection string designer built into the SAP Ariba Procurement JDBC Driver. Either double-click the JAR file or execute the jar file from the command-line.
java -jar cdata.jdbc.saparibaprocurement.jarFill in the connection properties and copy the connection string to the clipboard.
![Using the built-in connection string designer to generate a JDBC URL (Salesforce is shown.)]()
A typical JDBC URL is the following:
jdbc:saparibaprocurement:ANID=AN02000000280;API=PurchaseOrdersBuyerAPI-V1;APIKey=wWVLn7WTAXrIRMAzZ6VnuEj7Ekot5jnU;AuthScheme=OAuthClient;InitiateOAuth=GETANDREFRESH

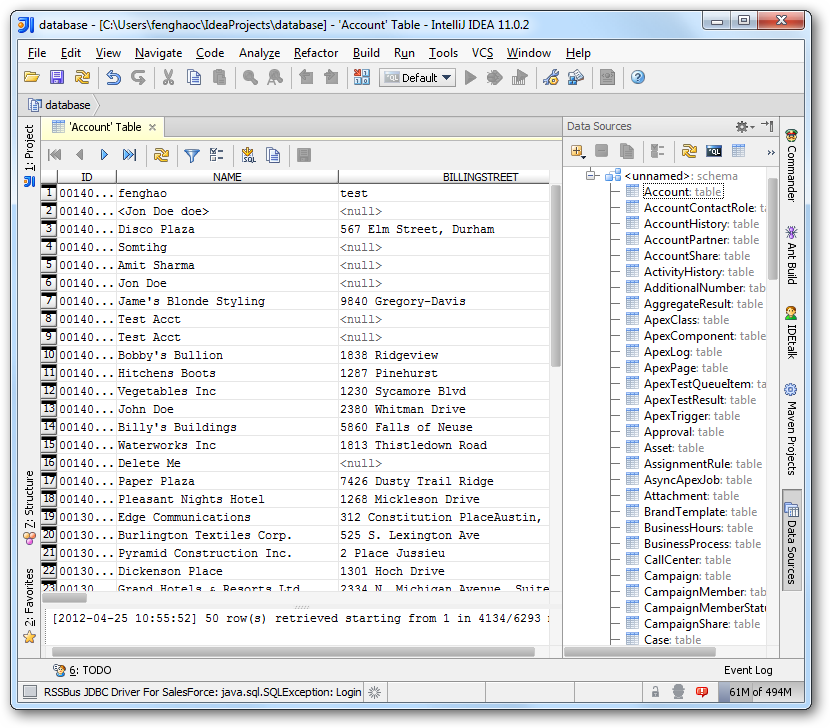
Edit and Save SAP Ariba Procurement Data
To discover schema information, right-click the data source you just created and click Refresh Tables. To query a table, right-click it and then click Open Tables Editor.


