Discover how a bimodal integration strategy can address the major data management challenges facing your organization today.
Get the Report →Export Data from SQL Server to SAP Ariba Source through SSIS
Easily push SQL Server data to SAP Ariba Source using the CData SSIS Tasks for SAP Ariba Source.
SQL Server databases are commonly used to store enterprise records. It is often necessary to move this data to other locations. The CData SSIS Task for SAP Ariba Source allows you to easily transfer SAP Ariba Source data. In this article you will export data from SQL Server to SAP Ariba Source.
Add Source and Destination Components
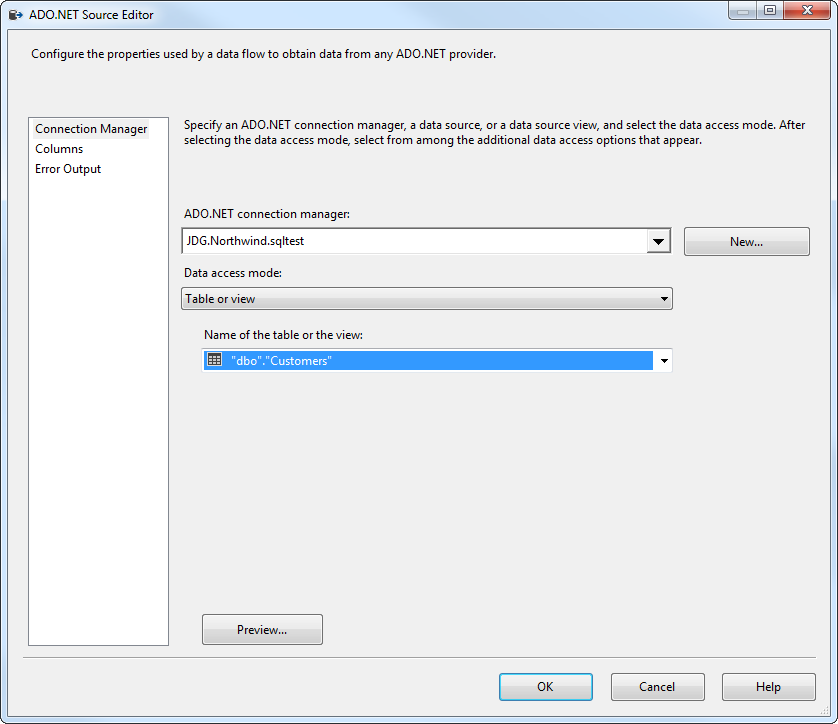
To get started, add a new ADO.NET Source control and a new SAP Ariba Source Destination control to the data flow task.
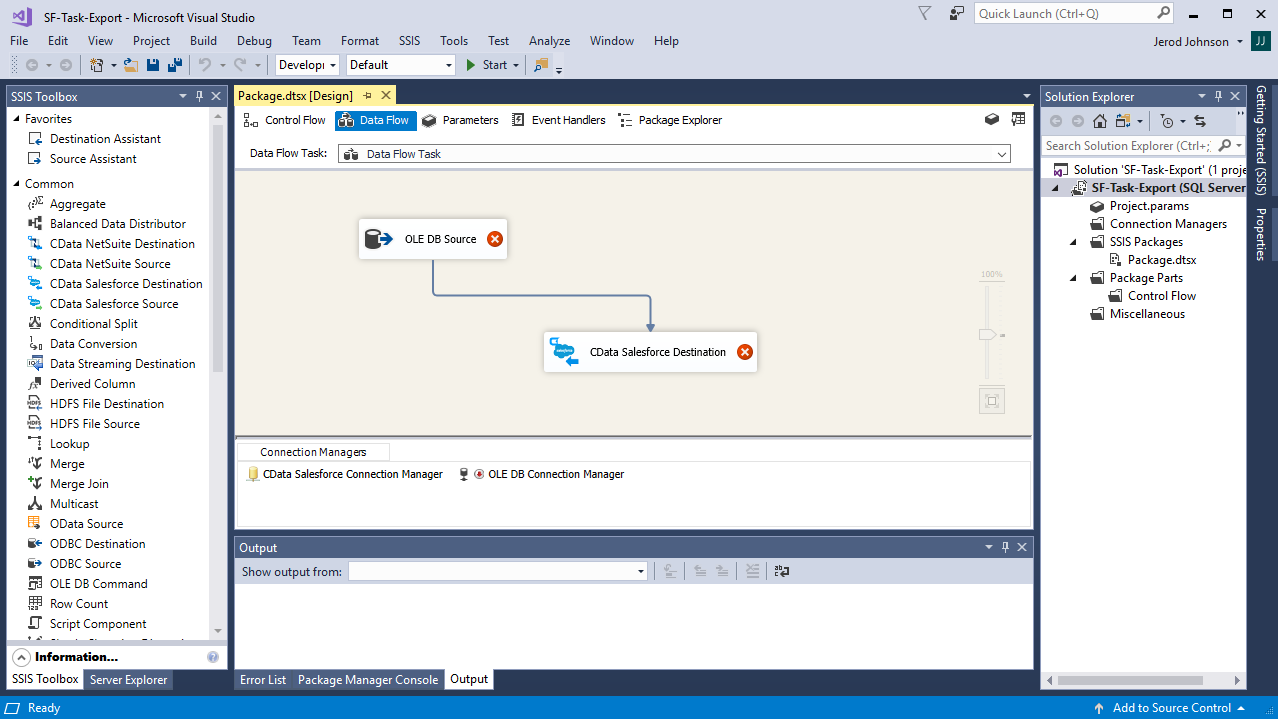
Configure the ADO.NET Source
Follow the steps below to specify properties required to connect to the SQL Server instance.
- Open the ADO.NET Source and add a new connection. Enter your server and database information here.
- In the Data access mode menu, select "Table or view" and select the table or view to export into SAP Ariba Source.
- Close the ADO NET Source wizard and connect it to the destination component.

Create a New Connection Manager for SAP Ariba Source
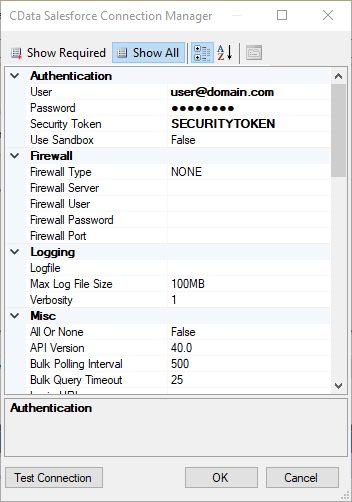
Follow the steps below to set required connection properties in the Connection Manager.
- Create a new connection manager: In the Connection Manager window, right-click and then click New Connection. The Add SSIS Connection Manager dialog is displayed.
- Select CData SAPAribaSource Connection Manager in the menu.
-
Configure the connection properties.
In order to connect with SAP Ariba Source, set the following:
- API: Specify which API you would like the provider to retrieve SAP Ariba data from. Select the Supplier, Sourcing Project Management, or Contract API based on your business role (possible values are SupplierDataAPIWithPaginationV4, SourcingProjectManagementAPIV2, or ContractAPIV1).
- DataCenter: The data center where your account's data is hosted.
- Realm: The name of the site you want to access.
- Environment: Indicate whether you are connecting to a test or production environment (possible values are TEST or PRODUCTION).
If you are connecting to the Supplier Data API or the Contract API, additionally set the following:
- User: Id of the user on whose behalf API calls are invoked.
- PasswordAdapter: The password associated with the authenticating User.
If you're connecting to the Supplier API, set ProjectId to the Id of the sourcing project you want to retrieve data from.
Authenticating with OAuth
After setting connection properties, you need to configure OAuth connectivity to authenticate.
- Set AuthScheme to OAuthClient.
- Register an application with the service to obtain the APIKey, OAuthClientId and OAuthClientSecret.
For more information on creating an OAuth application, refer to the Help documentation.
Automatic OAuth
After setting the following, you are ready to connect:
-
APIKey: The Application key in your app settings.
OAuthClientId: The OAuth Client Id in your app settings.
OAuthClientSecret: The OAuth Secret in your app settings.
When you connect, the provider automatically completes the OAuth process:
- The provider obtains an access token from SAP Ariba and uses it to request data.
- The provider refreshes the access token automatically when it expires.
- The OAuth values are saved in memory relative to the location specified in OAuthSettingsLocation.
Configure the SAP Ariba Source Destination
In the destination component Connection Manager, define mappings from the SQL Server source table into the SAP Ariba Source destination table and the action you want to perform on the SAP Ariba Source data. In this article, you will insert Vendors entities to SAP Ariba Source.
- Double-click the SAP Ariba Source destination to open the destination component editor.
- In the Connection Managers tab, select the connection manager previously created.
-
In the Use a Table, menu, select Vendors.
In the Action menu, select Insert.
![The destination table and action to be performed.]()
-
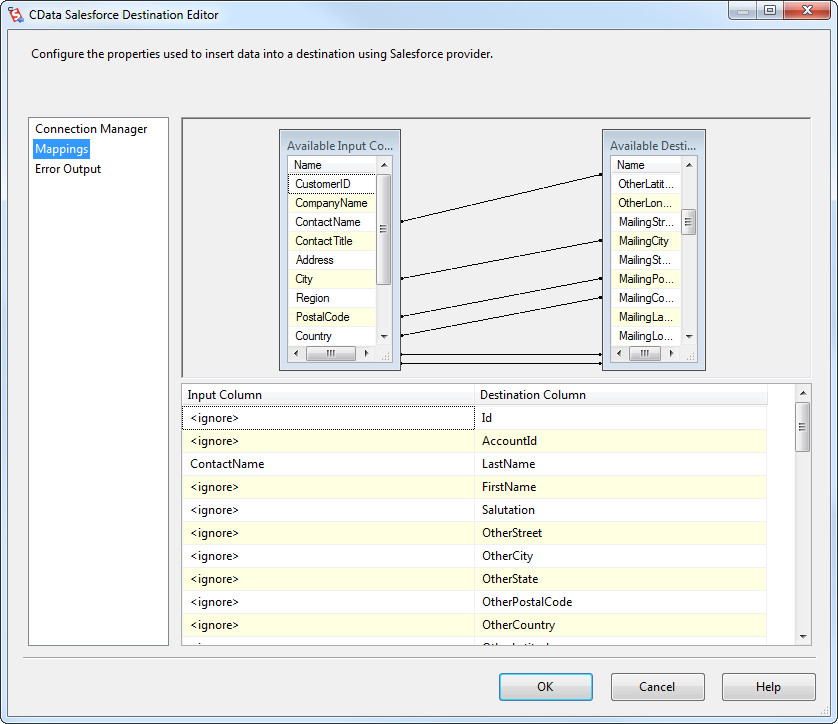
On the Column Mappings tab, configure the mappings from the input columns to the destination columns.
![The mappings from the SQL Server source to the SSIS destination component.]()
Run the Project
You can now run the project. After the SSIS Task has finished executing, data from your SQL table will be exported to the chosen table.
