Discover how a bimodal integration strategy can address the major data management challenges facing your organization today.
Get the Report →How to connect and process Snowflake Data from Azure Databricks
Use CData, Azure, and Databricks to perform data engineering and data science on live Snowflake Data
Databricks is a cloud-based service that provides data processing capabilities through Apache Spark. When paired with the CData JDBC Driver, customers can use Databricks to perform data engineering and data science on live Snowflake data. This article walks through hosting the CData JDBC Driver in Azure, as well as connecting to and processing live Snowflake data in Databricks.
With built-in optimized data processing, the CData JDBC Driver offers unmatched performance for interacting with live Snowflake data. When you issue complex SQL queries to Snowflake, the driver pushes supported SQL operations, like filters and aggregations, directly to Snowflake and utilizes the embedded SQL engine to process unsupported operations client-side (often SQL functions and JOIN operations). Its built-in dynamic metadata querying allows you to work with and analyze Snowflake data using native data types.
Install the CData JDBC Driver in Azure
To work with live Snowflake data in Databricks, install the driver on your Azure cluster.
- Navigate to your Databricks administration screen and select the target cluster.
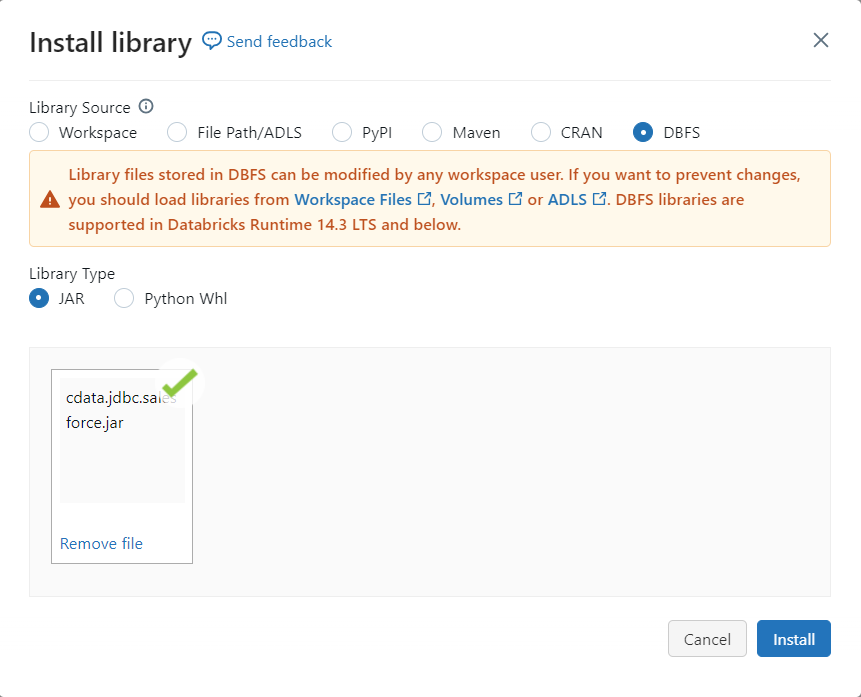
- On the Libraries tab, click "Install New."
- Select "Upload" as the Library Source and "Jar" as the Library Type.
- Upload the JDBC JAR file (cdata.jdbc.snowflake.jar) from the installation location (typically C:\Program Files\CData[product_name]\lib).

Connect to Snowflake from Databricks
With the JAR file installed, we are ready to work with live Snowflake data in Databricks. Start by creating a new notebook in your workspace. Name the notebook, select Python as the language (though Scala is available as well), and choose the cluster where you installed the JDBC driver. When the notebook launches, we can configure the connection, query Snowflake, and create a basic report.
Configure the Connection to Snowflake
Connect to Snowflake by referencing the class for the JDBC Driver and constructing a connection string to use in the JDBC URL. Additionally, you will need to set the RTK property in the JDBC URL (unless you are using a Beta driver). You can view the licensing file included in the installation for information on how to set this property.
driver = "cdata.jdbc.snowflake.SnowflakeDriver"
url = "jdbc:snowflake:RTK=5246...;User=Admin;Password=test123;Server=localhost;Database=Northwind;Warehouse=TestWarehouse;Account=Tester1;"
Built-in Connection String Designer
For assistance in constructing the JDBC URL, use the connection string designer built into the Snowflake JDBC Driver. Either double-click the JAR file or execute the jar file from the command-line.
java -jar cdata.jdbc.snowflake.jar
Fill in the connection properties and copy the connection string to the clipboard.
To connect to Snowflake:
- Set User and Password to your Snowflake credentials and set the AuthScheme property to PASSWORD or OKTA.
- Set URL to the URL of the Snowflake instance (i.e.: https://myaccount.snowflakecomputing.com).
- Set Warehouse to the Snowflake warehouse.
- (Optional) Set Account to your Snowflake account if your URL does not conform to the format above.
- (Optional) Set Database and Schema to restrict the tables and views exposed.
See the Getting Started guide in the CData driver documentation for more information.

Load Snowflake Data
Once the connection is configured, you can load Snowflake data as a dataframe using the CData JDBC Driver and the connection information.
remote_table = spark.read.format ( "jdbc" ) \
	.option ( "driver" , driver) \
	.option ( "url" , url) \
	.option ( "dbtable" , "Products") \
	.load ()
Display Snowflake Data
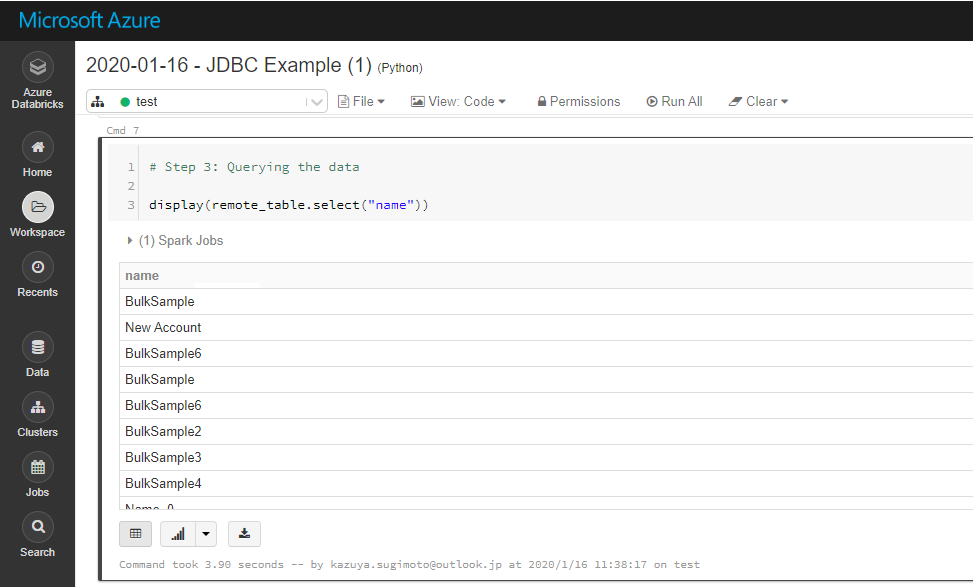
Check the loaded Snowflake data by calling the display function.
display (remote_table.select ("Id"))

Analyze Snowflake Data in Azure Databricks
If you want to process data with Databricks SparkSQL, register the loaded data as a Temp View.
remote_table.createOrReplaceTempView ( "SAMPLE_VIEW" )
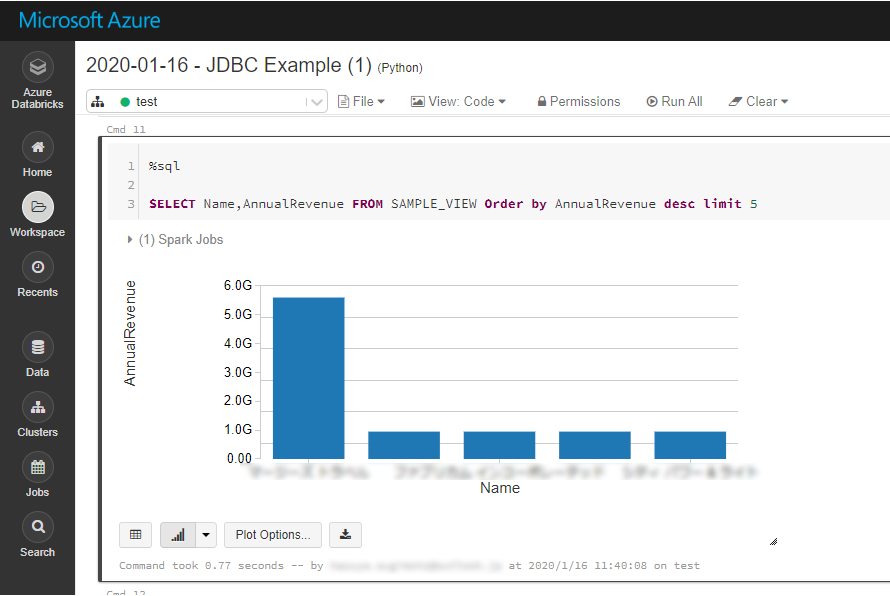
The SparkSQL below retrieves the Snowflake data for analysis.
% sql

SELECT Id, ProductName FROM Products
The data from Snowflake is only available in the target notebook. If you want to use it with other users, save it as a table.
remote_table.write.format ( "parquet" ) .saveAsTable ( "SAMPLE_TABLE" )

Download a free, 30-day trial of the CData JDBC Driver for Snowflake and start working with your live Snowflake data in Azure Databricks. Reach out to our Support Team if you have any questions.


