Discover how a bimodal integration strategy can address the major data management challenges facing your organization today.
Get the Report →Access NetSuite Sales Orders in Dynamics CRM
You can improve your sales team's visibility into the needs of both your customers and your business by integrating your ERP and CRM systems. When your sales team can access ERP data whenever they need, they can use high-quality data like customer addresses and customer financial history as the basis for dynamic marketing lists in Dynamics CRM. However, accessing the complete customer history in CRM often requires manually copying data from your other data sources like ERP — and Google spreadsheets. When you need to rekey data across multiple sources, keeping your data synchronized and up to date becomes another challenge.
CData SSIS Components for Dynamics CRM are off-the-shelf tools that address both aspects of integrating ERP into CRM with point-and-click simplicity: Out of the box, you can automate many of the key CRM and ERP integrations, such as viewing your customer financial history in CRM. As you drag and drop the source and destination components onto a Data Flow in SSIS, the components handle the necessary communication with each data source's API.
By accessing NetSuite and Dynamics CRM through APIs, you can rely on accurate and current data: The APIs preserve business logic and reflect any changes to the data. After installing the CData SSIS Components for Dynamics CRM and NetSuite, as well as SQL Server Data Tools, you can transfer sales orders from NetSuite into CRM in 10 steps.
- If you do not already have permissions to access NetSuite Web services, contact an administrator. See the connection guide to grant permissions.
- In a new Integration Services project in Visual Studio, drag a Data Flow task from the SSIS Toolbox onto the Control Flow.
- Double-click the Data Flow and drag the CData Source Component for NetSuite from the SSIS Toolbox onto the Data Flow.
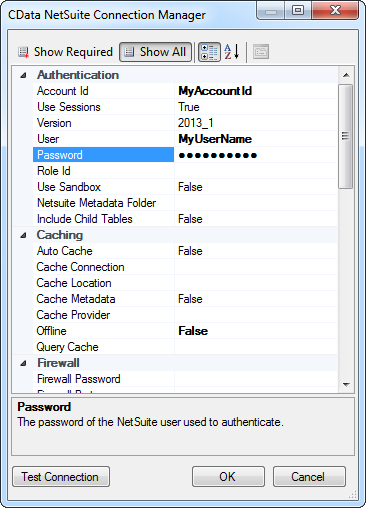
Double-click the source component to open the source editor. Click New. In the resulting dialog, enter the credentials required to connect to NetSuite: To connect to your default role, enter your User, Password, and AccountId in the dialog. To connect to another role, set the RoleId property.
![Credentials and other connection properties in the Connection Manager for NetSuite.]()
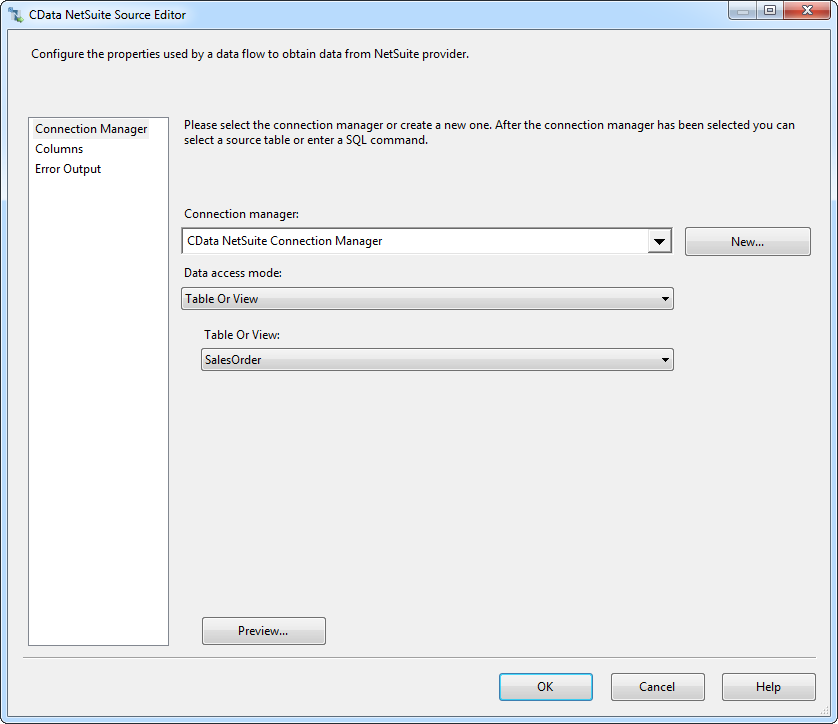
- In the Table Or View menu, select the SalesOrder table.
![The NetSuite sales orders table selected in the source editor.]()
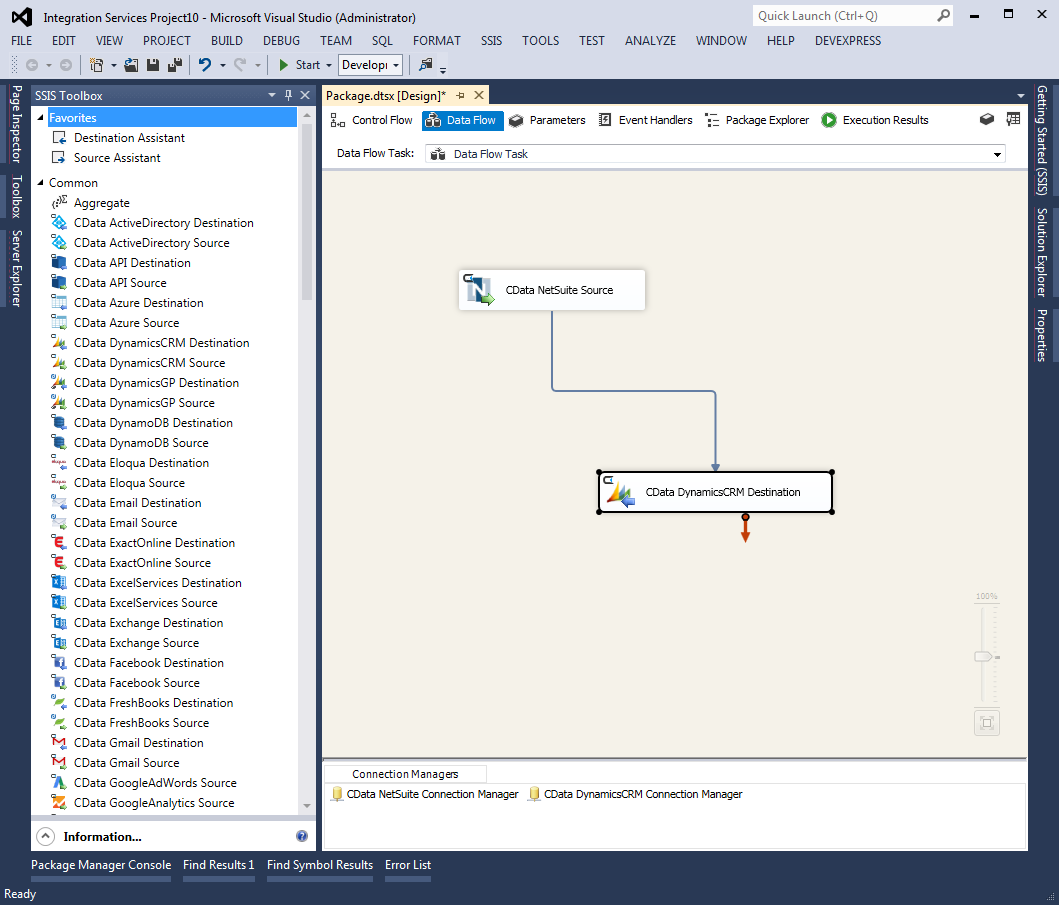
- Drag the CData Destination Component for Dynamics CRM from the SSIS Toolbox onto the Data Flow.
- Drag the blue arrow from the NetSuite source to the Dynamics CRM destination.
![A simple SSIS workflow to load NetSuite sales orders into Dynamics CRM.]()
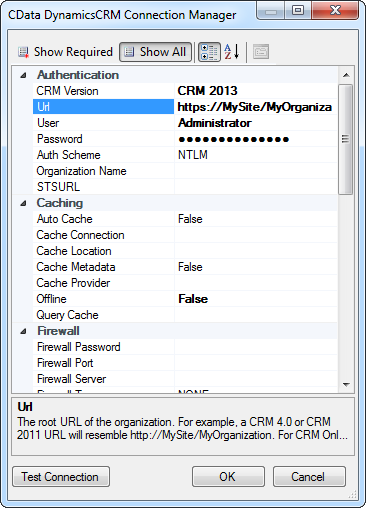
- Double-click the destination component to open the destination editor. Click New. In the resulting dialog, enter the credentials required to connect to Dynamics CRM. To connect to CRM Online, CRM 4.0, 2011, 2013, and 2015, the following properties are required:
- URL: The URL to the on-premise Dynamics CRM installation or Office 365 URL.
- User: Your Dynamics CRM username.
- Password: Your Dynamics CRM password.
![Credentials and other connection properties in the Connection Manager for Dynamics CRM.]()
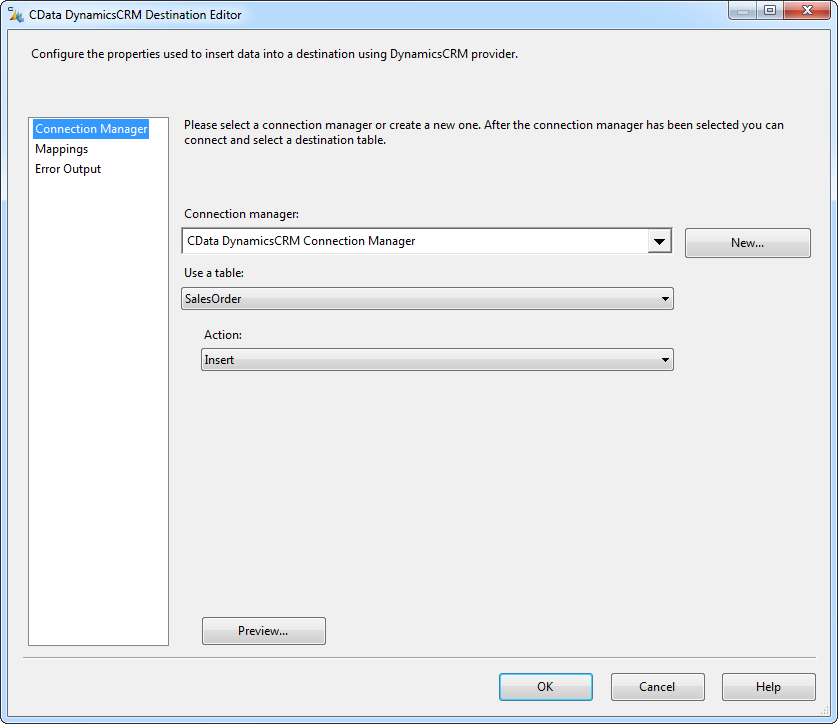
- In the Use a Table menu, select SalesOrder. In the Action menu, select Insert for a simple transfer.
![Dynamics CRM tables in the destination editor.]()
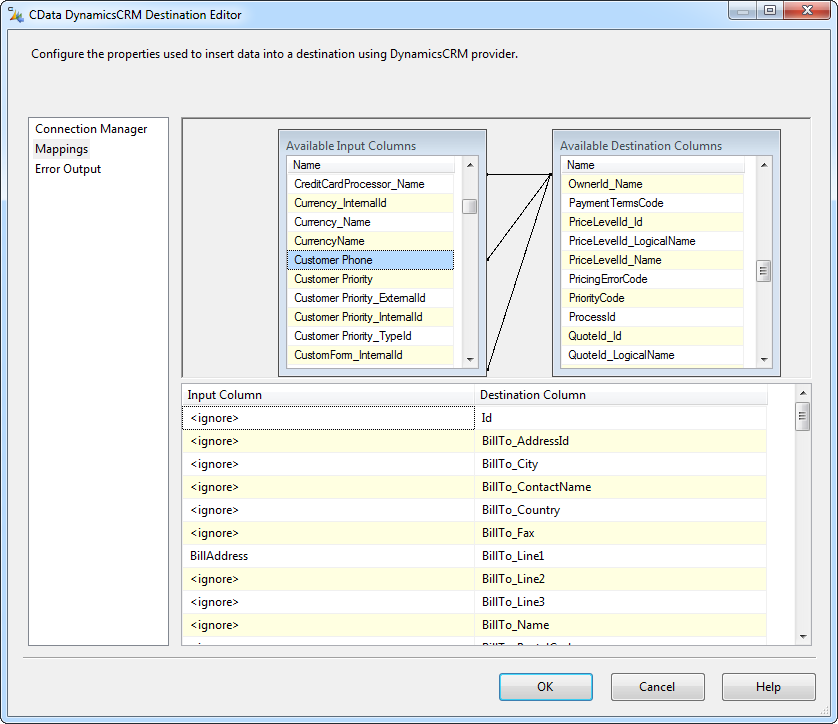
- Click Mappings to modify the column mappings. SSIS automatically maps columns with the same name. In the Input Column list, select the Ignore option for the Id column.
![Mapping contact fields from Google to Dynamics CRM.]()


