Discover how a bimodal integration strategy can address the major data management challenges facing your organization today.
Get the Report →Analyze Typeform Data in Infragistics Reveal
Use the CData Connect Server to create an OData API on top of Typeform data and visualize live Typeform data in Ingragistics Reveal.
Reveal is a data visualization solution provided by Infragistics and can be paired with the CData Connect Server and Typeform Connector to build dynamic dashboards from live Typeform data. The CData Connect Server creates a virtual database for Typeform and can be used to generate an OData API (natively consumable in Reveal) for Typeform. In this article, we walk through connecting to Typeform in Connect Server and connecting to Connect Server from Infragistics Reveal to create a simple dashboard.
Add a Connect Server User
Create a User to connect to Typeform from Reveal through Connect Server.
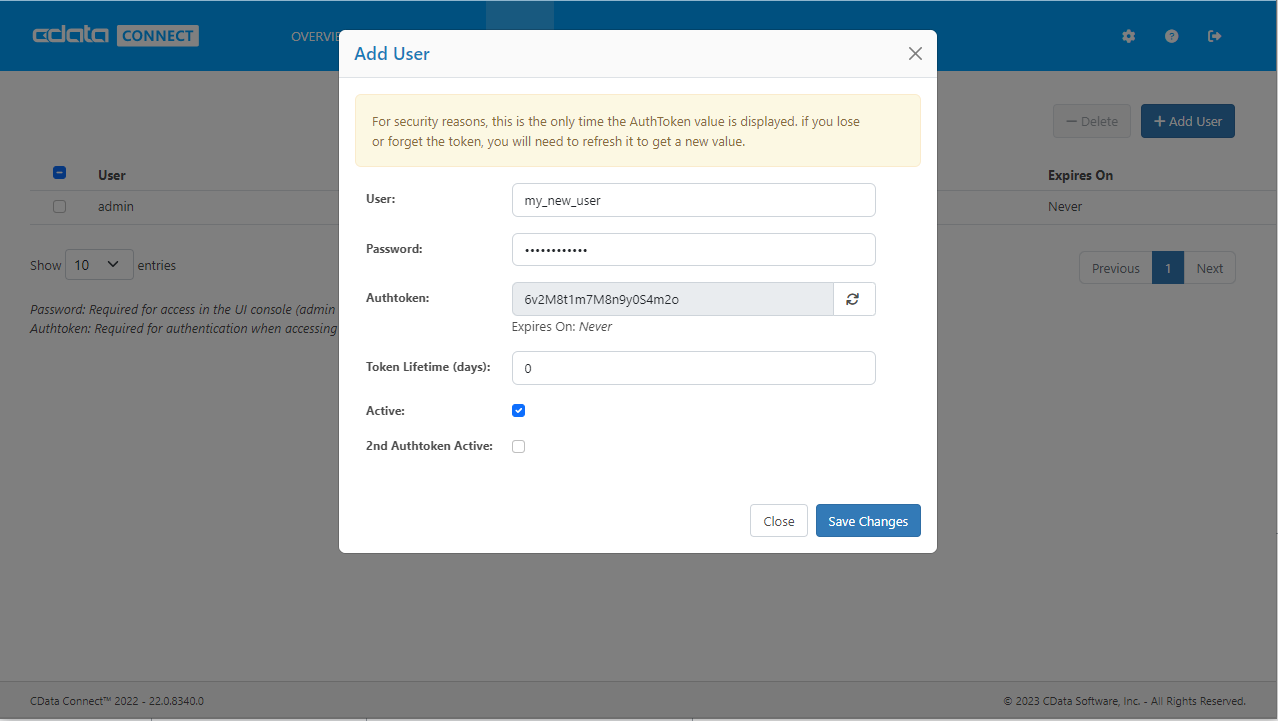
- Click Users -> Add
- Configure a User
![Creating a new user]()
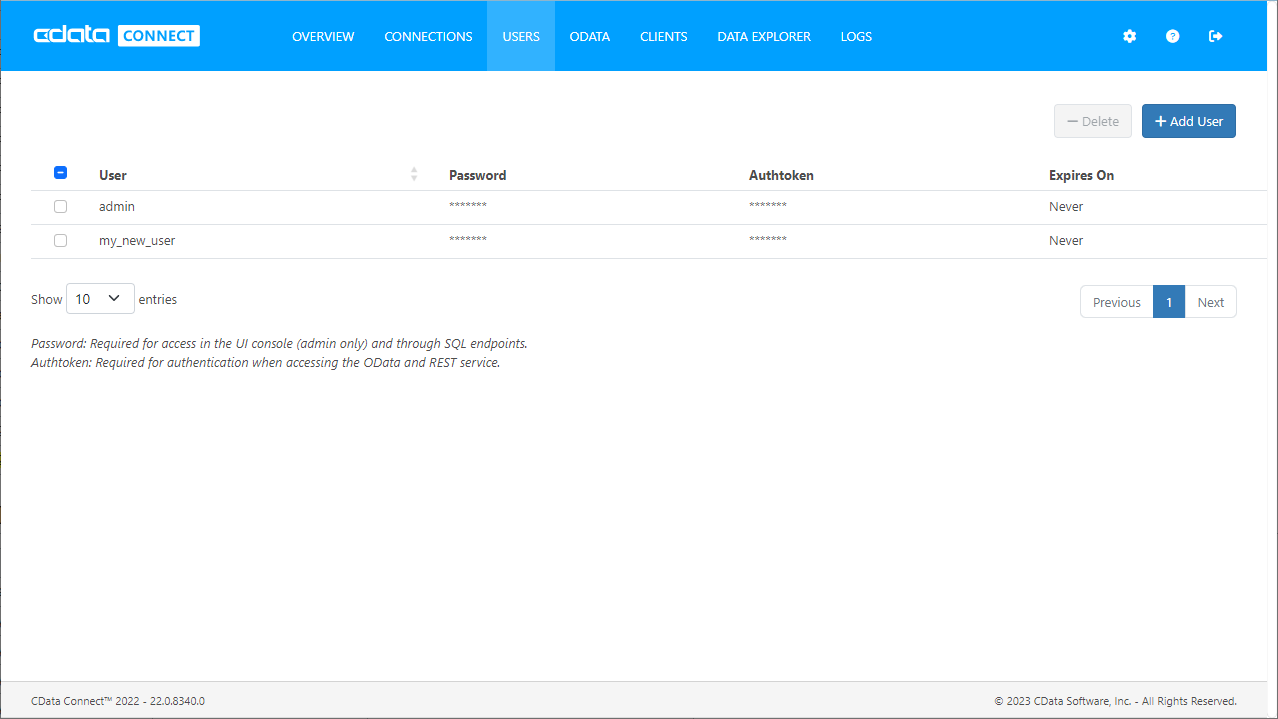
- Click Save Changes and make note of the Authtoken for the new user
![Connect Server users]()
Connect to Typeform from Connect Server
CData Connect Server uses a straightforward, point-and-click interface to connect to data sources and generate APIs.
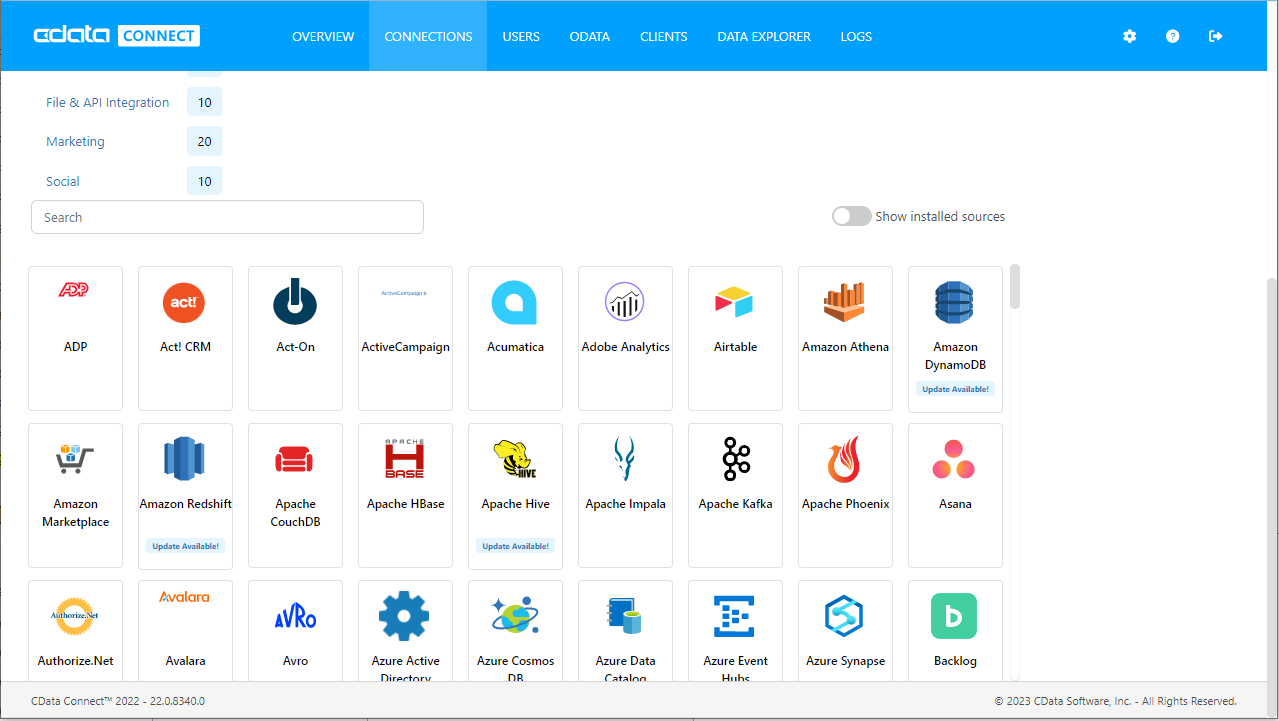
- Open Connect Server and click Connections
![Adding a connection]()
- Select "Typeform" from Available Data Sources
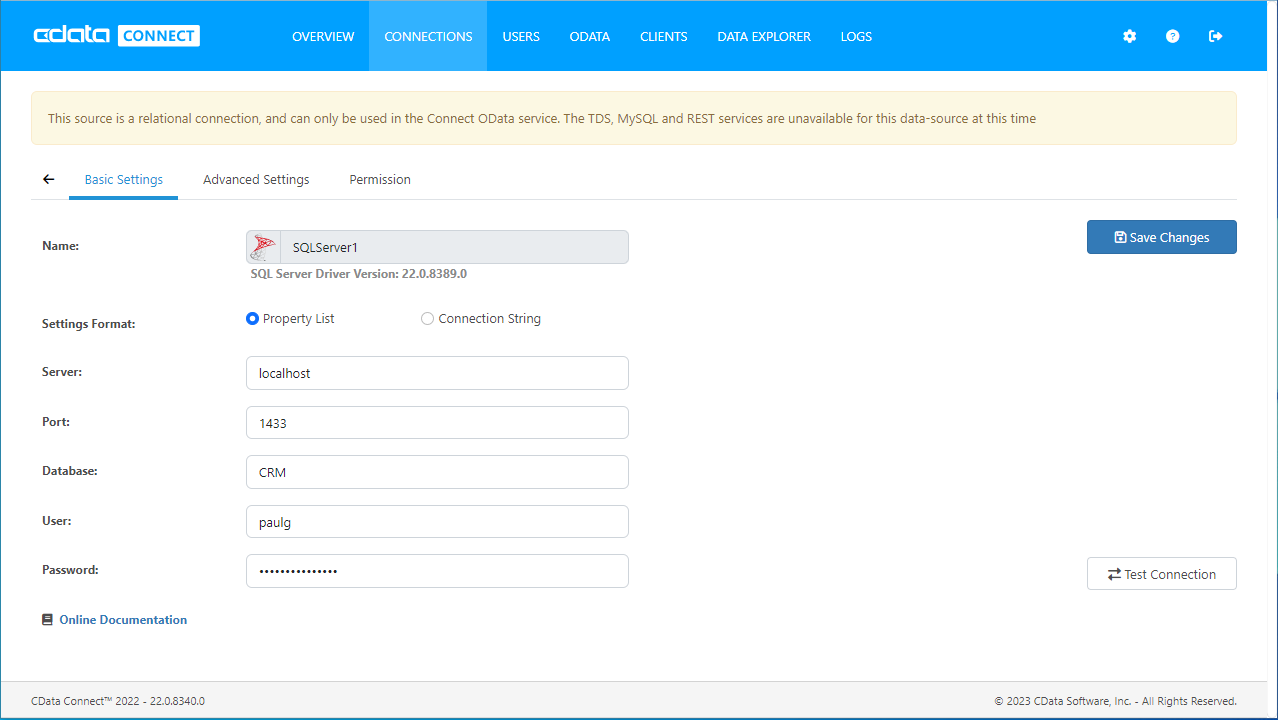
- Enter the necessary authentication properties to connect to Typeform.
Start by setting the Profile connection property to the location of the TypeForm Profile on disk (e.g. C:\profiles\TypeForm.apip). Next, set the ProfileSettings connection property to the connection string for TypeForm (see below).
TypeForm API Profile Settings
Authentication to TypeForm uses the OAuth standard.
To authenticate to TypeForm, you must first register and configure an OAuth application with TypeForm here: https://admin.typeform.com/account#/section/tokens. Your app will be assigned a client ID and a client secret which can be set in the connection string. More information on setting up an OAuth application can be found at https://developer.typeform.com/get-started/.
Note that there are several different use scenarios which all require different redirect URIs:
- CData Desktop Applications: CData desktop applications (Sync, API Server, ArcESB) accept OAuth tokens at /src/oauthCallback.rst. The host and port is the same as the default port used by the application. For example, if you use http://localhost:8019/ to access CData Sync then the redirect URI will be http://localhost:8019/src/oauthCallback.rst.
- CData Cloud Applications: CData cloud applications are similar to their desktop counterparts. If you access Connect Cloud at https://1.2.3.4/ then you should use the redirect https://1.2.3.4/src/oauthCallback.rst.
- Desktop Application: When using a desktop application, the URI https://localhost:33333 is recommended.
- Web Application: When developing a web application using the driver, use your own URI here such as https://my-website.com/oauth.
After setting the following connection properties, you are ready to connect:
- AuthScheme: Set this to OAuth.
- InitiateOAuth: Set this to GETANDREFRESH. You can use InitiateOAuth to manage the process to obtain the OAuthAccessToken.
- OAuthClientId: Set this to the Client Id that is specified in your app settings.
- OAuthClientSecret: Set this to Client Secret that is specified in your app settings.
- CallbackURL: Set this to the Redirect URI you specified in your app settings.
![Configuring a connection (SQL Server is shown).]()
- Click Save Changes
- Click Privileges -> Add and add the new user (or an existing user) with the appropriate permissions (SELECT is all that is required for Reveal).
Add Typeform OData Endpoints in Connect Server
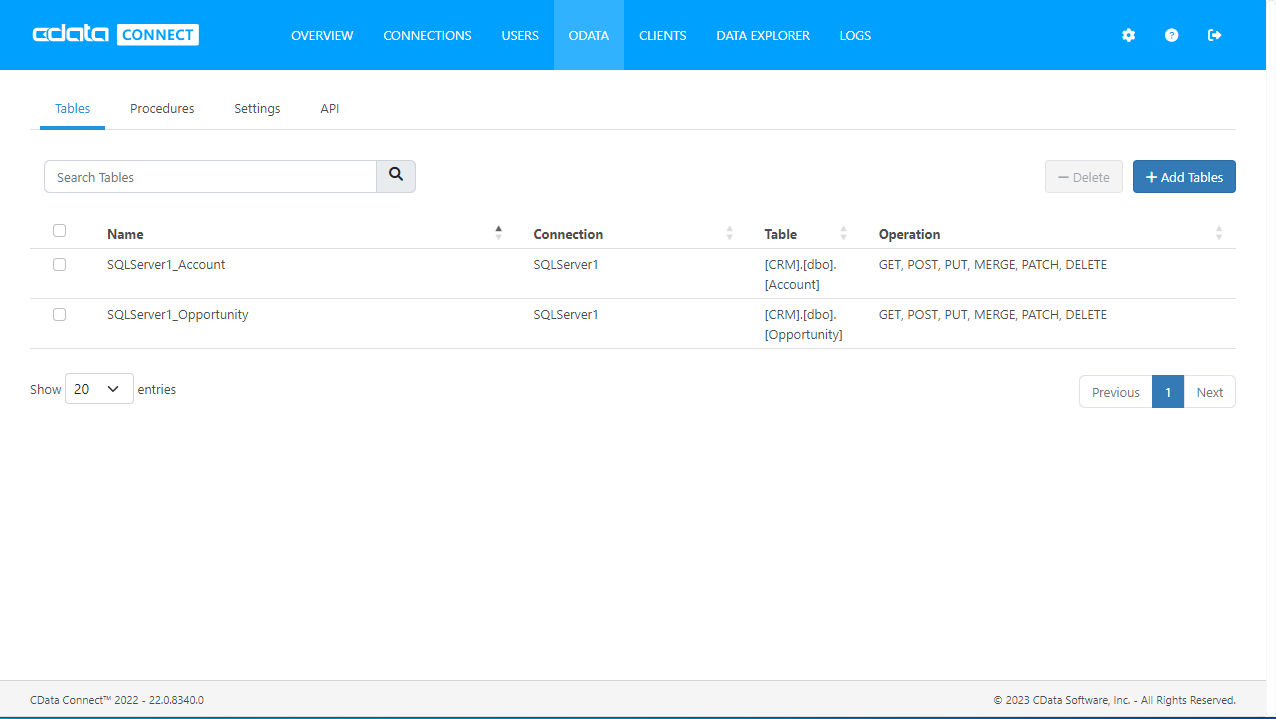
After connecting to Typeform, create OData Endpoint for the desired table(s).
- Click OData -> Tables -> Add Tables
![Adding a new resource]()
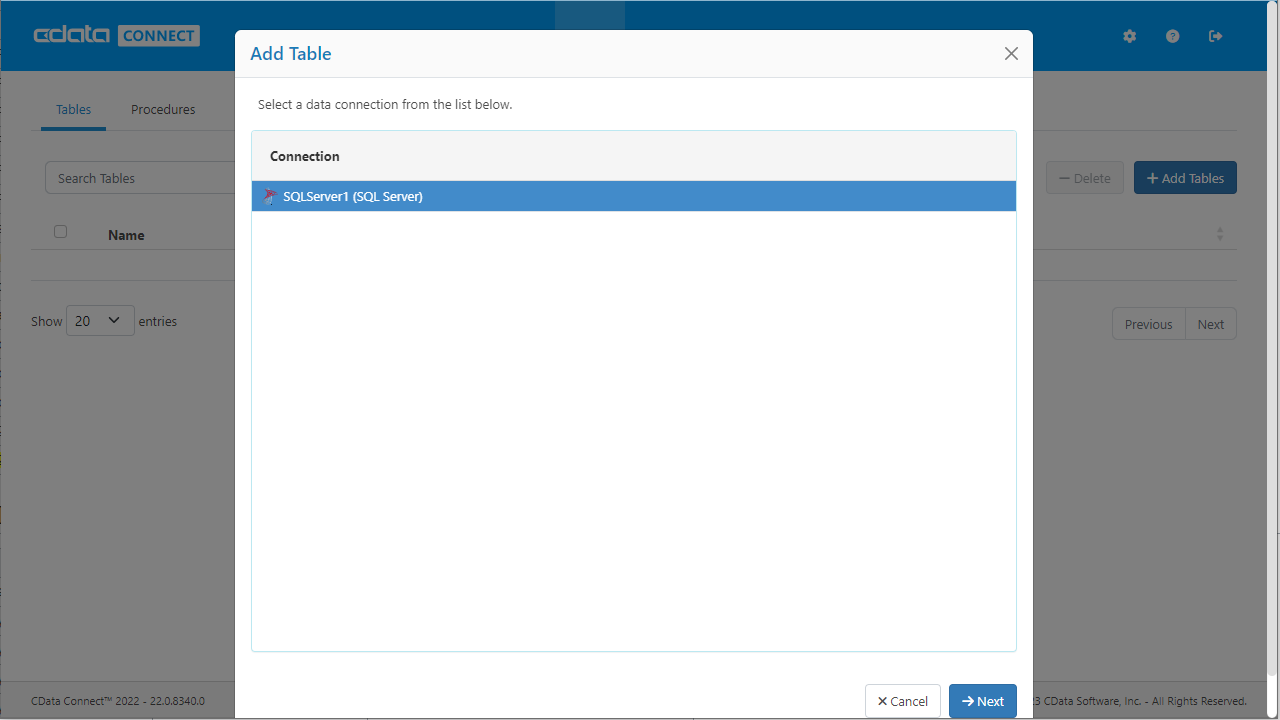
- Select the Typeform database
![Selecting a connection (SQL Server is shown)]()
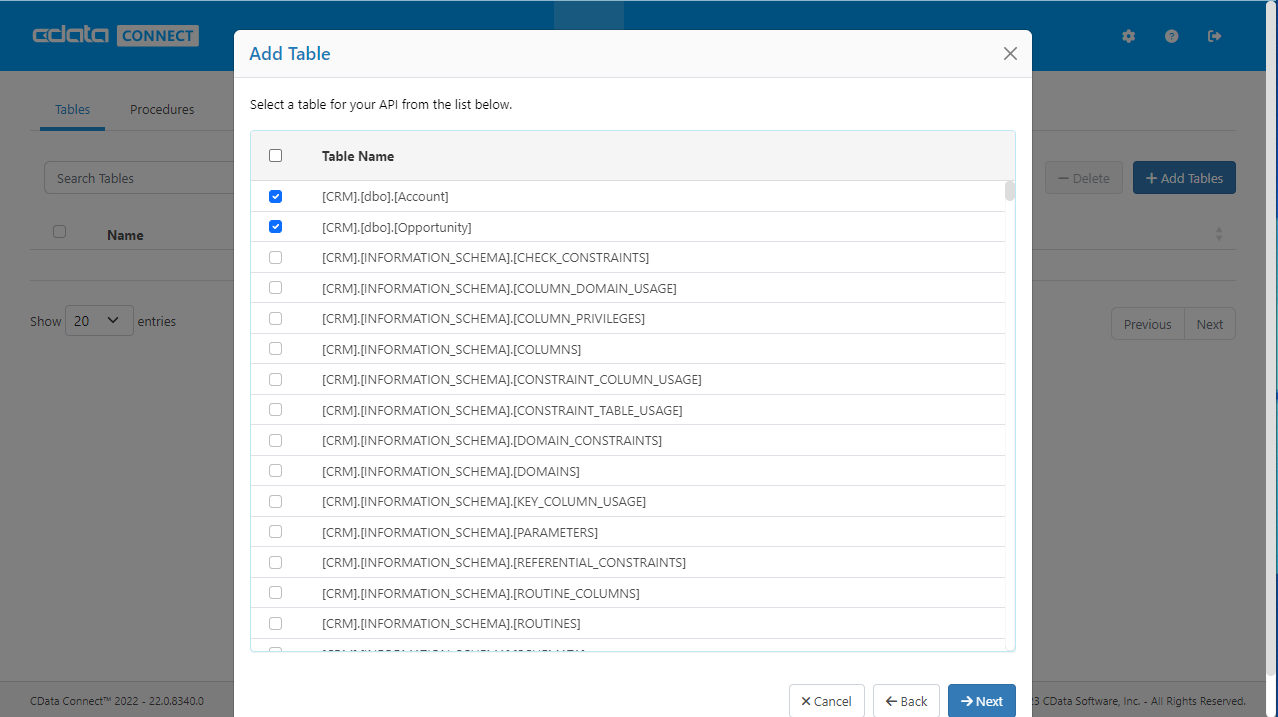
- Select the table(s) you wish to work with and click Next
![Selecting a Table (SQL Server is shown)]()
- (Optional) Edit the resource to select specific fields and more
- Save the settings
(Optional) Configure Cross-Origin Resource Sharing (CORS)
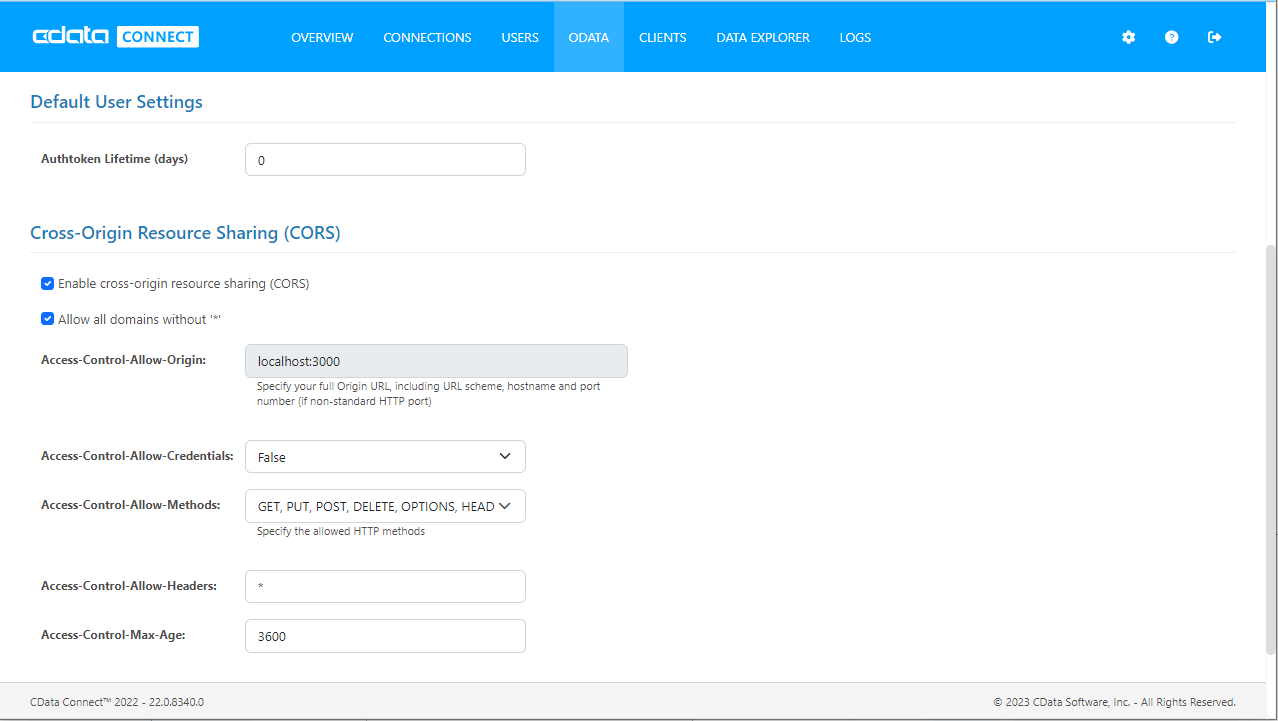
When accessing and connecting to multiple different domains from an application such as Ajax, there is a possibility of violating the limitations of cross-site scripting. In that case, configure the CORS settings in OData -> Settings.
- Enable cross-origin resource sharing (CORS): ON
- Allow all domains without '*': ON
- Access-Control-Allow-Methods: GET, PUT, POST, OPTIONS
- Access-Control-Allow-Headers: Authorization
Save the changes to the settings.
Create a Dashboard in Reveal
With Connect Server configured, we can visualize Typeform data in Reveal.
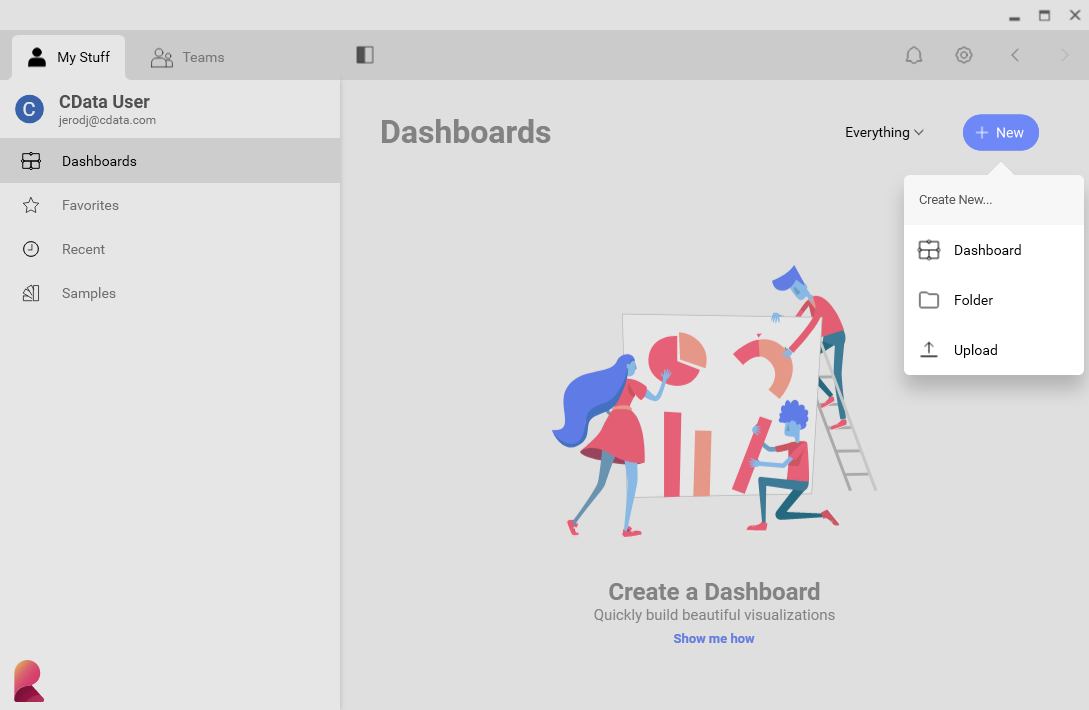
- Log into Reveal and click Dashboards -> New
![Adding a new dashboard]()
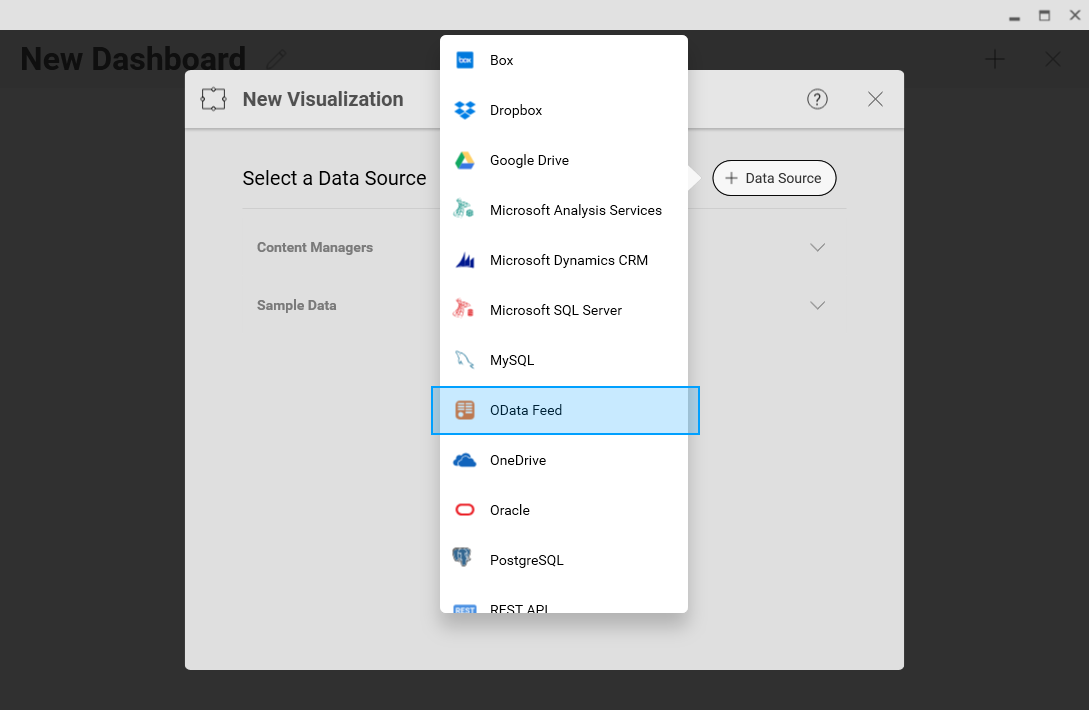
- Click Data Source -> OData Feed
![Adding a new OData data source]()
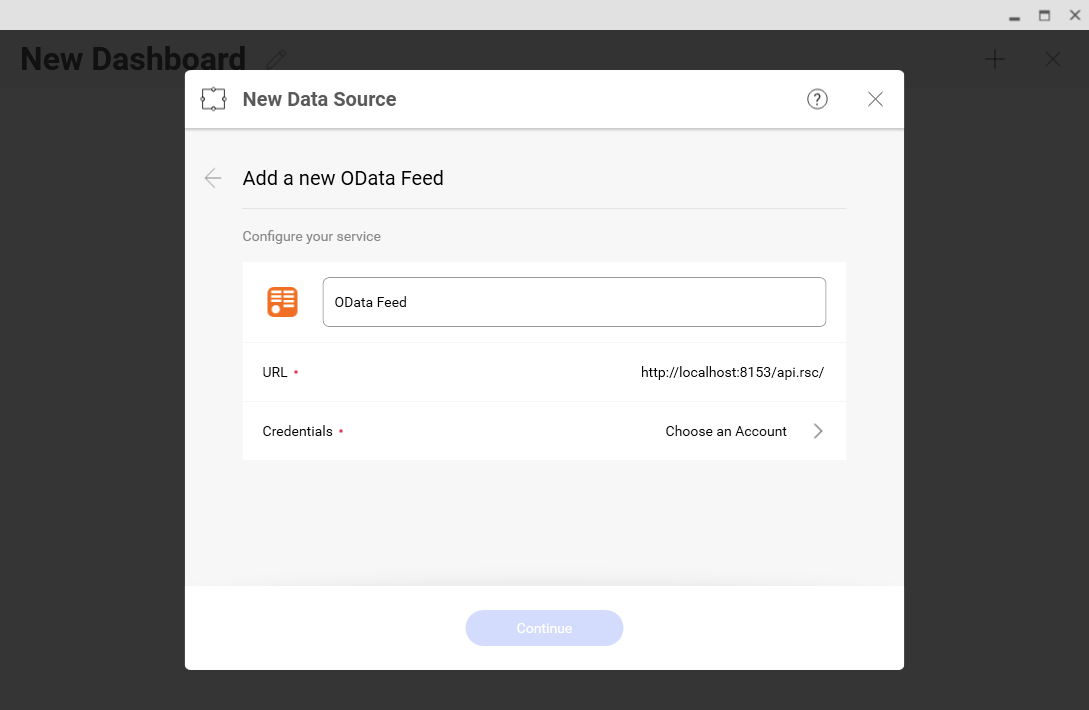
- Specify the Connect Server API endpoint URL (found in API -> Discovery -> Base URL), for example: CONNECT_SERVER_URL/api.rsc
![Configuring the OData URL]()
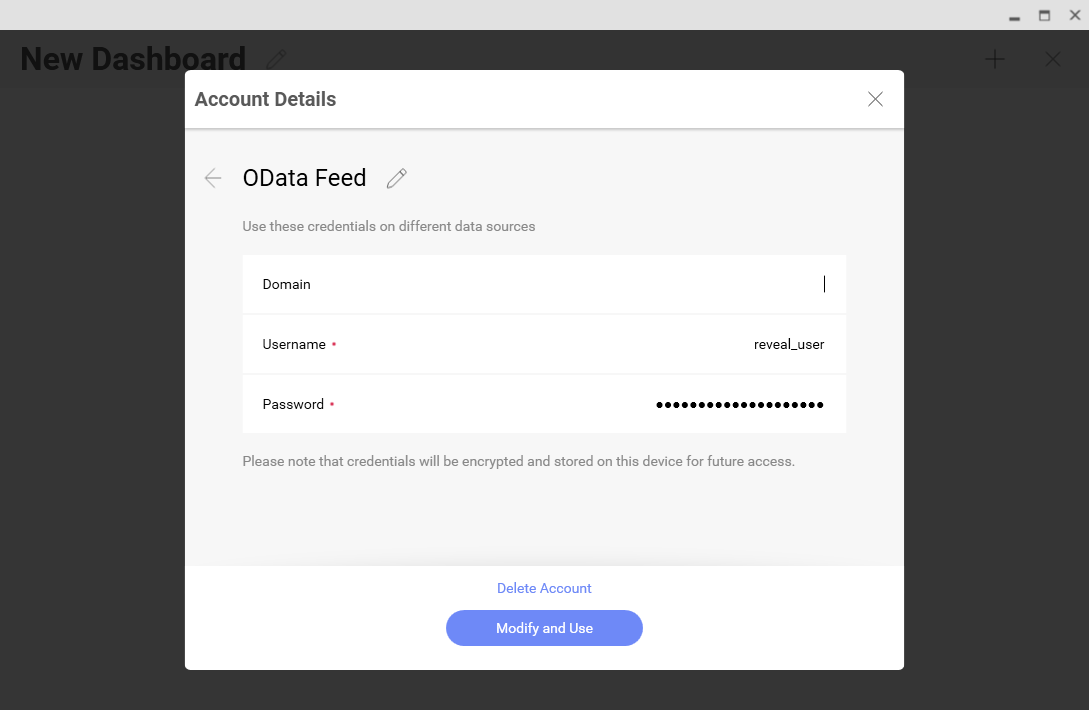
- Select Generic Credentials and specify the Connect Server username and authentication token
![Configuring the credentials]()
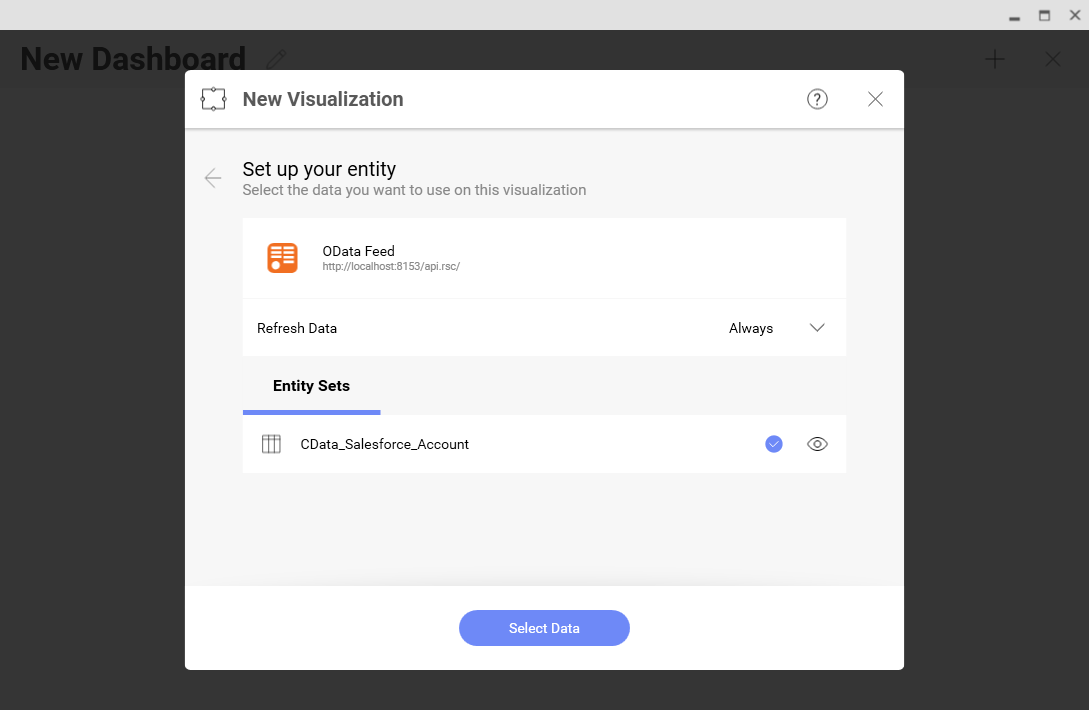
- Select the entity you wish to visualize
![Selecting an entity to visualize (SQL Server is shown.)]()
- Select fields and choose a chart type
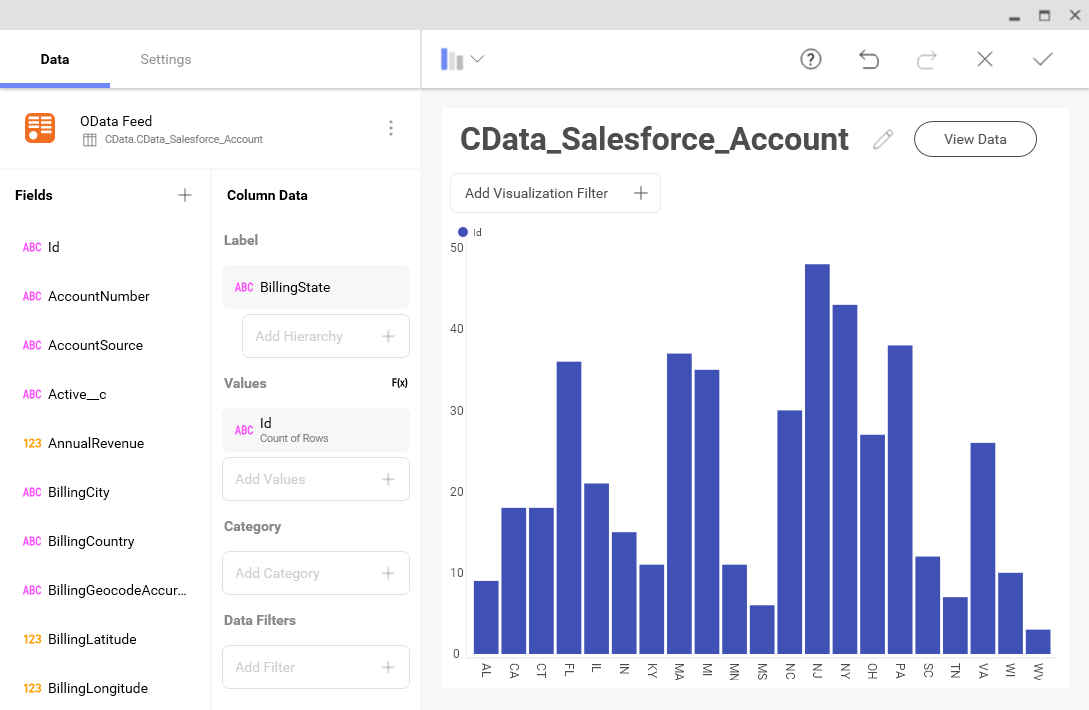
![Visualizing data in Reveal (SQL Server is shown.)]()
More Information & Free Trial
At this point, you have created a simple dashboard from live Typeform data. For more information on creating OData feeds from Typeform (and more than 150 other sources), visit the Connect Server page. Download a free, 30-day trial and start working live Typeform data in tools that consume OData APIs.


