Discover how a bimodal integration strategy can address the major data management challenges facing your organization today.
Get the Report →


Using Mail Merge with Salesforce, SharePoint, or Google Contacts
Any application that can access data through ODBC, like Microsoft Excel, PowerPivot, or Word, can leverage CData ODBC Drivers to connect to live data. Microsoft Word Mail Merge enables you to save time by writing templated letters that can be populated with contact information. The source of the contact information can be an ODBC data source.
This article will show you how to use the CData ODBC Driver for Salesforce with Microsoft Word's Mail Merge feature to easily create templated letters for all your Salesforce contacts. Although this article uses the driver for Salesforce as an example, the same process can be used with any CData ODBC drivers.
-
If you have not already, you will need to create an ODBC data source name (DSN) for Salesforce. A DSN is created in the last step of installing the driver. You can create and configure ODBC data sources in the Microsoft ODBC Data Source Administrator.
See the "Getting Started" chapter in the help documentation for a guide.
- Select the Mailings tab in Microsoft Word and click on the Start Mail Merge button to open a dropdown menu. Click the Step By Step Mail Merge Wizard to get started.
![]()
- Click Next and choose whether you want to start from a template, a blank document, or an existing document. This example starts from a blank document. Finally click Next to choose your recipients.
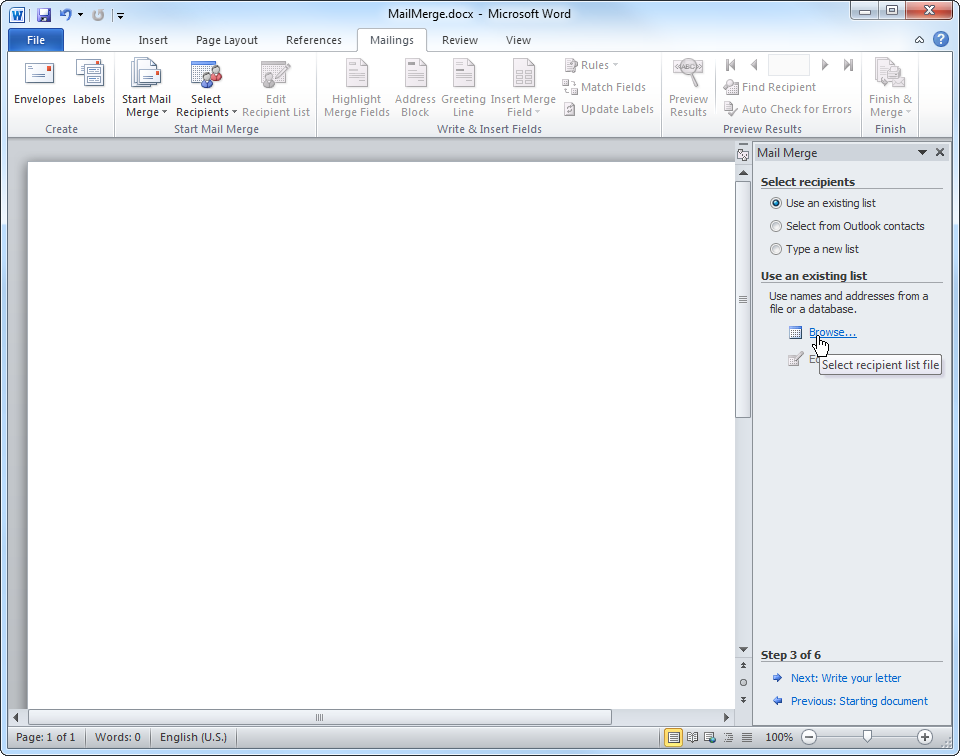
- Select 'Use an existing list' and click Browse. A new window will pop up. Click the New Source button to open the Data Connection Wizard.
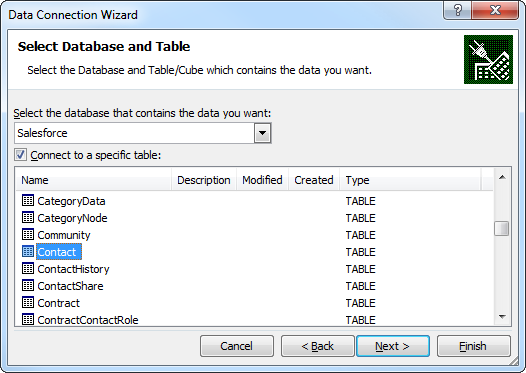
- In the Data Connection Wizard, choose ODBC DSN and click Next. Choose the CData data source you want to use and click Next. We will pick the 64-bit DSN.
Note: If you don't see the Salesforce source here, make sure the CData Driver for Salesforce is installed and a DSN has been configured. - Select the Contact table. When you have selected the table, click Next and fill in the information to save the data connection file. Click Finish when you are done.
![]()
- You should see a list of Recipients pop up if the data retrieval was successful. Click OK in the window and click Next on the Mail Merge Wizard.
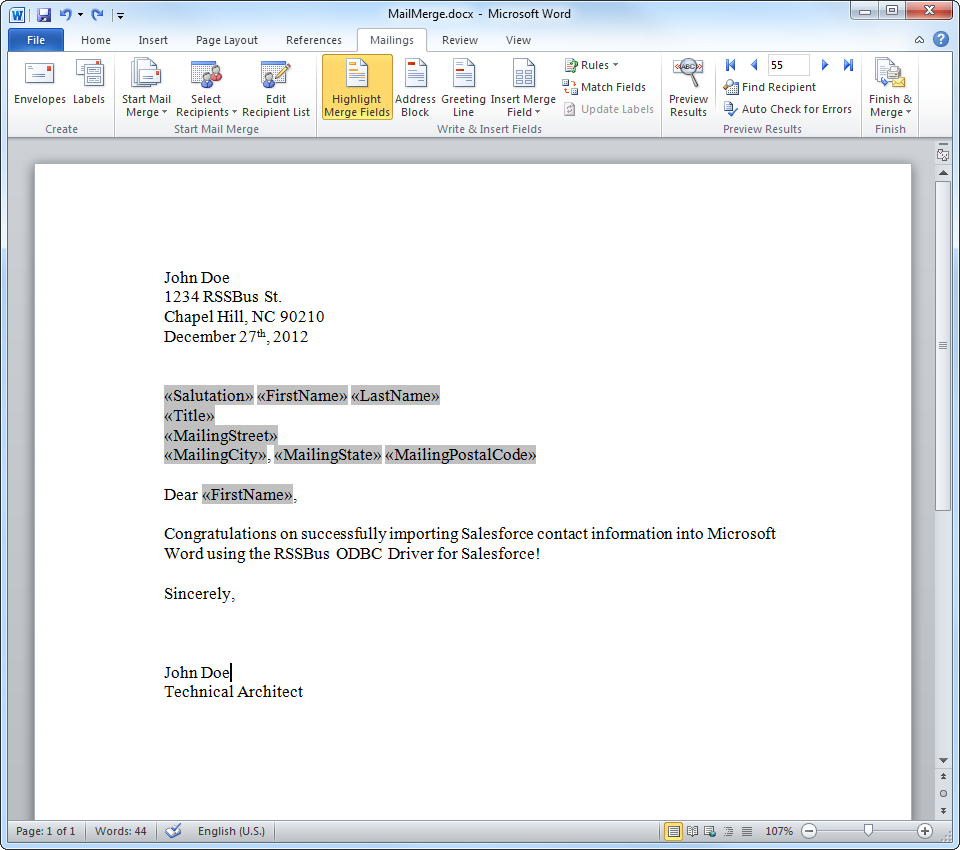
- To add information from the contact list you created, click the Insert Merge Field button in the Mailings panel. You should see a dropdown list containing all the available columns, all you need to do is click the one you want to insert. You can see an example of what a finished letter would look like by clicking the Preview Results button.
![]()
- Click the Finish & Merge dropdown to either edit individual messages or print your completed letters.
Data Connectors
ETL/ ELT Solutions
Cloud & API Connectivity
OEM & Custom Drivers