Discover how a bimodal integration strategy can address the major data management challenges facing your organization today.
Get the Report →Connect to Live Adobe Commerce Data in MicroStrategy through CData Connect Cloud
Create a live connection to Adobe Commerce Data in CData Connect Cloud and connect to your Adobe Commerce data from MicroStrategy.
MicroStrategy is an analytics and mobility platform that enables data-driven innovation. When you pair MicroStrategy with CData Connect Cloud, you gain database-like access to live Adobe Commerce data from MicroStrategy, expanding your reporting and analytics capabilities. In this article, we walk through connecting to Adobe Commerce in Connect Cloud and connecting to Connect Cloud in MicroStrategy to create a simple visualization of Adobe Commerce data.
As a cloud-based integration platform, Connect Cloud is ideal for working with cloud-based BI and analytics tools. With no servers to configure or data proxies to set up, you can simply use the web-based UI to create a live connection to Adobe Commerce and connect from MicroStrategy to start performing analytics based on live Adobe Commerce data.
Configure Adobe Commerce Connectivity for Microstrategy
Connectivity to Adobe Commerce from Microstrategy is made possible through CData Connect Cloud. To work with Adobe Commerce data from Microstrategy, we start by creating and configuring a Adobe Commerce connection.
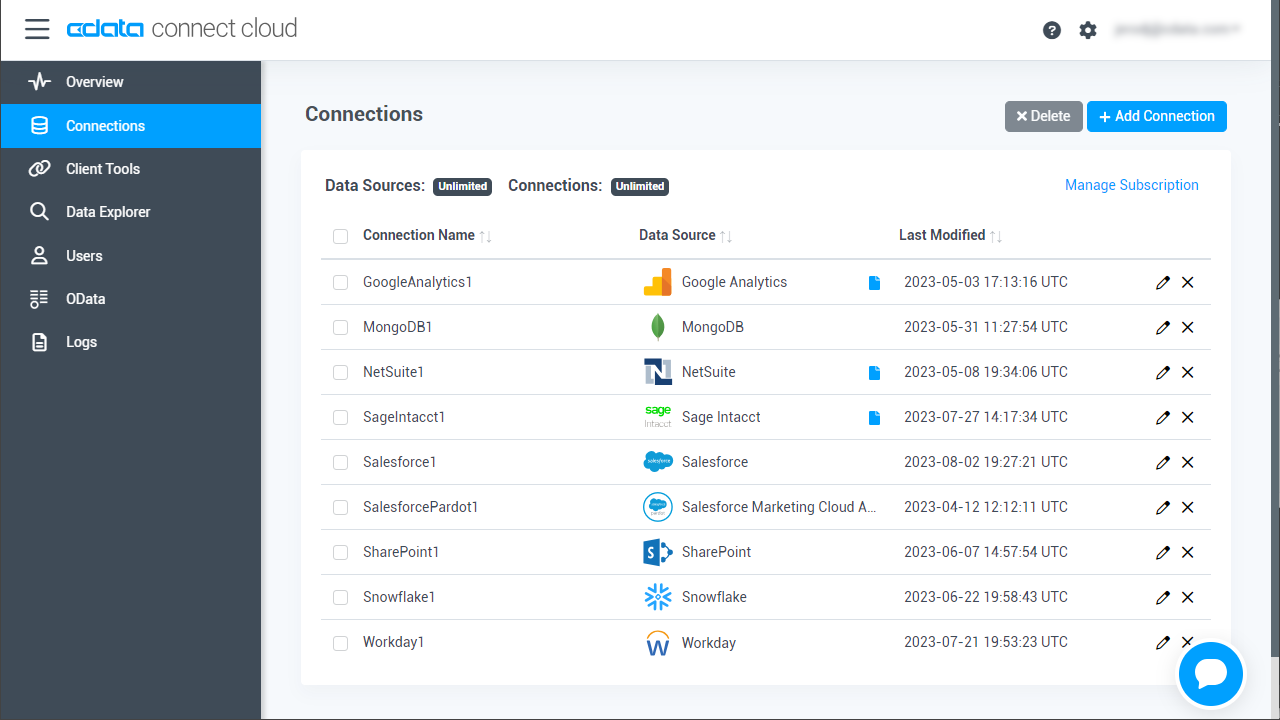
- Log into Connect Cloud, click Connections and click Add Connection
![Adding a Connection]()
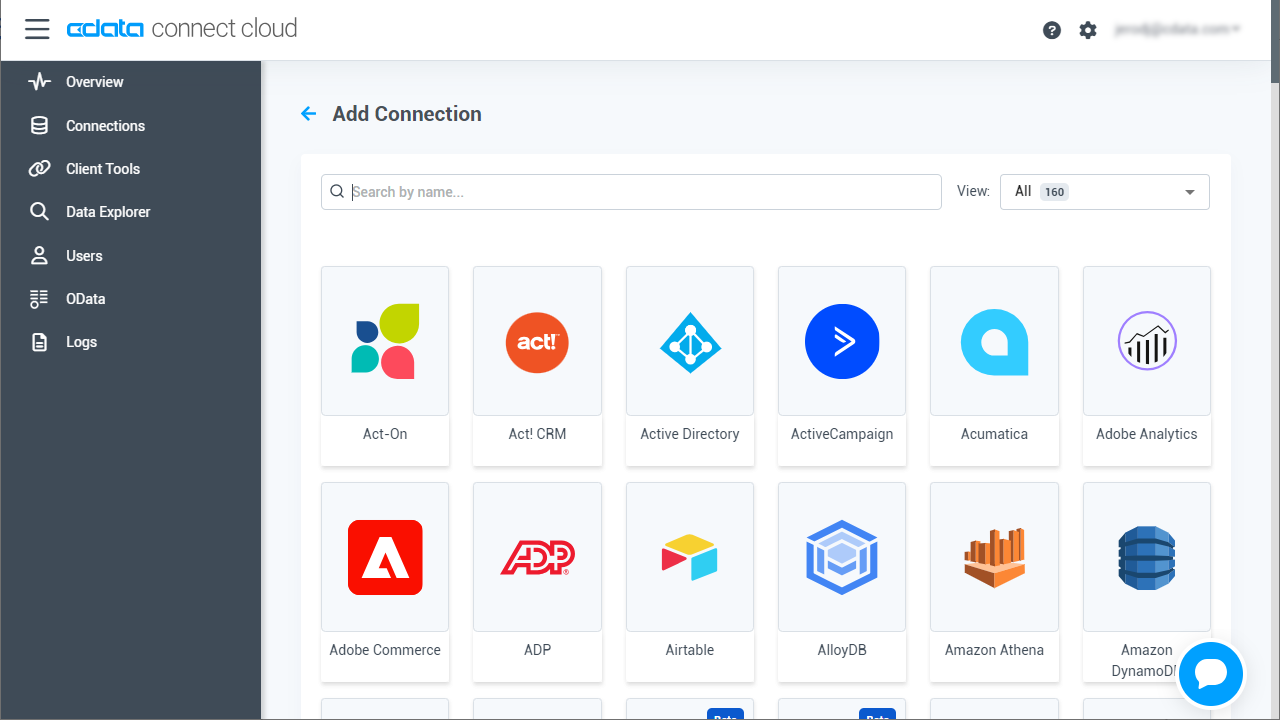
- Select "Adobe Commerce" from the Add Connection panel
![Selecting a data source]()
-
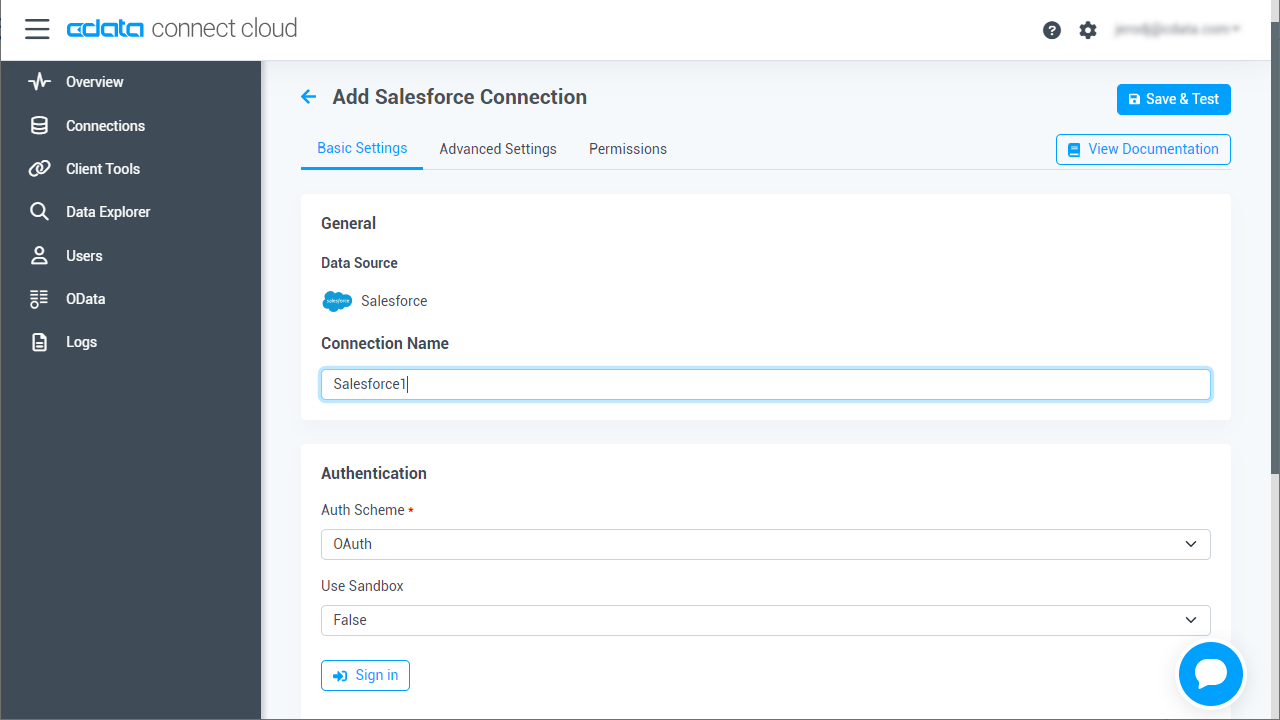
Enter the necessary authentication properties to connect to Adobe Commerce.
Adobe Commerce uses the OAuth 1 authentication standard. To connect to the Adobe Commerce REST API, you will need to obtain values for the OAuthClientId, OAuthClientSecret, and CallbackURL connection properties by registering an app with your Adobe Commerce system. See the "Getting Started" section in the help documentation for a guide to obtaining the OAuth values and connecting.
You will also need to provide the URL to your Adobe Commerce system. The URL depends on whether you are using the Adobe Commerce REST API as a customer or administrator.
Customer: To use Adobe Commerce as a customer, make sure you have created a customer account in the Adobe Commerce homepage. To do so, click Account -> Register. You can then set the URL connection property to the endpoint of your Adobe Commerce system.
Administrator: To access Adobe Commerce as an administrator, set CustomAdminPath instead. This value can be obtained in the Advanced settings in the Admin menu, which can be accessed by selecting System -> Configuration -> Advanced -> Admin -> Admin Base URL.
If the Use Custom Admin Path setting on this page is set to YES, the value is inside the Custom Admin Path text box; otherwise, set the CustomAdminPath connection property to the default value, which is "admin".
![Configuring a connection (Salesforce is showe)]()
- Click Create & Test
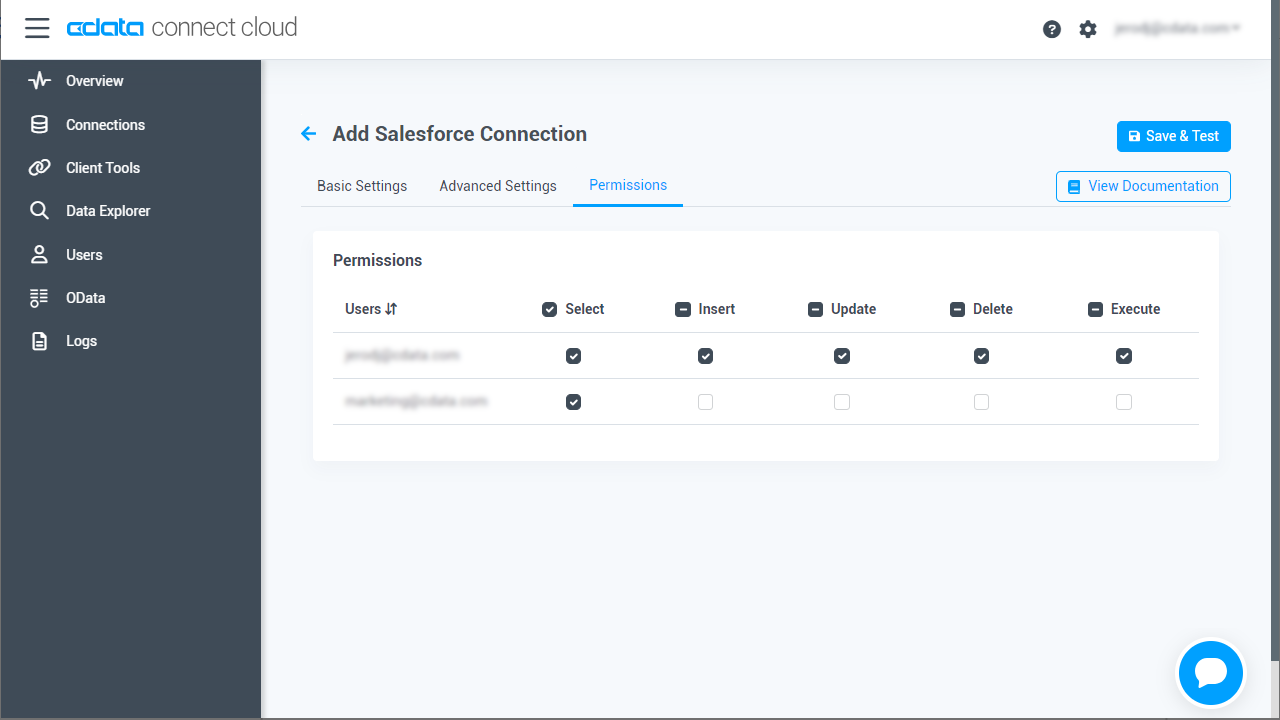
- Navigate to the Permissions tab in the Add Adobe Commerce Connection page and update the User-based permissions.
![Updating permissions]()
Add a Personal Access Token
If you are connecting from a service, application, platform, or framework that does not support OAuth authentication, you can create a Personal Access Token (PAT) to use for authentication. Best practices would dictate that you create a separate PAT for each service, to maintain granularity of access.
- Click on your username at the top right of the Connect Cloud app and click User Profile.
- Oa the User Profile page, scroll down to the Personal Access Tokens section and click Create PAT.
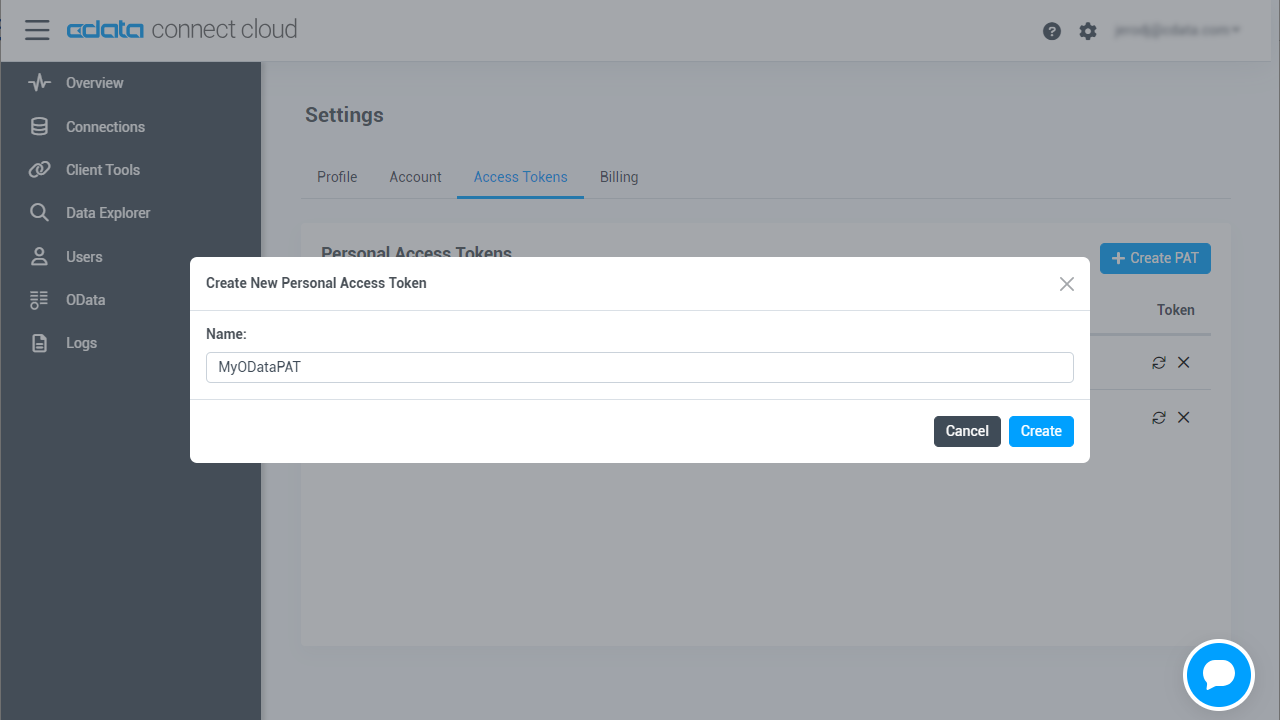
- Give your PAT a name and click Create.
![Creating a new PAT]()
- The personal access token is only visible at creation, so be sure to copy it and store it securely for future use.
With the connection configured, you are ready to connect to Adobe Commerce data from MicroStrategy.
Connect to and Visualize Adobe Commerce Data Using MicroStrategy
You can connect to Adobe Commerce in MicroStrategy by adding a data source based on the native SQL Server functionality. Once you have created a data source, you can build dynamic visualizations of Adobe Commerce data in MicroStrategy.
- Open MicroStrategy and select your account.
- Click Add External Data, select Databases, and use Select Tables as the Import Option.
![Adding External Data]()
- In the Import from Tables wizard, click to add a new Data Source.
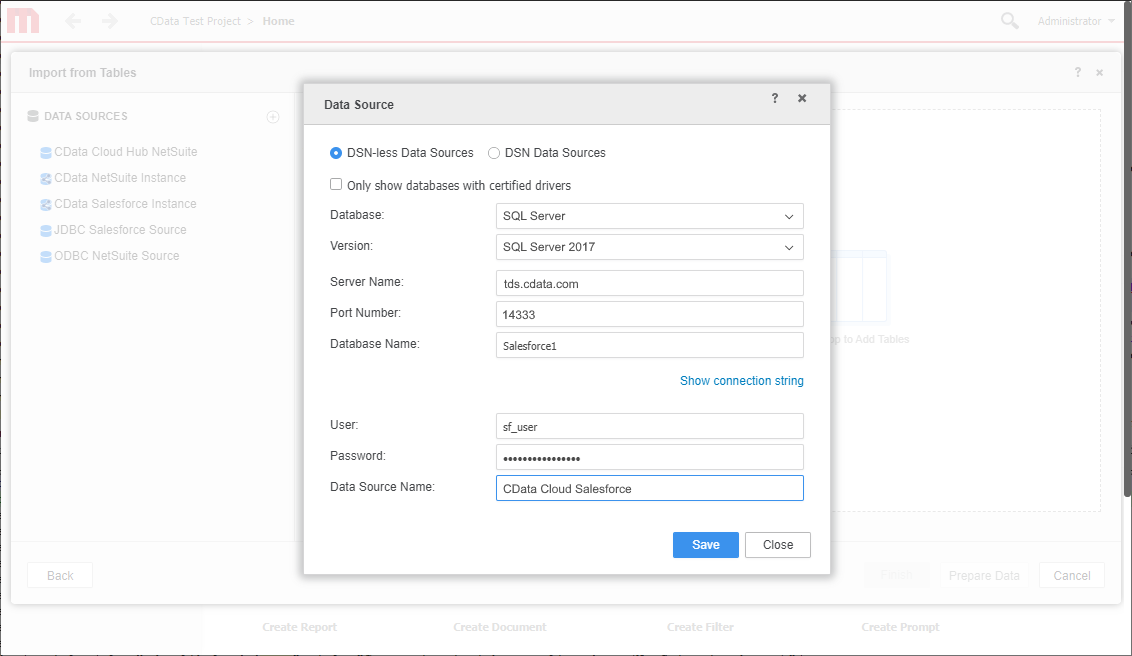
- Select "SQL Server" in the Database menu and select "SQL Server 2017" in the Version menu.
- Sat the connection properties as follows:
- Server Name: tds.cdata.com
- Port Number: 14333
- Database Name: the name of your Adobe Commerce connection (e.g. Adobe Commerce1)
- User: a Connect Cloud user
- Password: the PAT for your Connect Cloud user
- Data Source Name: a name for the new external data source, like "CData Cloud Adobe Commerce"
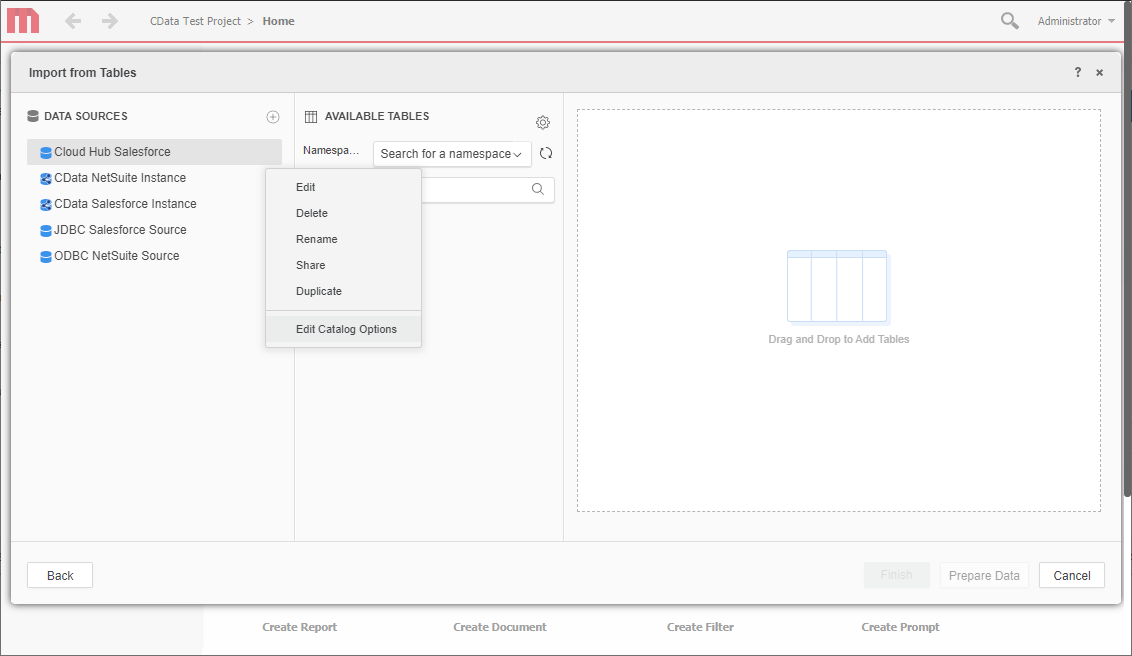
- Expand the menu for the new data source and choose "Edit Catalog Options"
![Edit the catalog options.]()
- Edit the "SQL statement retrieve columns ..." query to include TABLE_SCHEMA = '#?Schema_Name?#' in the WHERE clause, and click Apply and then OK (the complete query is below).
SELECT DISTINCT TABLE_SCHEMA NAME_SPACE, TABLE_NAME TAB_NAME, COLUMN_NAME COL_NAME, (CASE WHEN (DATA_TYPE LIKE '%char' AND (CHARACTER_SET_NAME='utf8' OR CHARACTER_SET_NAME='usc2')) THEN CONCAT('a',DATA_TYPE) ELSE DATA_TYPE END) DATA_TYPE, CHARACTER_MAXIMUM_LENGTH DATA_LEN, NUMERIC_PRECISION DATA_PREC, NUMERIC_SCALE DATA_SCALE FROM INFORMATION_SCHEMA.COLUMNS WHERE TABLE_NAME IN (#TABLE_LIST#) AND TABLE_SCHEMA='#?Schema_Name?#' ORDER BY 1,2,3 - Select the new data source and select the Namespace that corresponds to your virtual Adobe Commerce database (like Adobe Commerce1).
- Drag tables into the pane to insert then.
![Select tables to insert.]() Note: Since we create a live connection, we can insert whole tables and utilize the filtering and aggregation features native to the MicroStrategy products to customize our datasets.
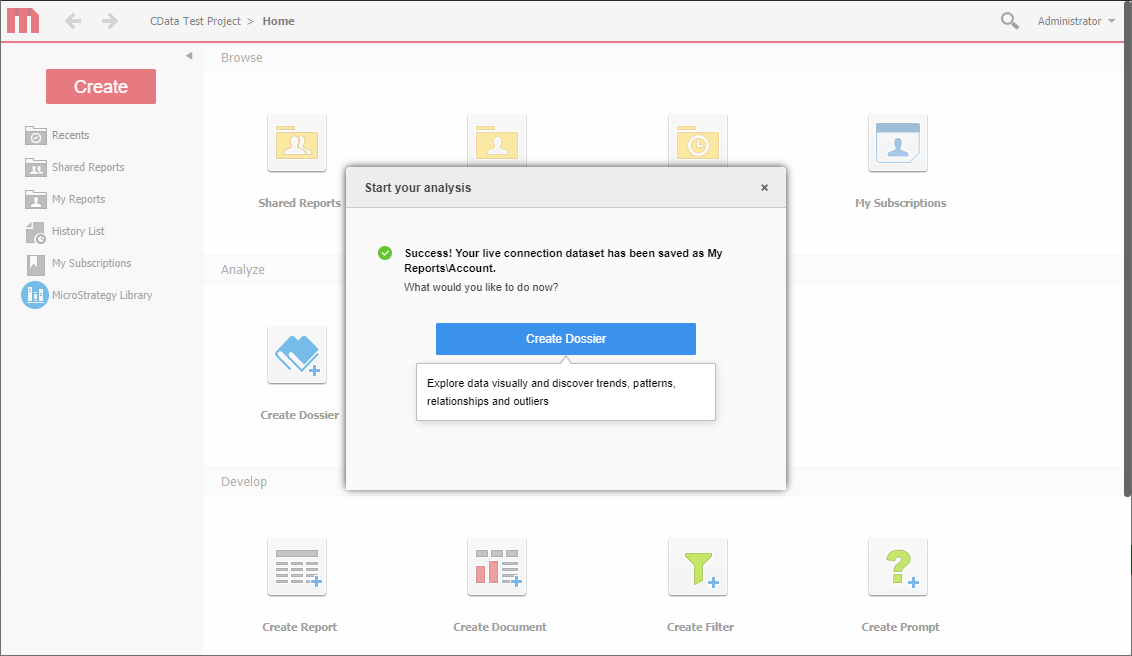
Note: Since we create a live connection, we can insert whole tables and utilize the filtering and aggregation features native to the MicroStrategy products to customize our datasets. - Click Finish, choose the option to connect live, save the query, and choose the option to create a new dossier. Live connections are possible and effective, thanks to high-performance data processing native to CData Connect Cloud.
![Save the query and create a new dossier.]()
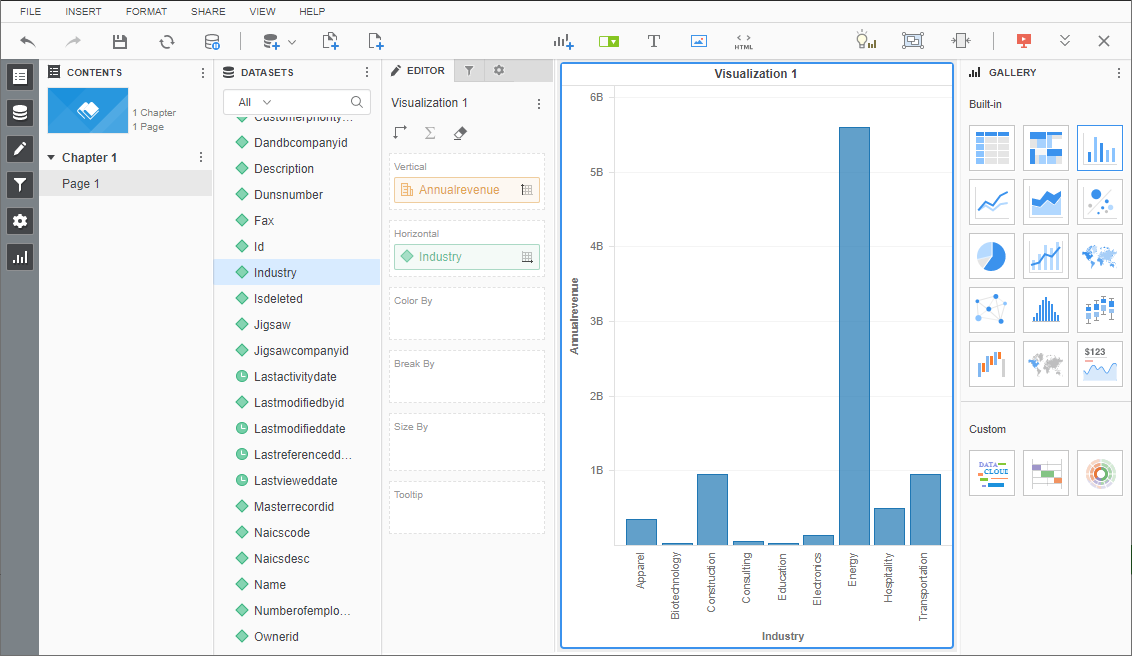
- Choose a visualization, choose fields to display, and apply any filters to create a new visualization of Adobe Commerce data. Data types are discovered automatically through dynamic metadata discovery. Where possible, the complex queries generated by the filters and aggregations will be pushed down to Adobe Commerce, while any unsupported operations (which can include SQL functions and JOIN operations) will be managed by the CData SQL engine embedded in Connect Cloud.
![Visualize Adobe Commerce data.]()
- Once you have finished configuring the dossier, click File -> Save.
Using CData Connect Cloud with MicroStrategy, you can easily create robust visualizations and reports on Adobe Commerce data. For more information on connecting to Adobe Commerce (and more than 100 other data sources), visit the Connect Cloud page. Sign up for a free trial and start working with live Adobe Commerce data in MicroStrategy.


 Note: Since we create a live connection, we can insert whole tables and utilize the filtering and aggregation features native to the MicroStrategy products to customize our datasets.