Discover how a bimodal integration strategy can address the major data management challenges facing your organization today.
Get the Report →Replicate Calendly Data to Multiple Databases
Replicate Calendly data to disparate databases with a point-and-click configuration.
Always-on applications rely on automatic failover capabilities and real-time access to data. CData Sync integrates live Calendly data into your mirrored databases, always-on cloud databases, and other databases such as your reporting server: Automatically synchronize with remote Calendly data from Windows.
Configure Replication Destinations
Using CData Sync, you can replicate Calendly data to any number of databases, both cloud-based and on-premises. To add a replication destination, navigate to the Connections tab.
For each destination database:
- Click Add Connection.
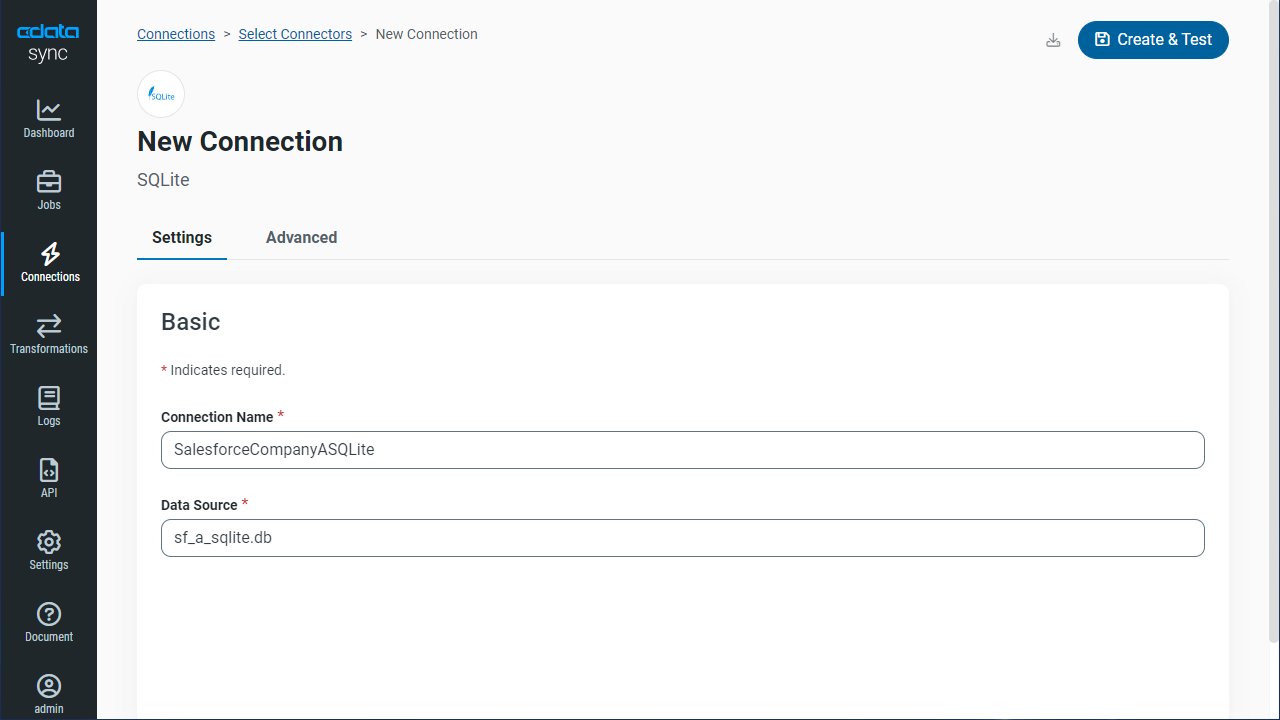
- Select a destination. In this article, we use SQLite.
![Configure a Destination connection.]()
- Enter the necessary connection properties. To replicate Calendly to a SQLite database, enter a file path in the Data Source box.
- Click Test Connection to ensure that the connection is configured properly.
![Configure a Destination connection (SQLite is shown).]()
- Click Save Changes.
Configure the Calendly Connection
You can configure a connection to Calendly from the Connections tab. To add a connection to your Calendly account, navigate to the Connections tab.
- Click Add Connection.
- Select a source (Calendly).
- Configure the connection properties.
Start by setting the Profile connection property to the location of the Calendly Profile on disk (e.g. C:\profiles\CalendlyProfile.apip). Next, set the ProfileSettings connection property to the connection string for Calendly (see below).
Calendly API Profile Settings
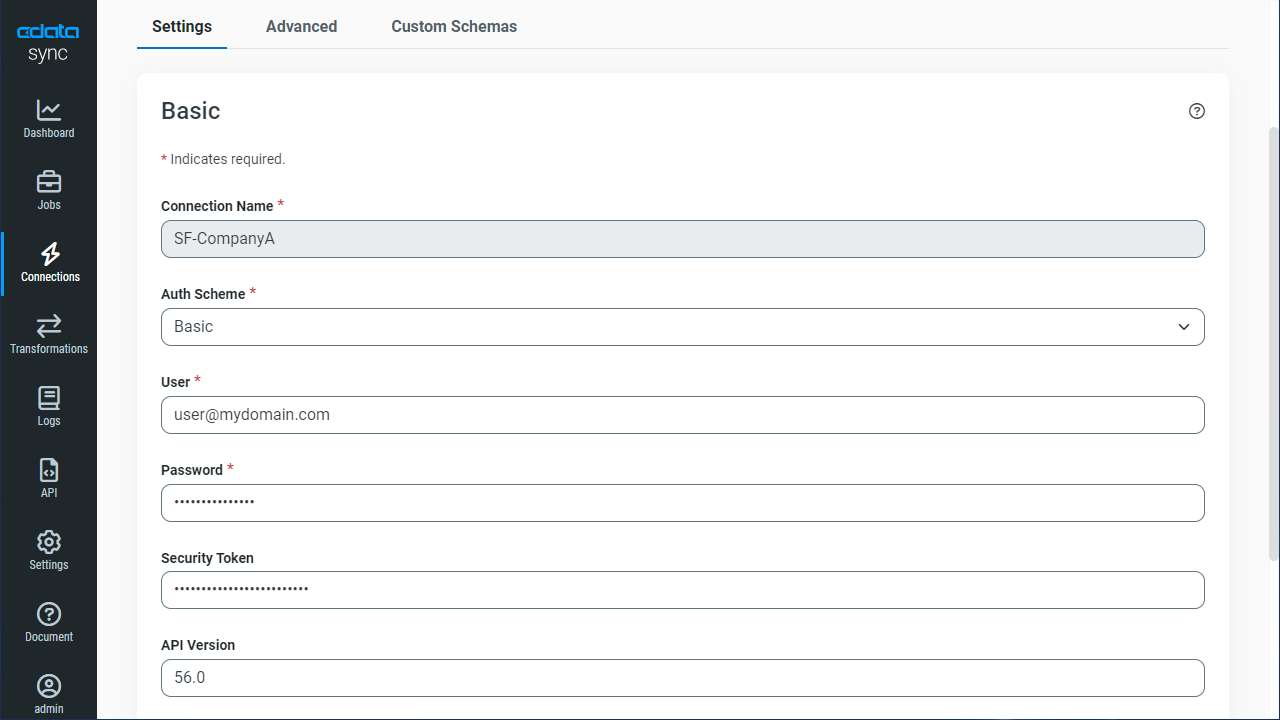
To authenticate to Calendly, you will need to provide an API Key. The Calendly API Key, can be found in your Calendly account, under 'Integrations' > 'API & Webhooks' > 'Generate New Token'. Set the APIKey in the ProfileSettings connection property.
![Configure a Source connection (Salesforce is shown).]()
- Click Connect to ensure that the connection is configured properly.
- Click Save Changes.
Configure Replication Queries
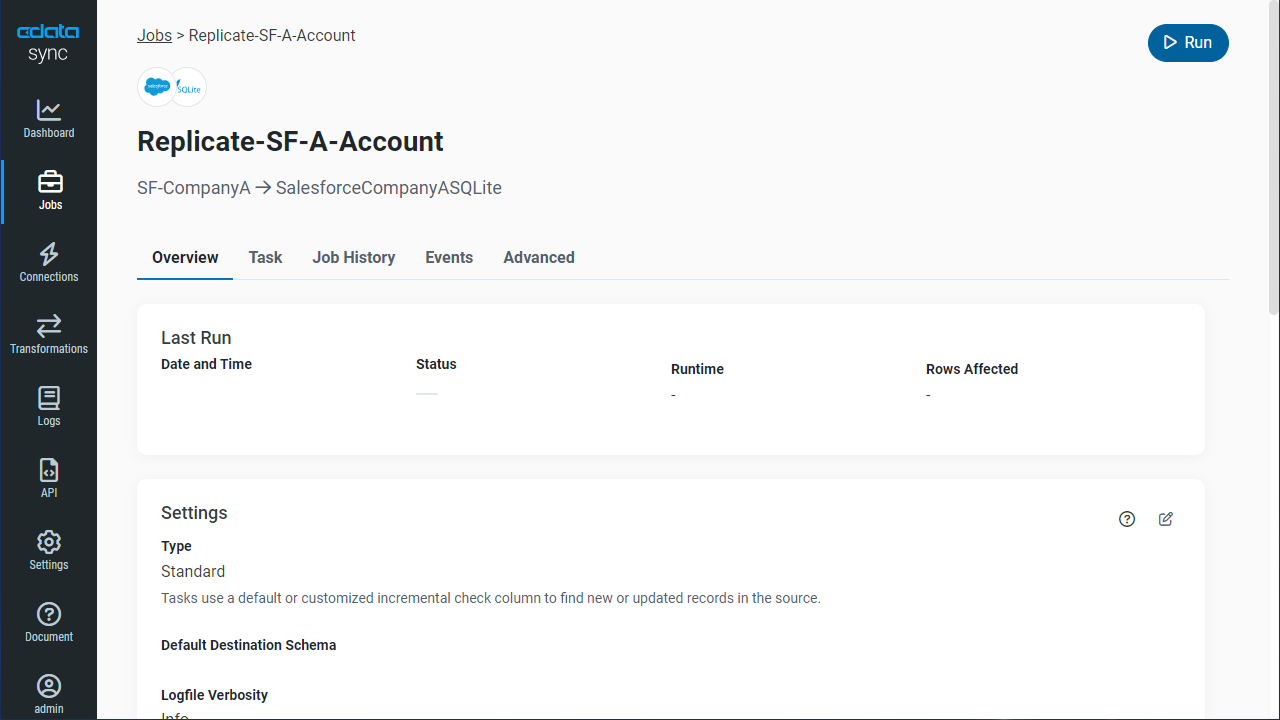
CData Sync enables you to control replication with a point-and-click interface and with SQL queries. For each replication you wish to configure, navigate to the Jobs tab and click Add Job. Select the Source and Destination for your replication.
Replicate Entire Tables
To replicate an entire table, click Add Tables in the Tables section, choose the table(s) you wish to replicate, and click Add Selected Tables.
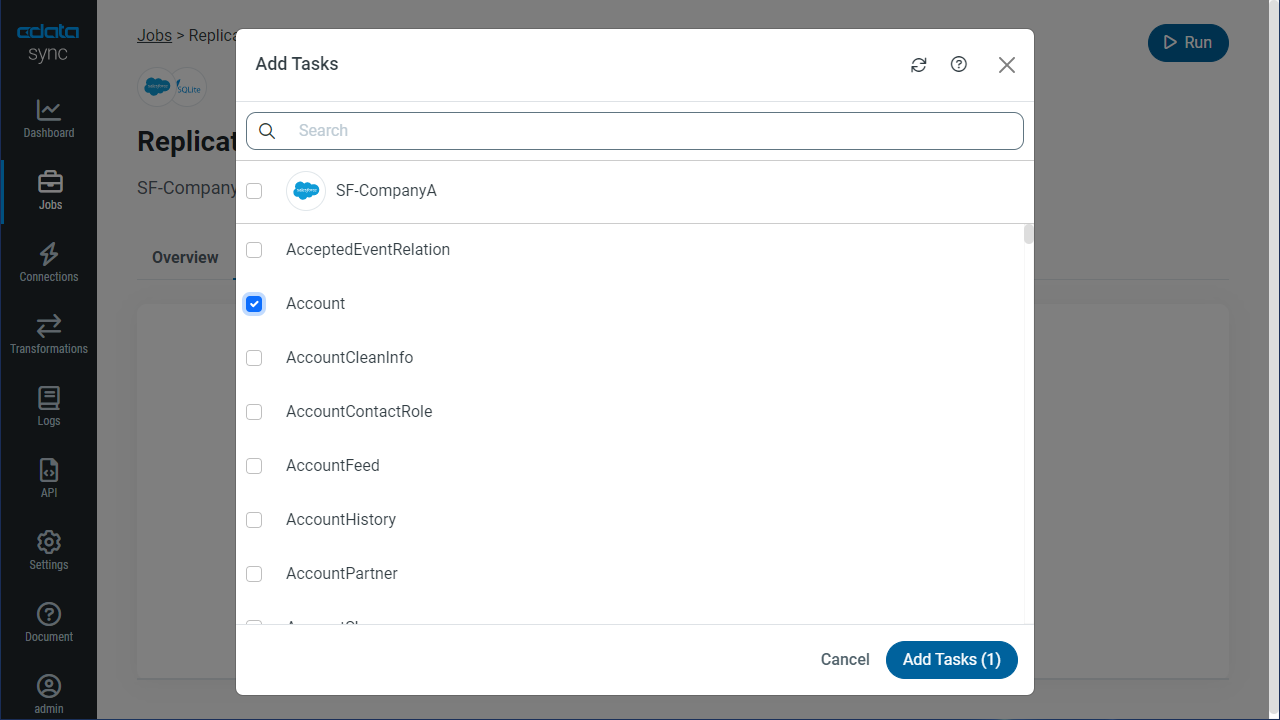
Customize Your Replication
You can use a SQL query to customize your replication. The REPLICATE statement is a high-level command that caches and maintains a table in your database. You can define any SELECT query supported by the Calendly API. To customize your replication, click Add Custom Query in the Tables section and define the Query Statement.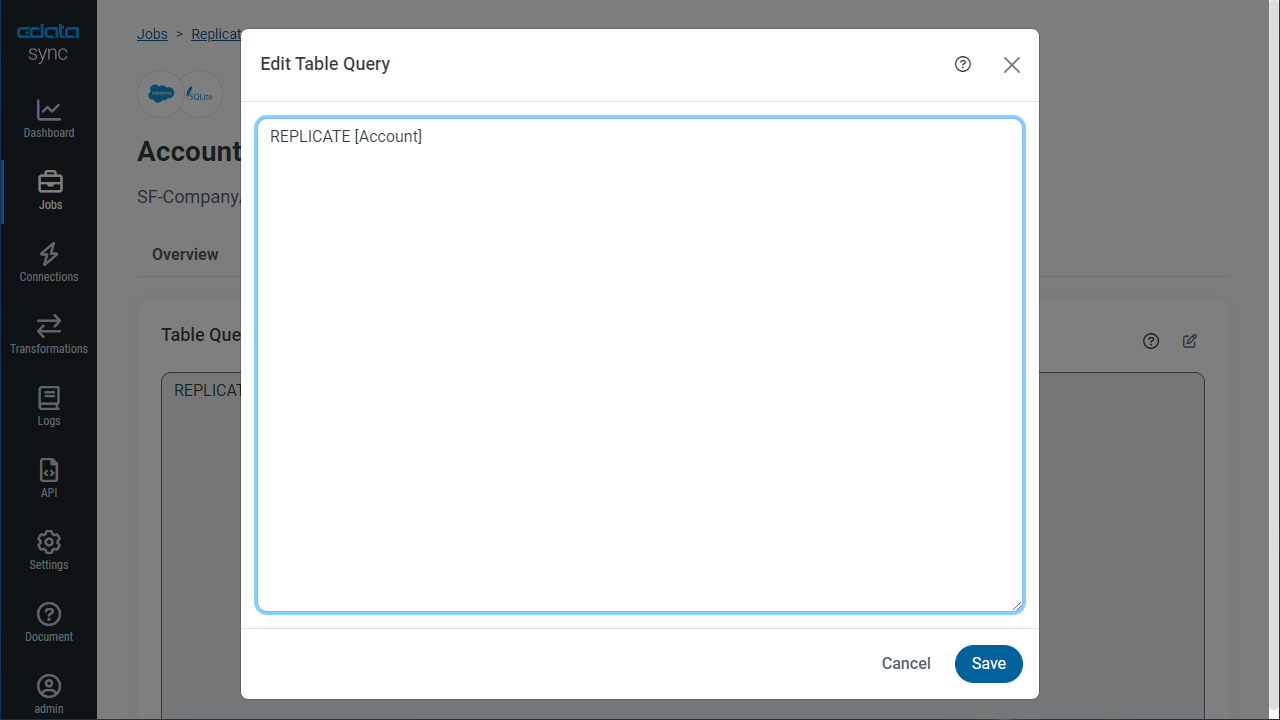
The statement below caches and incrementally updates a table of Calendly data:
REPLICATE OrganizationScheduledEvents;
You can specify a file containing the replication queries you want to use to update a particular database. Separate replication statements with semicolons. The following options are useful if you are replicating multiple Calendly accounts into the same database:
-
Use a different table prefix in the REPLICATE SELECT statement:
REPLICATE PROD_OrganizationScheduledEvents SELECT * FROM OrganizationScheduledEvents; -
Alternatively, use a different schema:
REPLICATE PROD.OrganizationScheduledEvents SELECT * FROM OrganizationScheduledEvents;
Schedule Your Replication
In the Schedule section, you can schedule a job to run automatically, configuring the job to run after specified intervals ranging from once every 10 minutes to once every month.
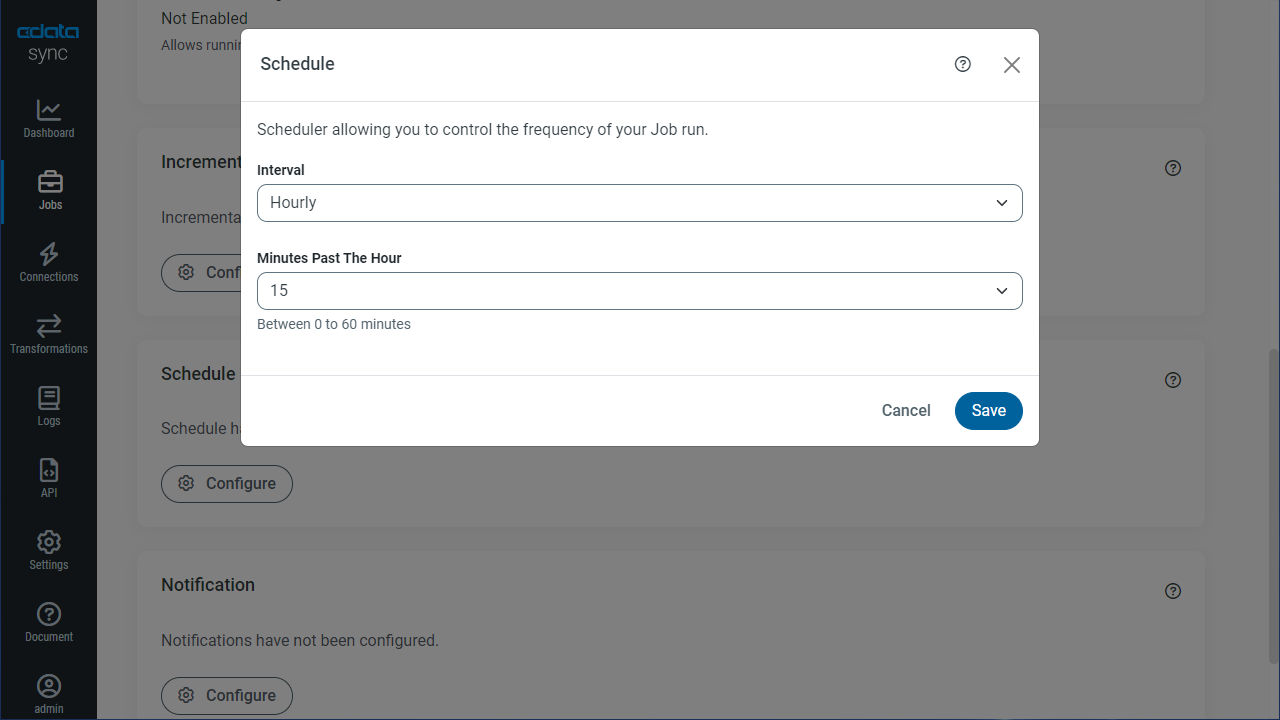
Once you have configured the replication job, click Save Changes. You can configure any number of jobs to manage the replication of your Calendly data to disparate on-premises, cloud-based, and other databases.


