Discover how a bimodal integration strategy can address the major data management challenges facing your organization today.
Get the Report →Visualize HCL Domino Data in Sisense
Create an ElastiCube in Sisense app with access to HCL Domino data.
Sisense lets you join, analyze, and picture data to make more intelligent business decisions and craft effective strategies. The CData JDBC Driver for HCL Domino makes it easy to integrate with HCL Domino data in Sisense. This article shows how to create an ElastiCube that connects to HCL Domino data and use the ElastiCube to visualize HCL Domino data in Sisense.
Configure the Connection to HCL Domino
Before creating the ElastiCube, note the installation location for the JAR file for the JDBC Driver (typically C:\Program Files\CData\CData JDBC Driver for HCL Domino 20XX\lib) or copy the jar file (cdata.jdbc.domino.Domino.jar) to a new folder in the Sisense JDBC driver directory (typically C:\ProgramData\Sisense\DataConnectors\jdbcdrivers).
- In the Data page of the Sisense application, create a new ElastiCube (or open an existing one).
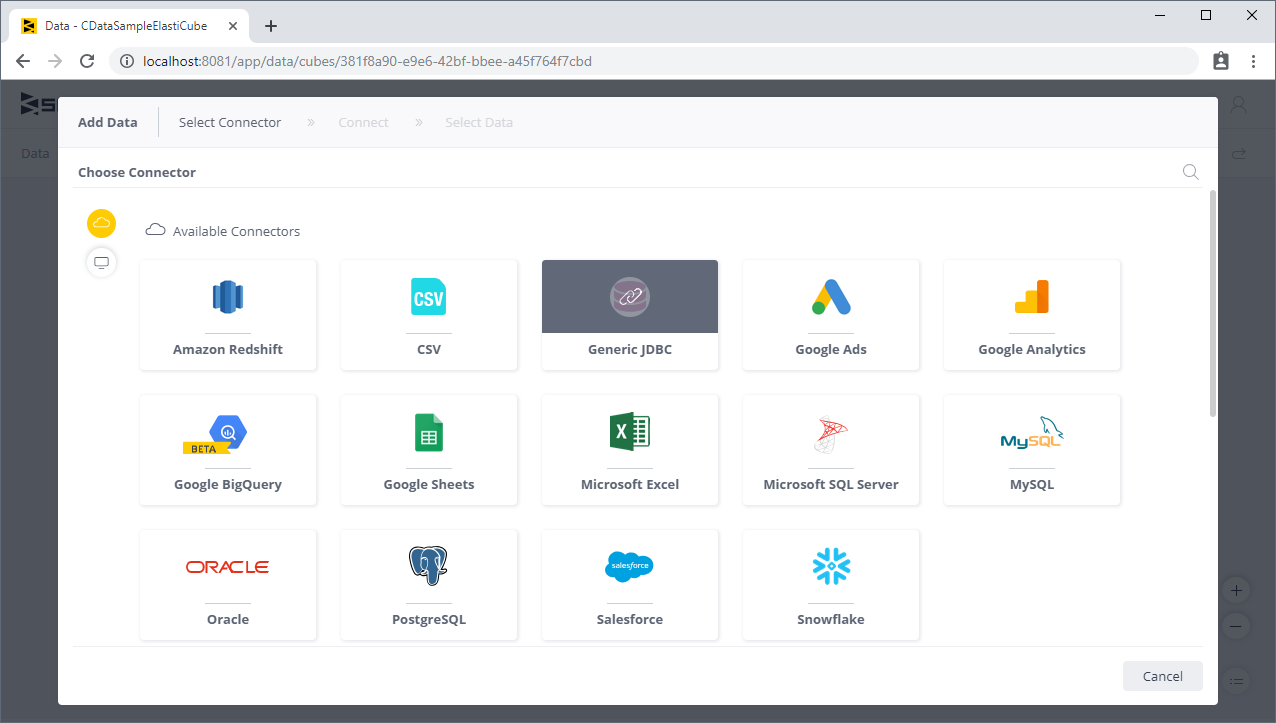
- In the Model Editor, click "+ Data" to open the Add Data dialog box.
- Click Generic JDBC to open the JDBC settings.
![Connecting via JDBC]()
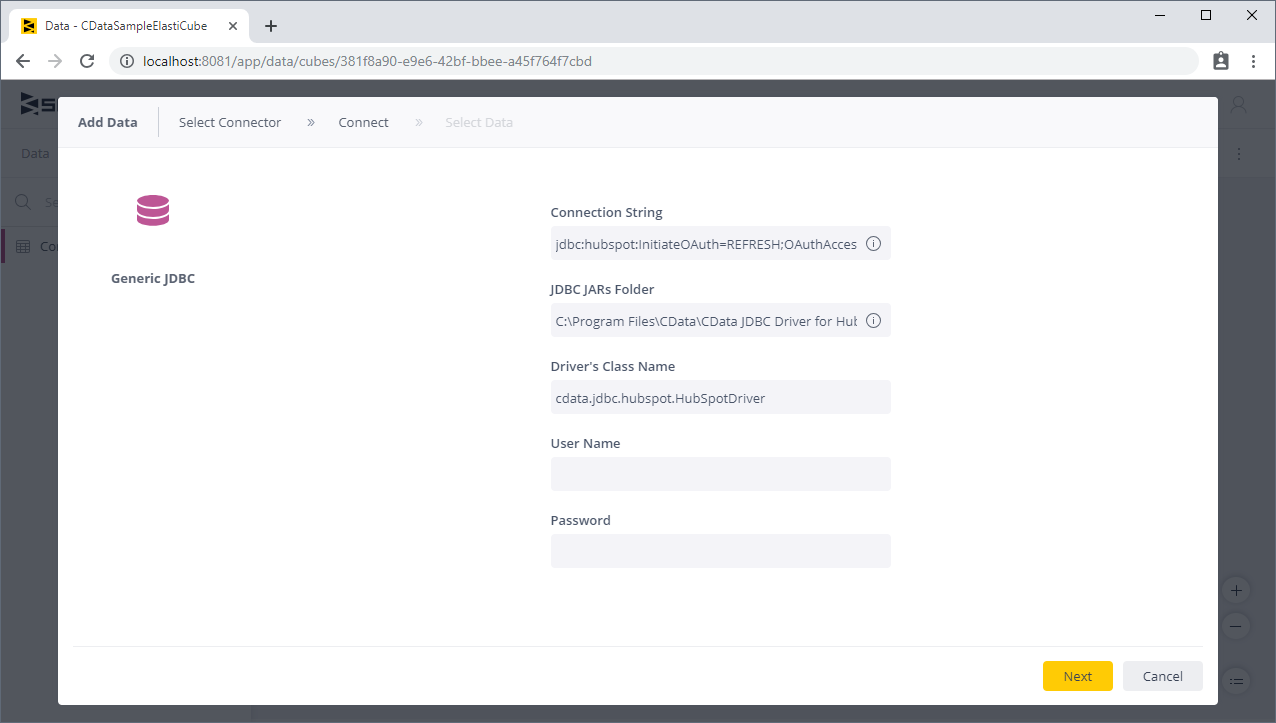
- Set the connection string property to the JDBC URL for HCL Domino, adding required properties.
Prerequisites
The connector requires the Proton component to be installed. Normally, Proton is distributed as part of the AppDev pack. See the HCL documentation for instructions on acquiring and installing Proton or the AppDev pack.
Once the Proton service is installed and running, you will also need to create a user account and download its Internet certificate. This certificate can be used to set the connector certificate connection properties.
Authenticating to Domino
- Server: The name or IP address of the server running Domino with the Proton service.
- Port: The port number that the Proton service is listening on.
- Database: The name of the database file, including the .nsf extension.
- SSLClientCertType: This must match the format of the certificate file. Typically this will be either PEMKEY_FILE for .pem certificates or PFXFILE for .pfx certificates.
- SSLClientCert: The path to the certificate file.
- SSLServerCert: This can be set to (*) if you trust the server. This is usually the case, but if you want to perform SSL validation, you may provide a certificate or thumbprint instead. See the documentation for SSLServerCert for details.
Additional Server Configuration
The connector supports querying Domino views if any are defined. Before views can be queried by the connector they must be registered with the design catalog.
Please refer to the Catalog Administration section of the AppDev pack documentation for details on how to do this.
Built-in Connection String Designer
For assistance in constructing the JDBC URL, use the connection string designer built into the HCL Domino JDBC Driver. Either double-click the JAR file or execute the jar file from the command-line.
java -jar cdata.jdbc.domino.jarFill in the connection properties and copy the connection string to the clipboard.
![Using the built-in connection string designer to generate a JDBC URL (Salesforce is shown.)]()
When you configure the JDBC URL, you may also want to set the Max Rows connection property. This will limit the number of rows returned, which is especially helpful for improving performance when designing reports and visualizations.
A typical example follows:
jdbc:domino:Server=https://domino.corp.com;Database=names.nsf;Port=3002;SSLClientCertType=PEMKEY_FILE;SSLClientCert=full_path_of_certificate.pem;SSLServerCert=* - Set the JDBC JARs folder property to the location of the CData JDBC Driver JAR file (see above).
- Set the driver's class name to the class name for the JDBC Driver: cdata.jdbc.domino.DominoDriver
- Leave the username and password properties blank.
- Click Next.
![A configured connection in Sisense (HubSpot is shown).]()
Add HCL Domino Data to an ElastiCube
Once you are connected to HCL Domino, you can add views to your ElastiCubes.
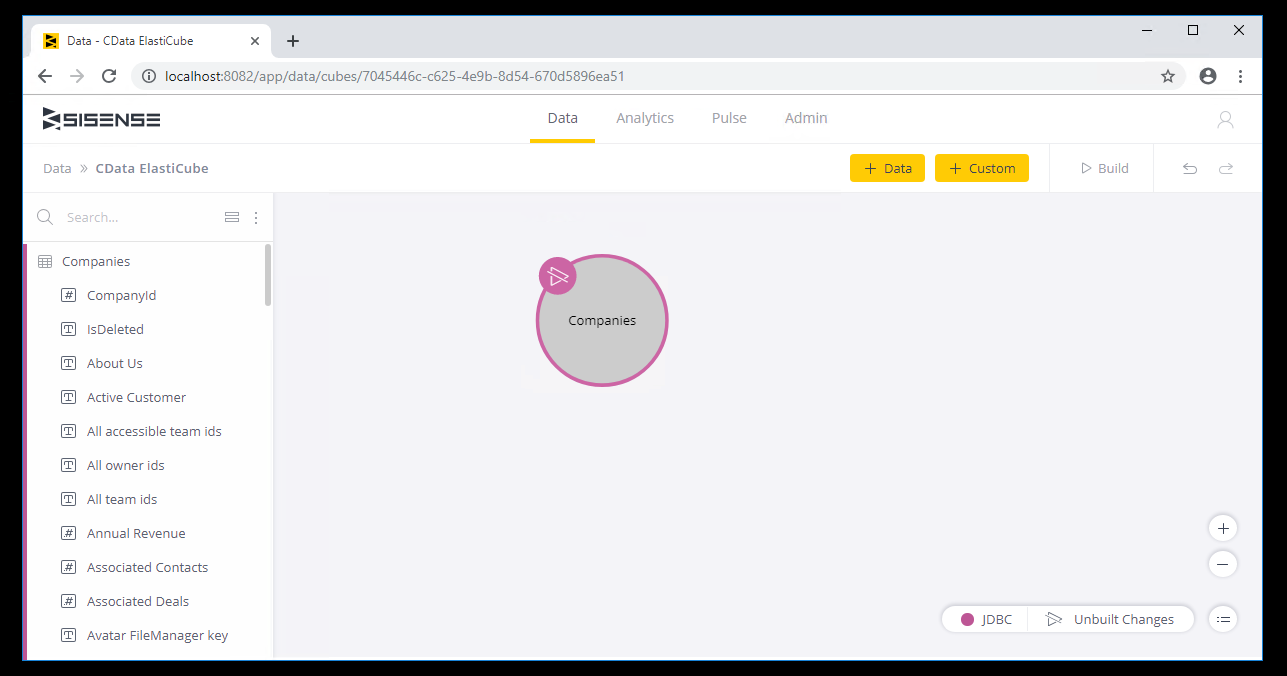
- From the Tables list, select the tables and/or views you wish to work with.
- (Optional) Click "+" to customize the data you want to import with SQL.
- Click Done.
![Selected tables to add to the ElastiCube]()
- Click Build to build the ElastiCube for analytics.
Visualize HCL Domino Data
With HCL Domino tables added to your ElastiCube, you can perform analytics on your HCL Domino data.
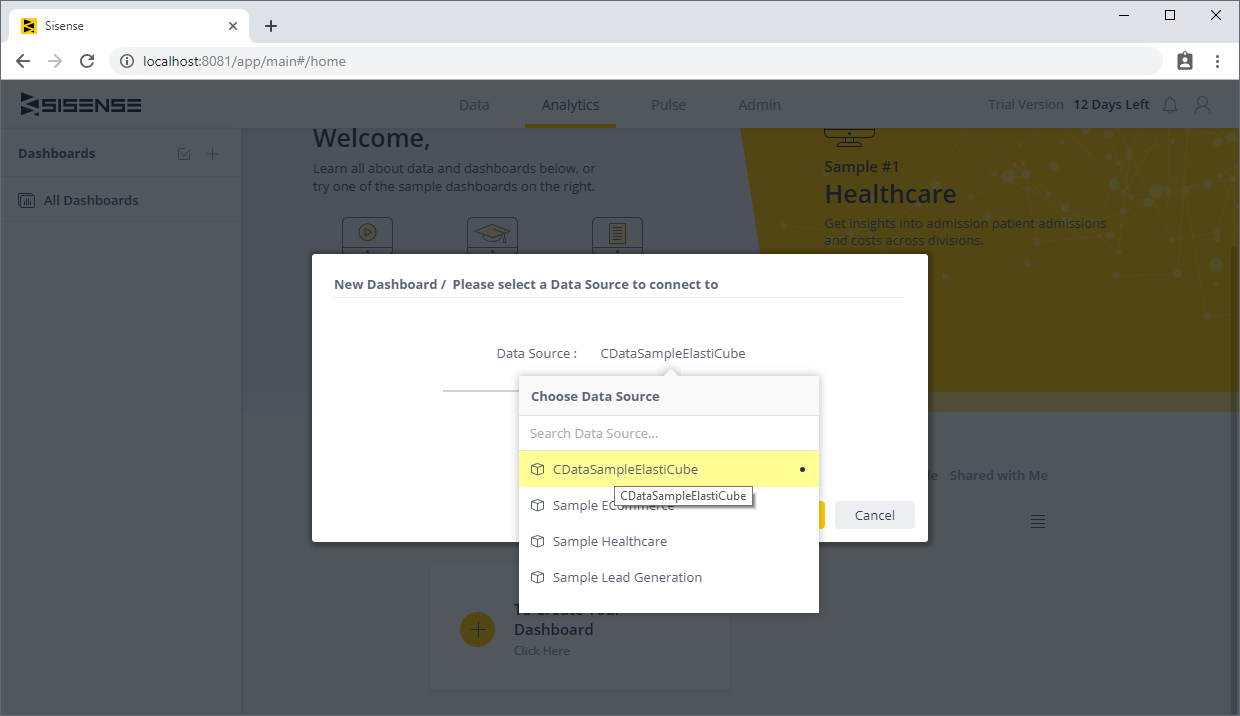
- Navigate to the Analytics page of the Sisense application
- Select a Dashboard (or create a new one)
- Select your Data Source and click Create
![Selecting the newly created ElastiCube]()
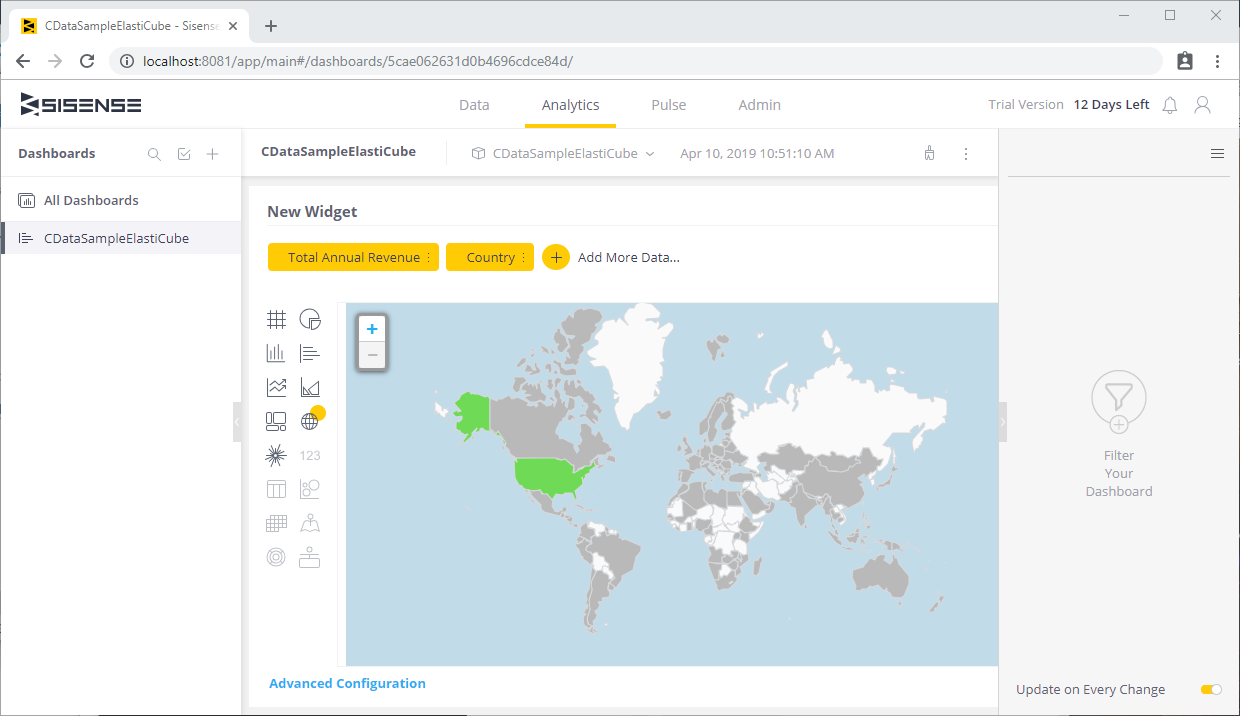
- Click "+ Select Data" and choose fields to add to your visualization.
![Visualizing data in Sisense (HubSpot is shown).]()
With the CData JDBC Driver for HCL Domino, you can access HCL Domino data right in Sisense for powerful visualization and analytics. Download a free, 30-day trial and start working with HCL Domino data in Sisense today!


