Discover how a bimodal integration strategy can address the major data management challenges facing your organization today.
Get the Report →Automated Continuous Salesforce Replication to SQLite
Use CData Sync for automated, continuous, customizable Salesforce replication to SQLite.
Always-on applications rely on automatic failover capabilities and real-time data access. CData Sync integrates live Salesforce data into your SQLite instance, allowing you to consolidate all of your data into a single location for archiving, reporting, analytics, machine learning, artificial intelligence and more.
Configure SQLite as a Replication Destination
Using CData Sync, you can replicate Salesforce data to SQLite. To add a replication destination, navigate to the Connections tab.
- Click Add Connection.
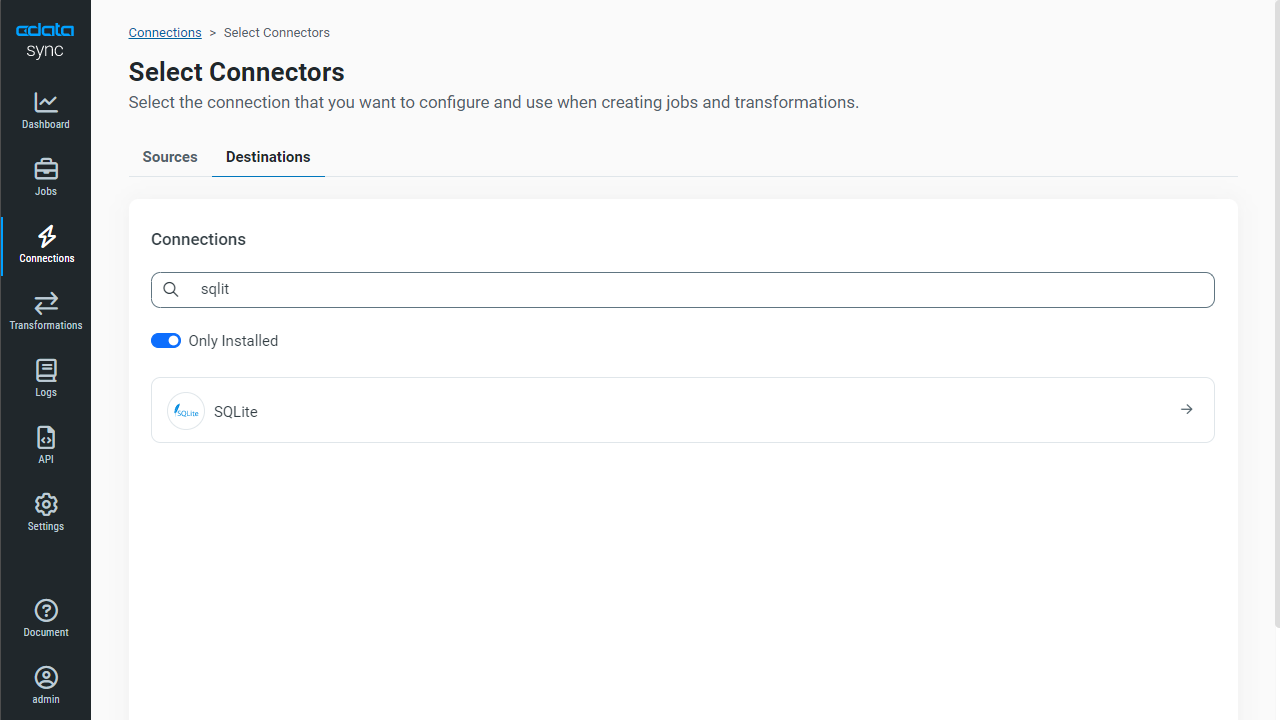
- Select SQLite as a destination.
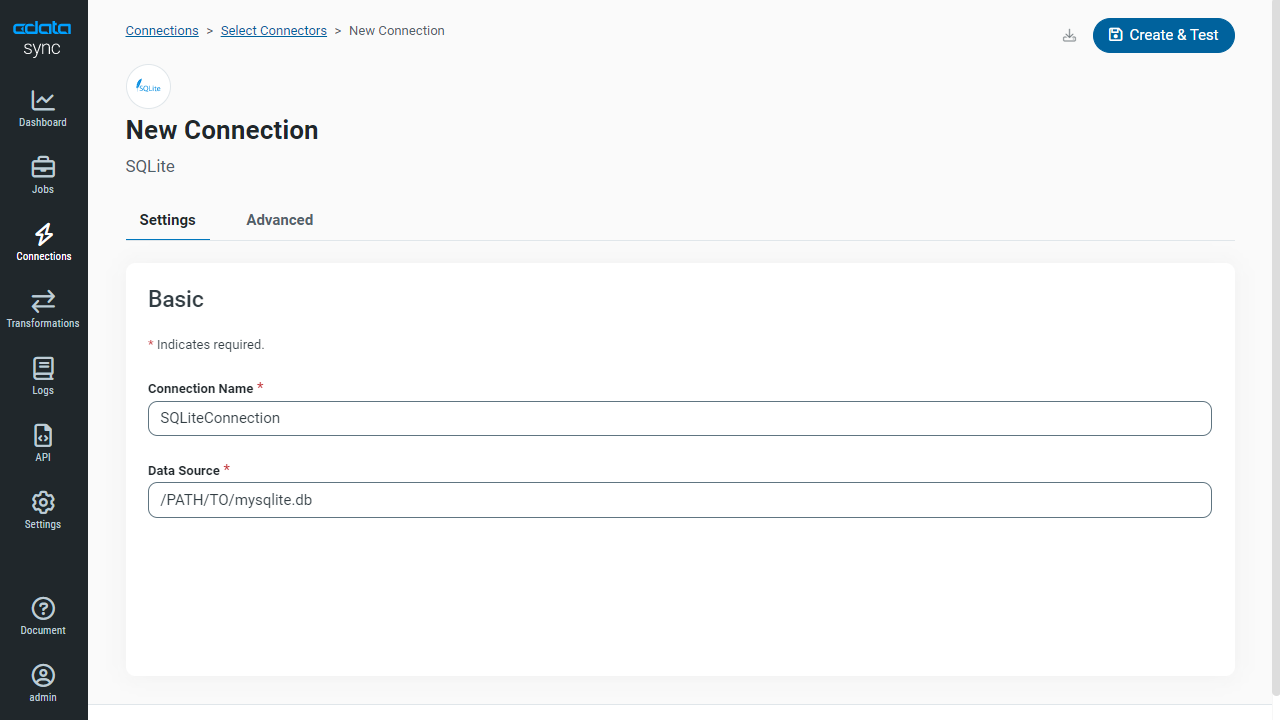
![Configure a Destination connection to SQLite.]()
- Enter the necessary connection properties. To connect to SQLite, set the following:
- Data Source: The path to the database. You can replicate to an existing database or to a new one. The application must have permissions to access the database.
- Click Test Connection to ensure that the connection is configured properly.
![Configure a Destination connection.]()
- Click Save Changes.
Configure the Salesforce Connection
You can configure a connection to Salesforce from the Connections tab. To add a connection to your Salesforce account, navigate to the Connections tab.
- Click Add Connection.
- Select a source (Salesforce).
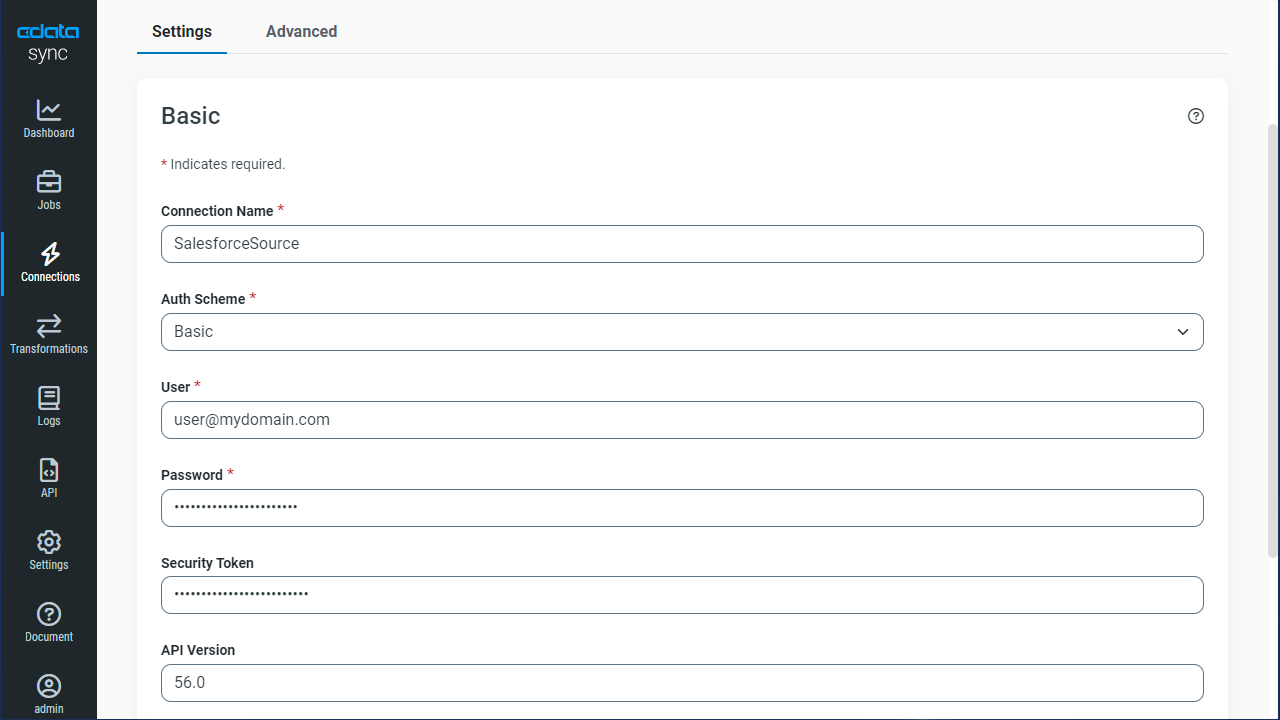
- Configure the connection properties.
There are several authentication methods available for connecting to Salesforce: Login, OAuth, and SSO. The Login method requires you to have the username, password, and security token of the user.
If you do not have access to the username and password or do not wish to require them, you can use OAuth authentication.
SSO (single sign-on) can be used by setting the SSOProperties, SSOLoginUrl, and TokenUrl connection properties, which allow you to authenticate to an identity provider. See the "Getting Started" chapter in the help documentation for more information.
![Configure a Source connection (Salesforce is shown).]()
- Click Connect to ensure that the connection is configured properly.
- Click Save Changes.
Configure Replication Queries
CData Sync enables you to control replication with a point-and-click interface and with SQL queries. For each replication you wish to configure, navigate to the Jobs tab and click Add Job. Select the Source and Destination for your replication.
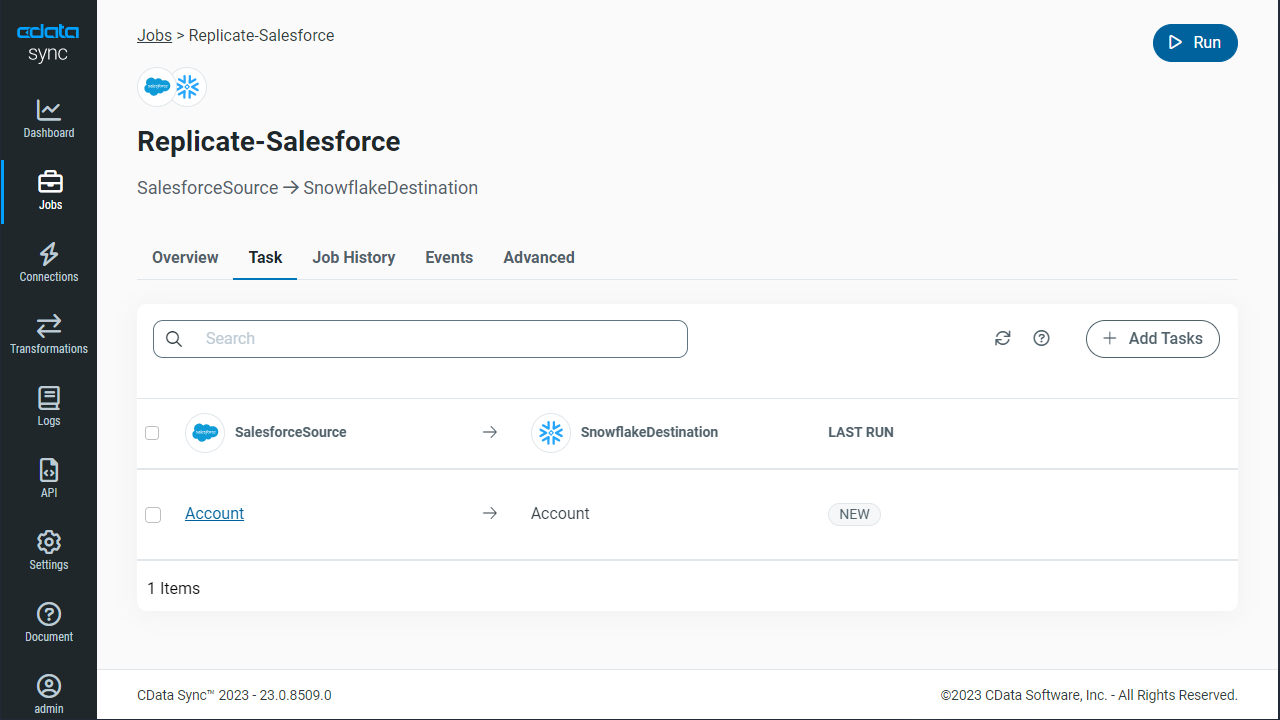
Replicate Entire Tables
To replicate an entire table, click Add Tables in the Tables section, choose the table(s) you wish to replicate, and click Add Selected Tables.
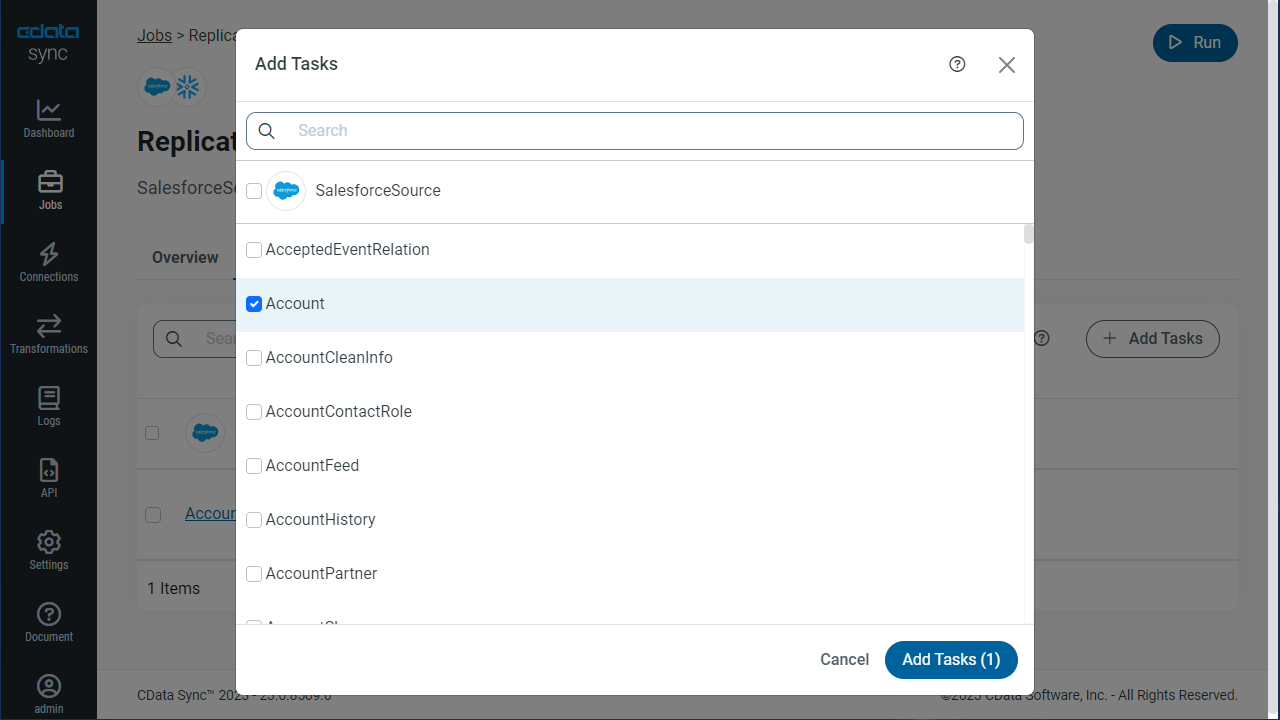
Customize Your Replication
You can use the Columns and Query tabs of a task to customize your replication. The Columns tab allows you to specify which columns to replicate, rename the columns at the destination, and even perform operations on the source data before replicating. The Query tab allows you to add filters, grouping, and sorting to the replication.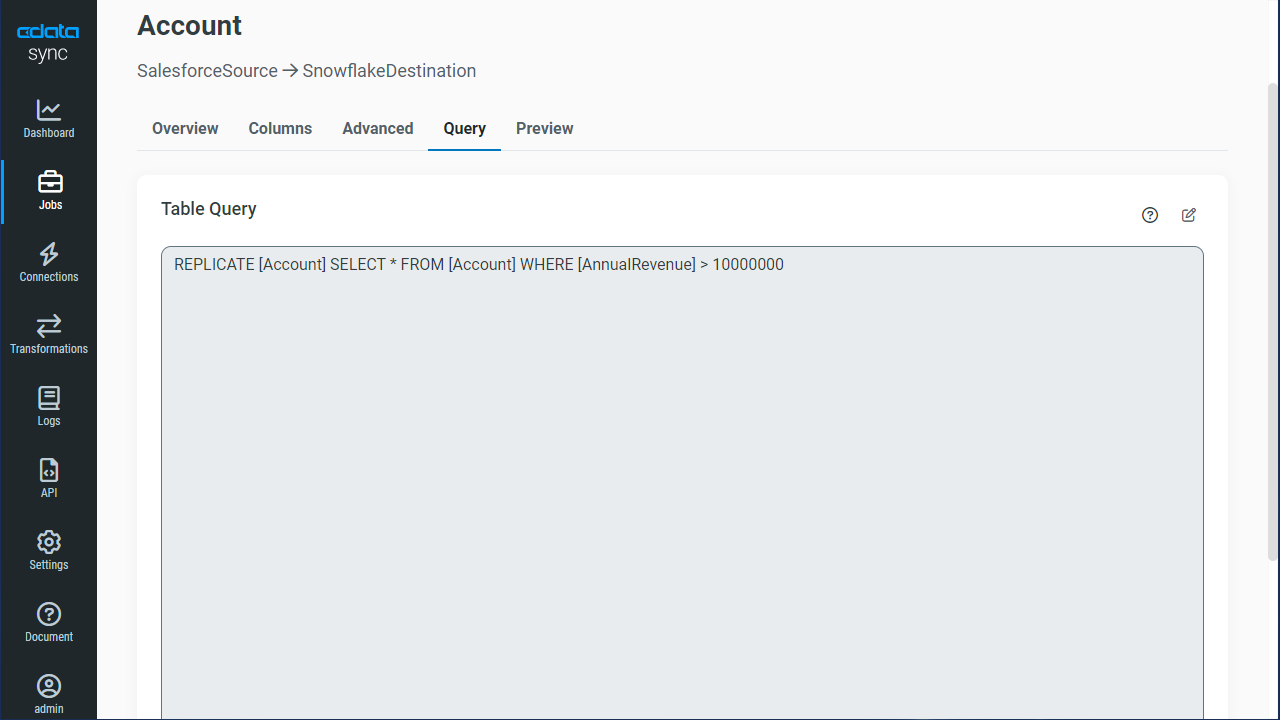
Schedule Your Replication
In the Schedule section, you can schedule a job to run automatically, configuring the job to run after specified intervals ranging from once every 10 minutes to once every month.
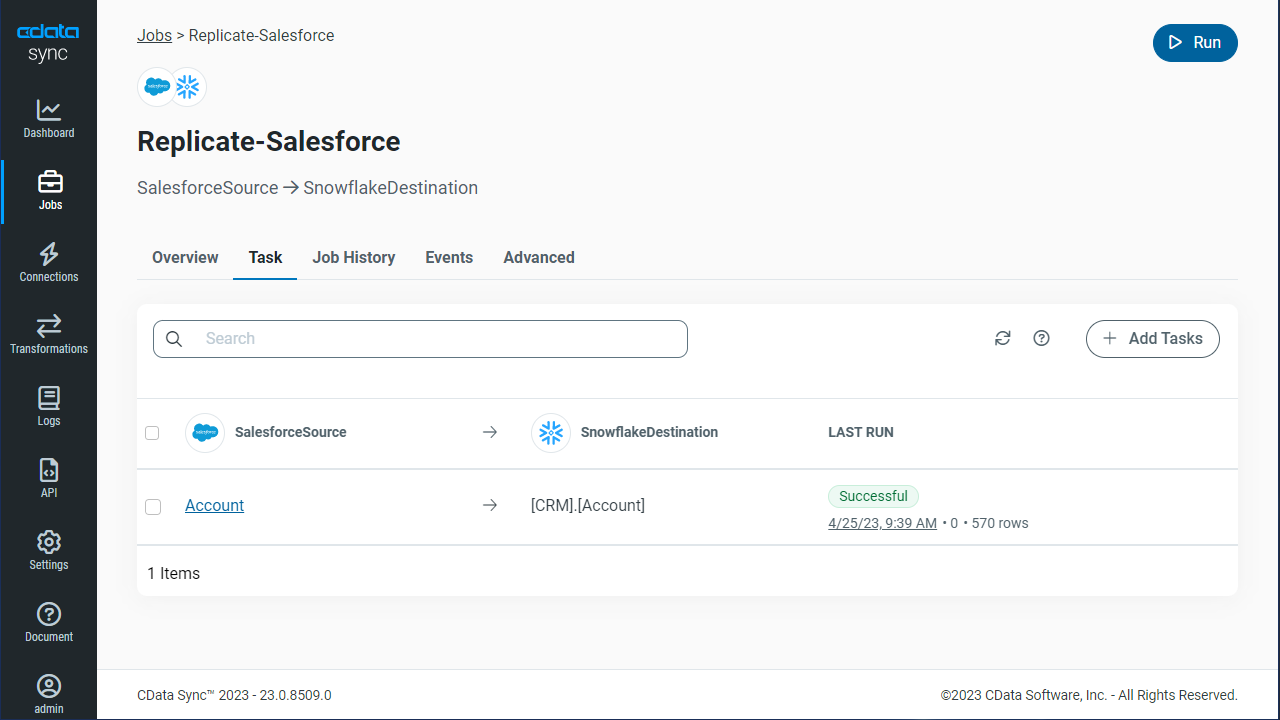
Once you have configured the replication job, click Save Changes. You can configure any number of jobs to manage the replication of your Salesforce data to SQLite.


